How To Smooth Pla 3d Prints
You've experienced the magic, right? Watching your 3D printer slowly, meticulously bring a digital design into the real world. It's truly incredible! But then, you pick up your freshly printed creation, and there they are: those tiny, tell-tale lines that whisper "3D printed" rather than "masterpiece." Don't fret! That's where the super satisfying, surprisingly fun art of smoothing PLA 3D prints comes in. It's not just for pros; it's a fantastic way to elevate your prints from cool prototypes to stunning, professional-looking objects, gifts, or even functional parts.
So, why bother smoothing? Beyond just aesthetics, a smooth print feels amazing to the touch and can sometimes even be stronger or more resistant to dust and grime. It's about transforming a raw, FDM-produced object into something that truly shines, whether you're aiming for a sleek, glossy finish or a perfectly paintable surface. Imagine giving a gift that looks like it came from a high-end store, or creating a prop that's indistinguishable from a movie set piece. That's the power of smoothing!
Let's dive into some easy-to-approach methods to get those prints looking pristine.
Must Read
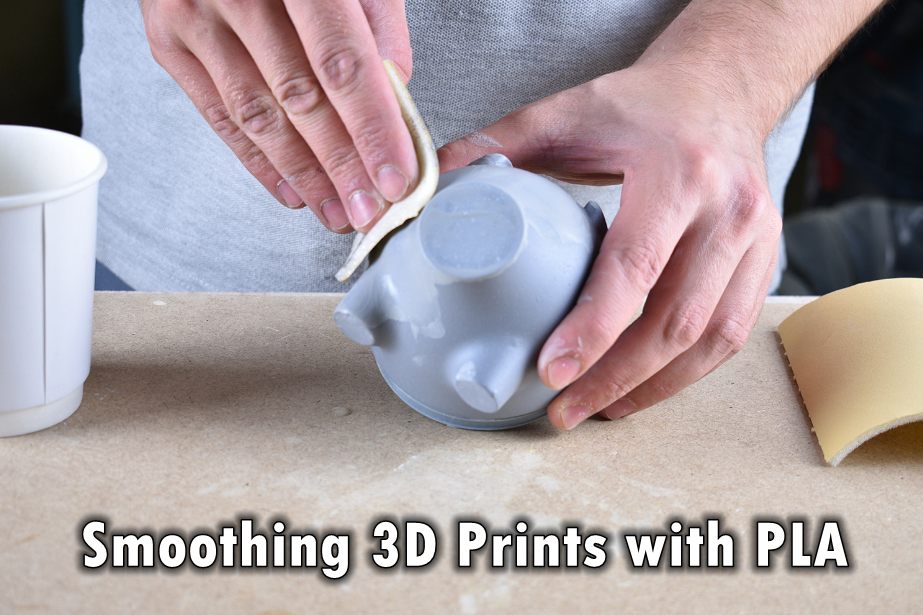
The Art of Sanding
This is your bread and butter, the most fundamental step for almost any smooth finish. Think of it like a spa treatment for your print! You'll need various grits of sandpaper, starting coarse and moving to very fine. For PLA, we recommend wet sanding. Dip your sandpaper and print in water occasionally to keep dust down and prevent the plastic from getting too hot and deforming. Start with a relatively coarse grit (around 220-320) to knock down those prominent layer lines, then progressively move to finer grits (400, 600, 800, 1000, and even 2000 if you're feeling ambitious). Always sand in a circular motion or in consistent directions to avoid creating new scratches. Patience is key here – let the sandpaper do the work!
Filler Primer: Your Best Friend for Automotive-Smoothness
Once you've done your initial sanding, you might still see tiny imperfections or microscopic layer lines. That's where filler primer comes into play! This magical spray paint has a thicker consistency designed to fill in those minuscule gaps. Apply several light coats, allowing each to dry thoroughly (check the can for timing). After each coat, you'll want to wet sand again with a finer grit (e.g., 400-600) to smooth out the primer itself. Repeat this process until you achieve that buttery-smooth, uniform surface. The primer acts as an excellent base for any subsequent paint, giving your prints a truly professional look.

Polishing for a Glorious Shine
If you want to take your print beyond a matte finish, consider polishing. After your fine sanding and primer steps (or even just fine sanding if you want a translucent finish), you can use plastic polishing compounds. These are similar to car polish, and when applied with a soft cloth or a buffing wheel on a rotary tool, they can bring out an impressive shine. It’s all about working in small sections and letting the polish do the hard work.
Smoothing your PLA prints might seem like extra work, but the payoff is immense. It transforms your creations, making them look and feel incredible. So grab some sandpaper, a can of primer, and get ready to turn your good prints into truly spectacular ones. Happy smoothing!


