How To Replace Weather Stripping Under A Door

Hey there, friend! So, that draft sneaking under your door driving you bonkers? Yeah, me too! It's like living with a tiny, icy poltergeist. Luckily, battling that chilly breeze is easier than you think. We're talking weather stripping, baby! And replacing it? A total cinch. Let's dive in, shall we?
First things first: Gear up! Think of this as prepping for a mini-mission. You'll need:
- New weather stripping (obviously!) - Measure first, you don't want to end up with something too short. That's just sad.
- A utility knife or sturdy scissors – because snipping is satisfying.
- A screwdriver (probably a flathead) – unless your screws are feeling fancy with a Phillips head.
- Maybe a scraper or putty knife – for getting rid of stubborn, old, gunky stuff. We've all been there, right?
- And optionally: Safety glasses! (Seriously, protect those peepers!)
Alright, got your supplies? Great! Now, let's get down to business. Step one: Evict the old tenant (aka the old weather stripping).
Must Read
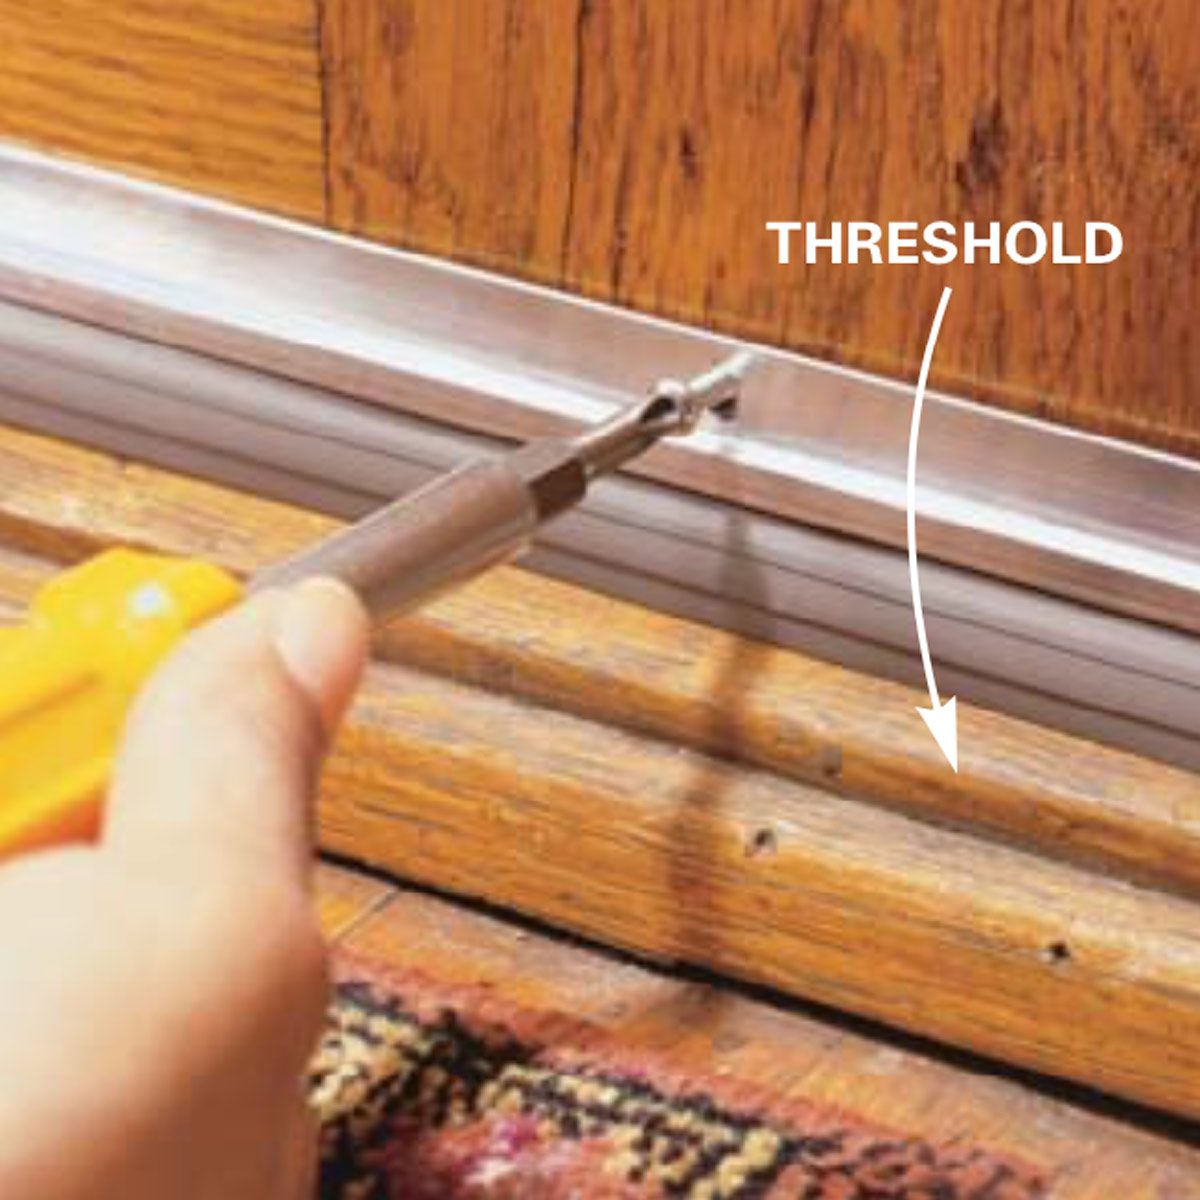
Take a good look at the existing weather stripping. Is it cracked? Crumbling? Basically, screaming "I've given up on life!"? Good. It's time for it to go.
Use your screwdriver (or that scraper) to pry that old stuff off. Be gentle! You don't want to damage the door or the frame. Unless... you were planning a full door makeover anyway? Just kidding... mostly. A little elbow grease might be needed here. Some weather stripping is surprisingly clingy! Like that ex you can't seem to shake. But you've got this!

Step Two: Cleaning Time!
Okay, so you've removed the old weather stripping. Now, take a moment to appreciate the… gunk. Okay, maybe don't appreciate it. Grab your scraper and get rid of any remaining bits and bobs. A clean surface is crucial for the new weather stripping to stick properly. Imagine trying to stick a sticker to a muddy surface. No bueno. Nobody wants that!
Step Three: Measure Twice, Cut Once (or, like, at least Measure Once)
This is where your measuring skills come in handy (or your ability to guess correctly... I won't judge). Measure the width of the door where the weather stripping will go. Transfer that measurement to your new weather stripping. Now, carefully cut the weather stripping to the correct length using your utility knife or scissors. Remember, it's better to cut a little long than too short! Nobody likes a gap. Especially a drafty one.
Step Four: Installation – The Grand Finale!
Now for the fun part! (Okay, maybe not fun, but definitely rewarding!) Peel off the backing from the adhesive on the new weather stripping. Align it carefully with the bottom of the door. Press it firmly into place. We're talking really firmly. You want that thing to stay put. Imagine you are applying it with the determination of sticking gum under a school desk (but less naughty and more helpful!).
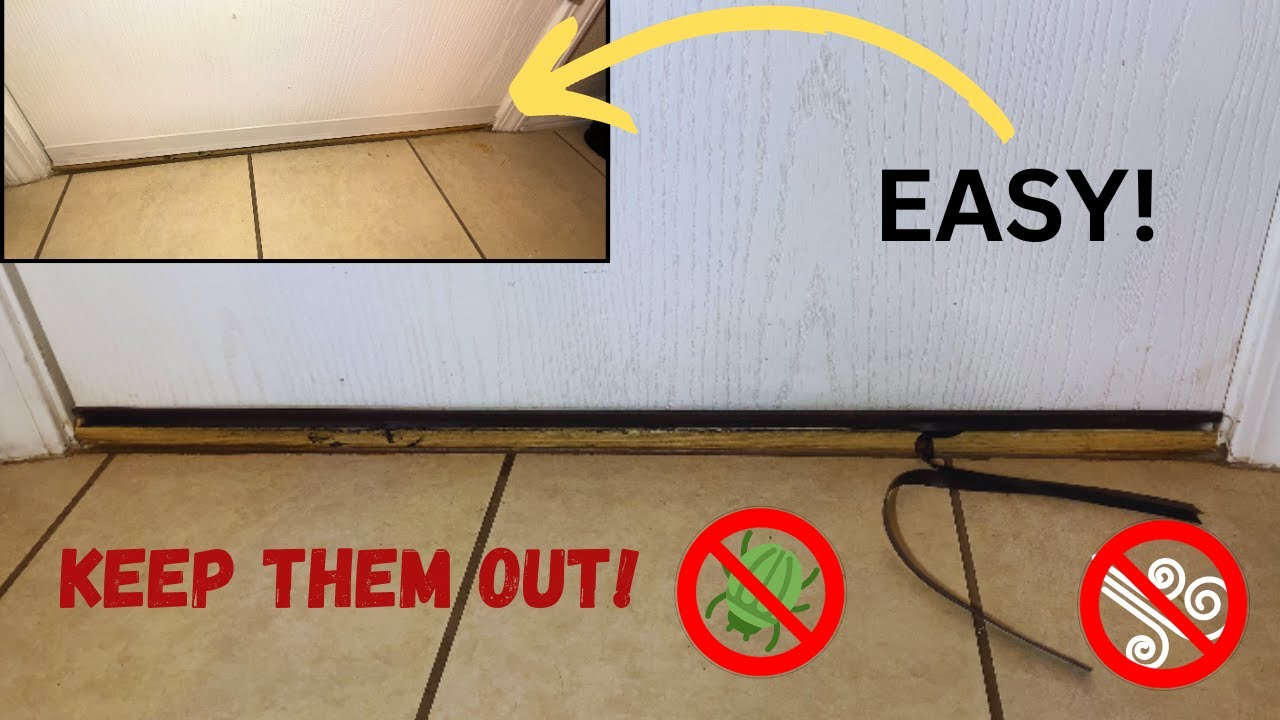
Some weather stripping might require screws. If so, use your screwdriver to secure it. Make sure the screws are flush with the surface. You don't want to be tripping over them every time you walk through the door! Ouch!
Step Five: The "Does It Work?" Test
Close the door. Do you feel a draft? No? Huzzah! You've conquered the cold! Pat yourself on the back. You deserve a cookie. Or maybe two.

If you do still feel a draft, double-check your work. Did you miss a spot? Is the weather stripping properly aligned? Don't be afraid to make adjustments. It's all part of the learning process! Besides, you are saving money so that justifies the time investment.
Pro Tip: For those extra drafty doors, consider using a door sweep in addition to weather stripping. It's like giving your door a cozy little blanket. And who doesn't love a cozy blanket?
And there you have it! You've successfully replaced the weather stripping under your door. You are now a draft-busting superhero! Now go forth and enjoy your cozy, draft-free home! You earned it!