How To Replace Battery On Garage Door Keypad
Picture this: You pull into your driveway, utterly exhausted after a day that felt like it had three Mondays in it. You reach for your trusty garage door keypad, punch in your super-secret code (the one you know better than your own name!), and… nothing. Zilch. The keypad stares back at you with the blank, unfeeling gaze of a disconnected robot. Your car, meanwhile, silently judges you from its vulnerable position in the driveway. Panic? Nah! This isn't a scene from a sci-fi thriller; it's just a dead battery, and guess what? You, my friend, are about to become a certified keypad whisperer.
Forget calling a technician, setting up an appointment, and waiting around like you’re expecting a royal visit. You’re about to tackle this tiny titan of a task with the grace of a gazelle and the skill of a seasoned secret agent. This is not just a battery change; it's a declaration of independence from minor household inconveniences!
Your Toolkit for Triumph
Grab your imaginary cape and your can-do attitude! Okay, maybe just a few less theatrical items for Mission: Keypad Revival:
Must Read
- A small Phillips-head screwdriver (if your keypad has screws. Think of it as your magic wand!).
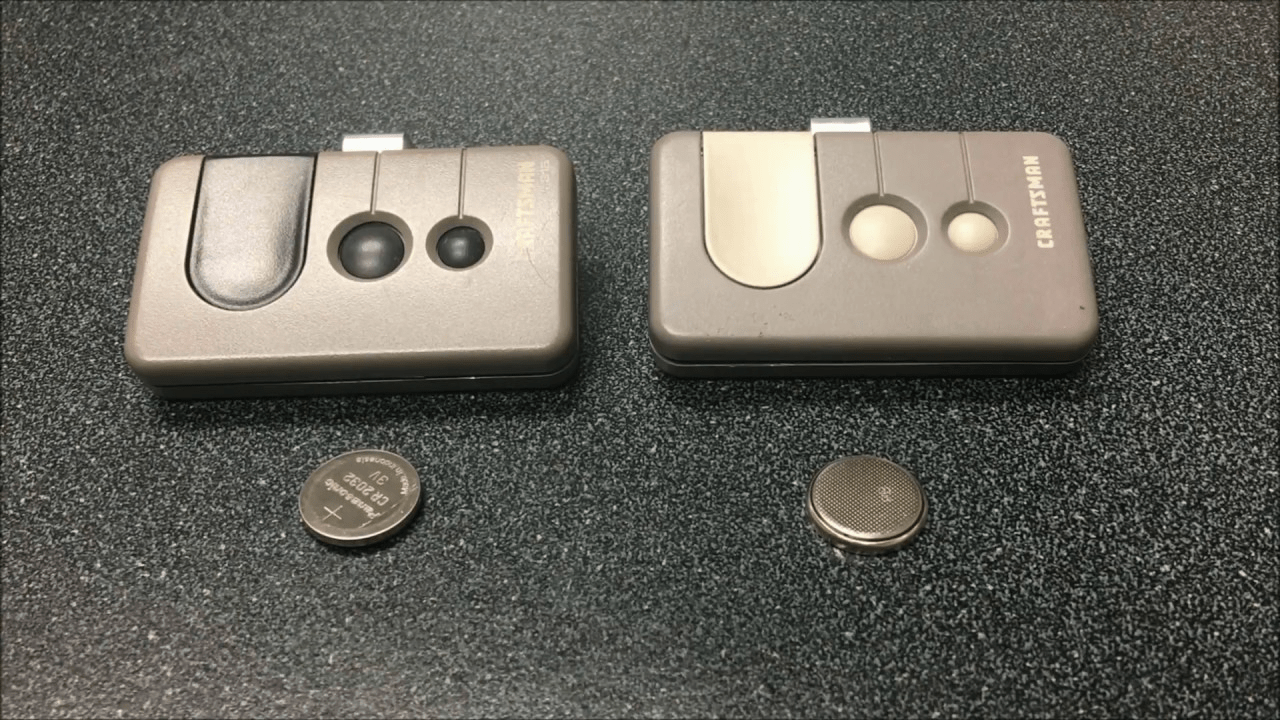
- A new battery (we’ll figure out which one in a sec, but it's often a 9-volt or a couple of AAAs. Yes, the tiny ones that power your TV remote, only now they're powering your garage door destiny!).
- About five minutes of your precious time.
- The unwavering belief that you are, indeed, a magnificent human being capable of anything.
Step 1: The Great Keypad Survey
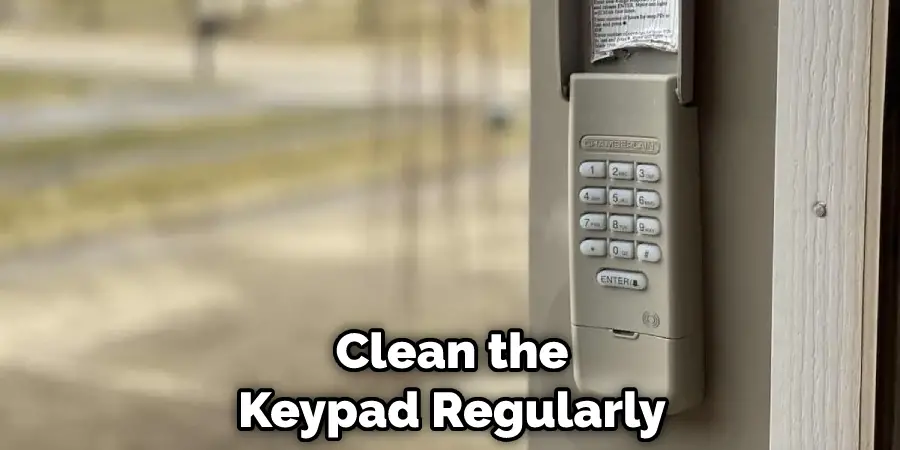
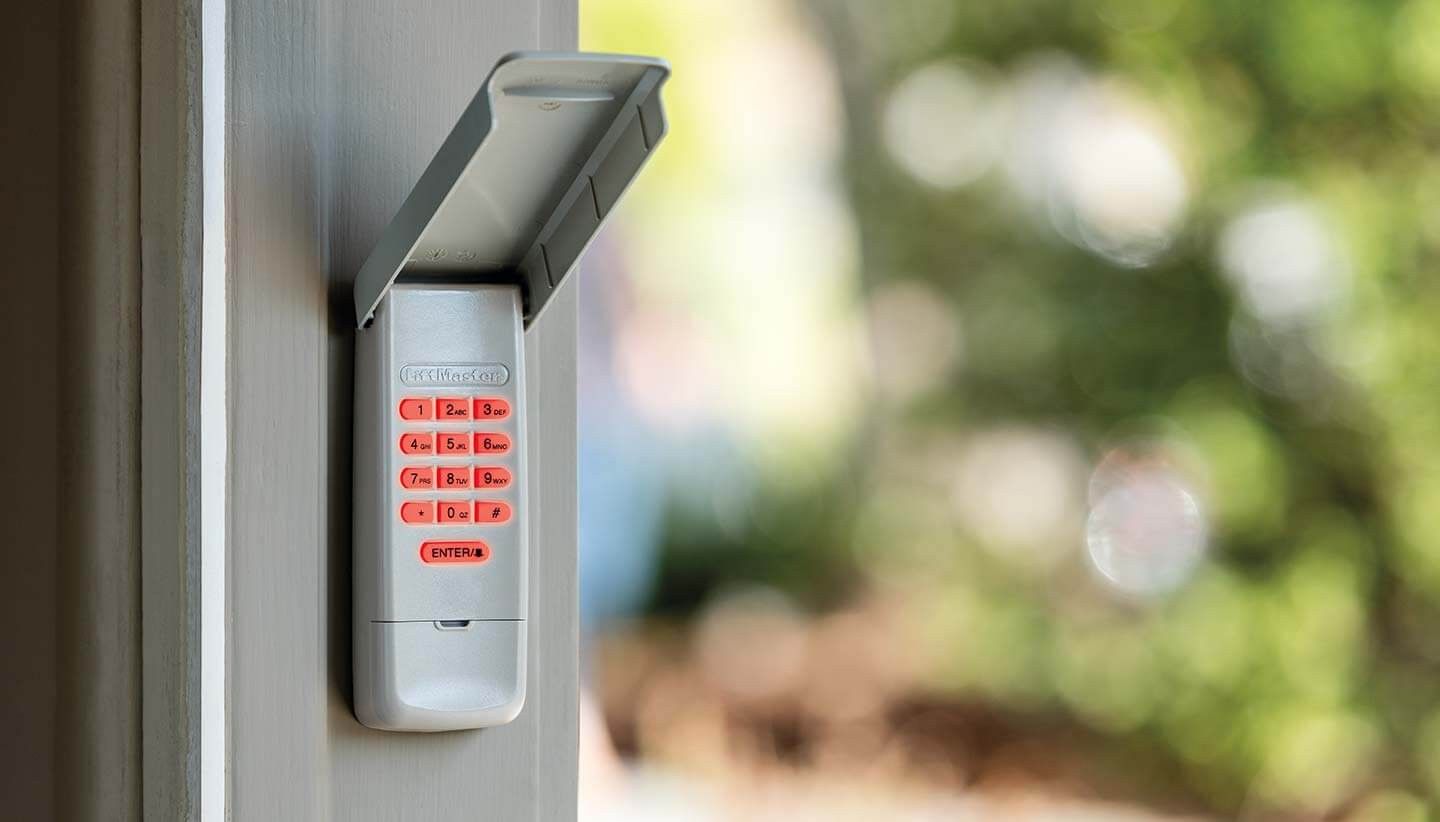
Head over to your garage door keypad. It’s usually perched proudly on the wall, looking all stoic and important. Give it a good once-over, like you’re inspecting a valuable piece of art. Are there any visible screws? Often, they're discreetly tucked away on the bottom or back. Sometimes, it’s just a little tab or clip you need to gently press or slide. Think of it like a secret puzzle! No brute force needed here, just a gentle inquiry into its inner workings.
"Every keypad holds a secret, and you're about to unlock it!"
Step 2: Operation Open Sesame!
If screws are involved, grab your Phillips-head screwdriver. Turn those little guys counter-clockwise until they’re loose. Don't worry, many modern keypads have "captive" screws that stay attached to the cover, preventing them from making a daring escape into the mysterious void under your workbench. If it’s a clip, gently pry it open. You might need a butter knife or a flathead screwdriver for a tiny bit of leverage, but be super gentle – we're performing delicate surgery, not demolishing a building!
Step 3: Meet Your Battery (The Old One, That Is)
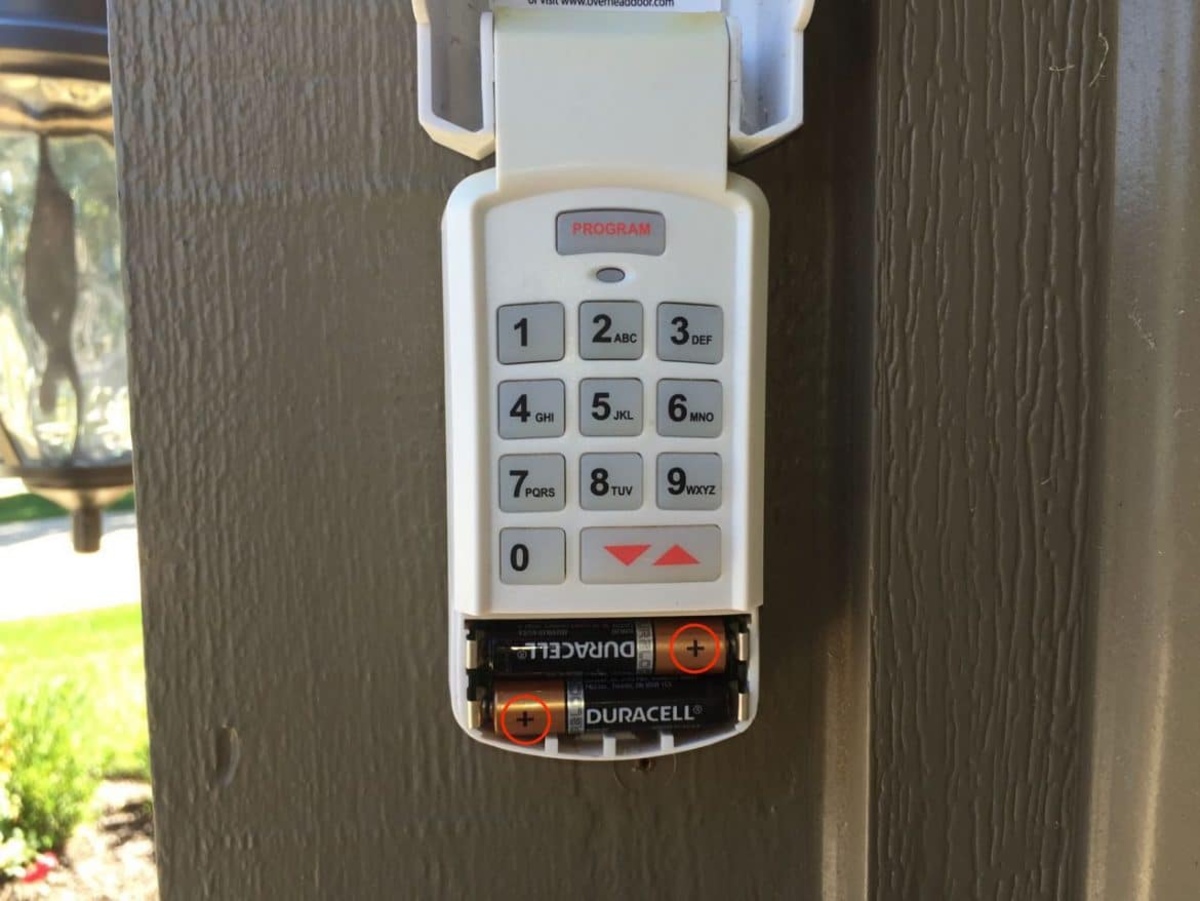
Once the cover is off, there it is: the culprit! You’ll see the battery. It’s usually a 9-volt (that rectangular one with two nubs on top, looking all business-like) or perhaps a couple of AAA batteries (the slender ones, just like the ones in your TV remote, only with higher stakes!). Take a quick mental snapshot, or even a real one with your phone, of how it’s positioned. Positive to negative, you know the drill! This isn’t rocket science; it's just following a very simple pattern.
Step 4: Eviction Notice (For the Old Battery)
Carefully unclip or pop out the old, tired battery. It’s served its purpose; it’s powered countless entries and exits, endured sun and rain, and now it’s time for its well-deserved retirement (into the recycling bin, ideally! Be kind to Mother Earth, even with tiny batteries!). Wave goodbye to that little energy vampire.
Step 5: Welcome Wagon (For the New Battery)
Unwrap your shiny, new battery. Ah, the smell of fresh power! Align it exactly how the old one was. If it’s a 9-volt, simply clip it in. If it’s AAAs, make sure the positive (+) and negative (-) ends are where they should be, just like you’ve done a thousand times with toy cars or flashlights. Give it a gentle nudge to ensure it’s snug and happy in its new home. You’re practically a battery installation pro!
Step 6: Tuck it Back In
Carefully place the cover back on. If you had screws, tighten them clockwise. Don't overtighten; just snug enough so it feels secure, like you’re tucking your keypad into bed. If it was a clip, snap it back into place with a satisfying click. Listen for that little affirmation – it means you’ve done it right!

Step 7: The Grand Finale: TEST IT!
This is the moment of truth! Step back, take a deep breath, and with the confidence of a seasoned hacker, punch in your code. Did the lights on the keypad flash? Did you hear that glorious whirring sound of your garage door springing to life and majestically gliding open? YES! You did it! You are a hero! If it didn't work right away, don't fret! Double-check the battery orientation, make sure the cover is securely closed, and try again. Sometimes these things just need a moment to acknowledge your brilliance.
See? Wasn't that easier than trying to remember where you hid the spare garage door opener for emergencies? You didn't just change a battery; you conquered a minor domestic crisis, saved precious minutes, and perhaps even learned a little something about yourself. Go on, give yourself a pat on the back. You're not just a homeowner; you're a DIY legend, a guardian of convenience, and master of the mighty keypad! Now go forth and open doors, literally!