How To Replace Battery In Google Nest Thermostat
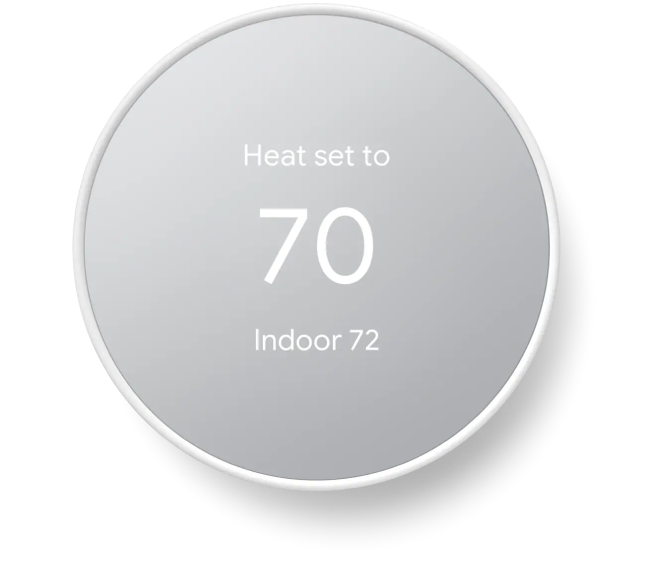
There it sits, usually on a wall in a central spot, a silent guardian of your comfort zone. We’re talking about your beloved Nest Thermostat, that sleek little disc that keeps your home just right, whether it’s a frosty winter morning or a sweltering summer afternoon. Most of the time, we hardly give it a second thought, humming along happily, powered by the magic of your home's wiring. But every now and then, even our most dependable gadgets need a little pick-me-up. And for the Nest Thermostat, that pick-me-up often comes in the form of a fresh pair of batteries. Yes, even your smart thermostat has a secret, tiny, energy-hungry heart!
You might notice a subtle hint, a little flicker on its usually vibrant display, or perhaps it feels a tad less responsive than its usual chipper self. It’s like your house is giving a gentle nudge, saying, "Hey, remember that cool circular device? It's asking for a little love." Don't fret, this isn't a complex surgery or a mission for a certified technician. This is a delightful, surprisingly simple little adventure you can undertake yourself. Think of it as giving your home's brain a fresh boost, a tiny, nurturing act for the gadget that nurtures your home's climate.
The Grand Unveiling: Detaching the Display
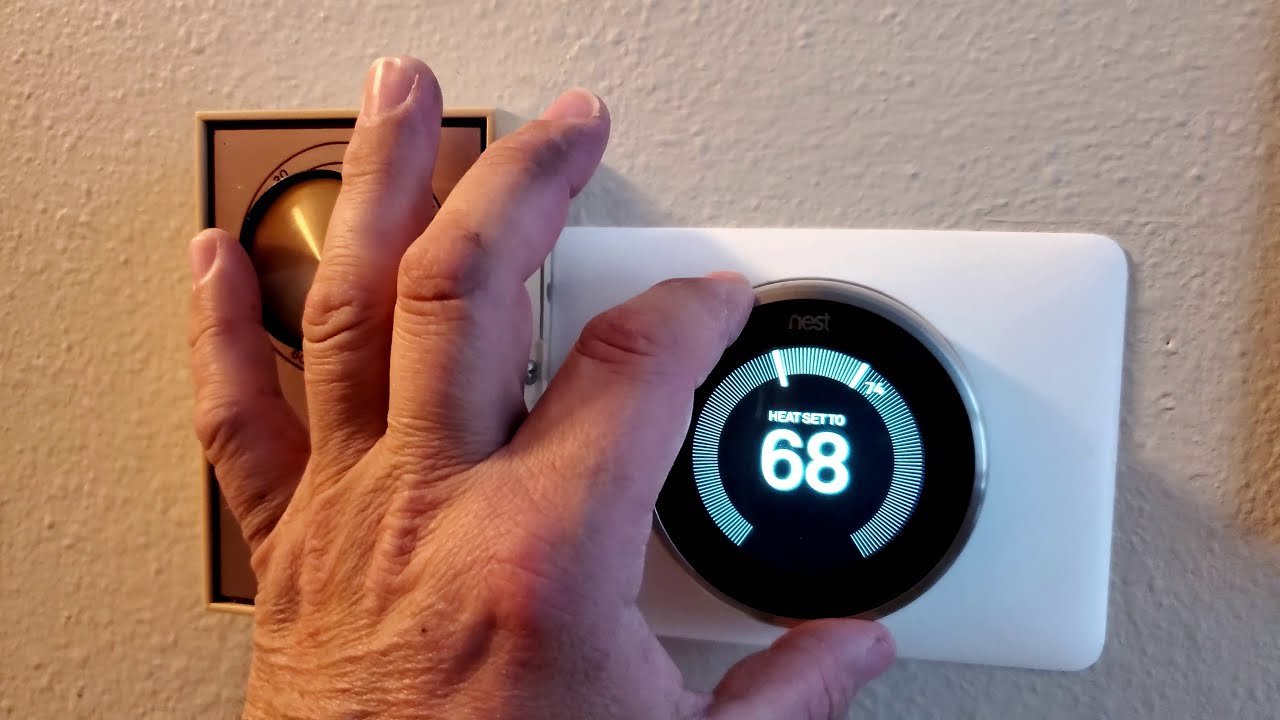
Your first noble quest: approach the Nest Thermostat. It's not attached to the wall with screws or industrial-strength glue, thankfully. This little genius is designed for elegant detachment. Imagine it like a secret handshake. Gently but firmly, grasp the outer ring – the part you usually turn to adjust the temperature. Now, pull it straight away from the wall. You might feel a tiny pop, almost like a sigh of relief as it comes free. Don't worry, you're not breaking it! This is its way of saying,
"Ah, finally, a moment of freedom!"You'll be left holding the round display unit, while the backplate, with its wires, stays put on the wall. See? Surprisingly easy, right?
Must Read
The Hidden Heart: Locating the Battery Chamber
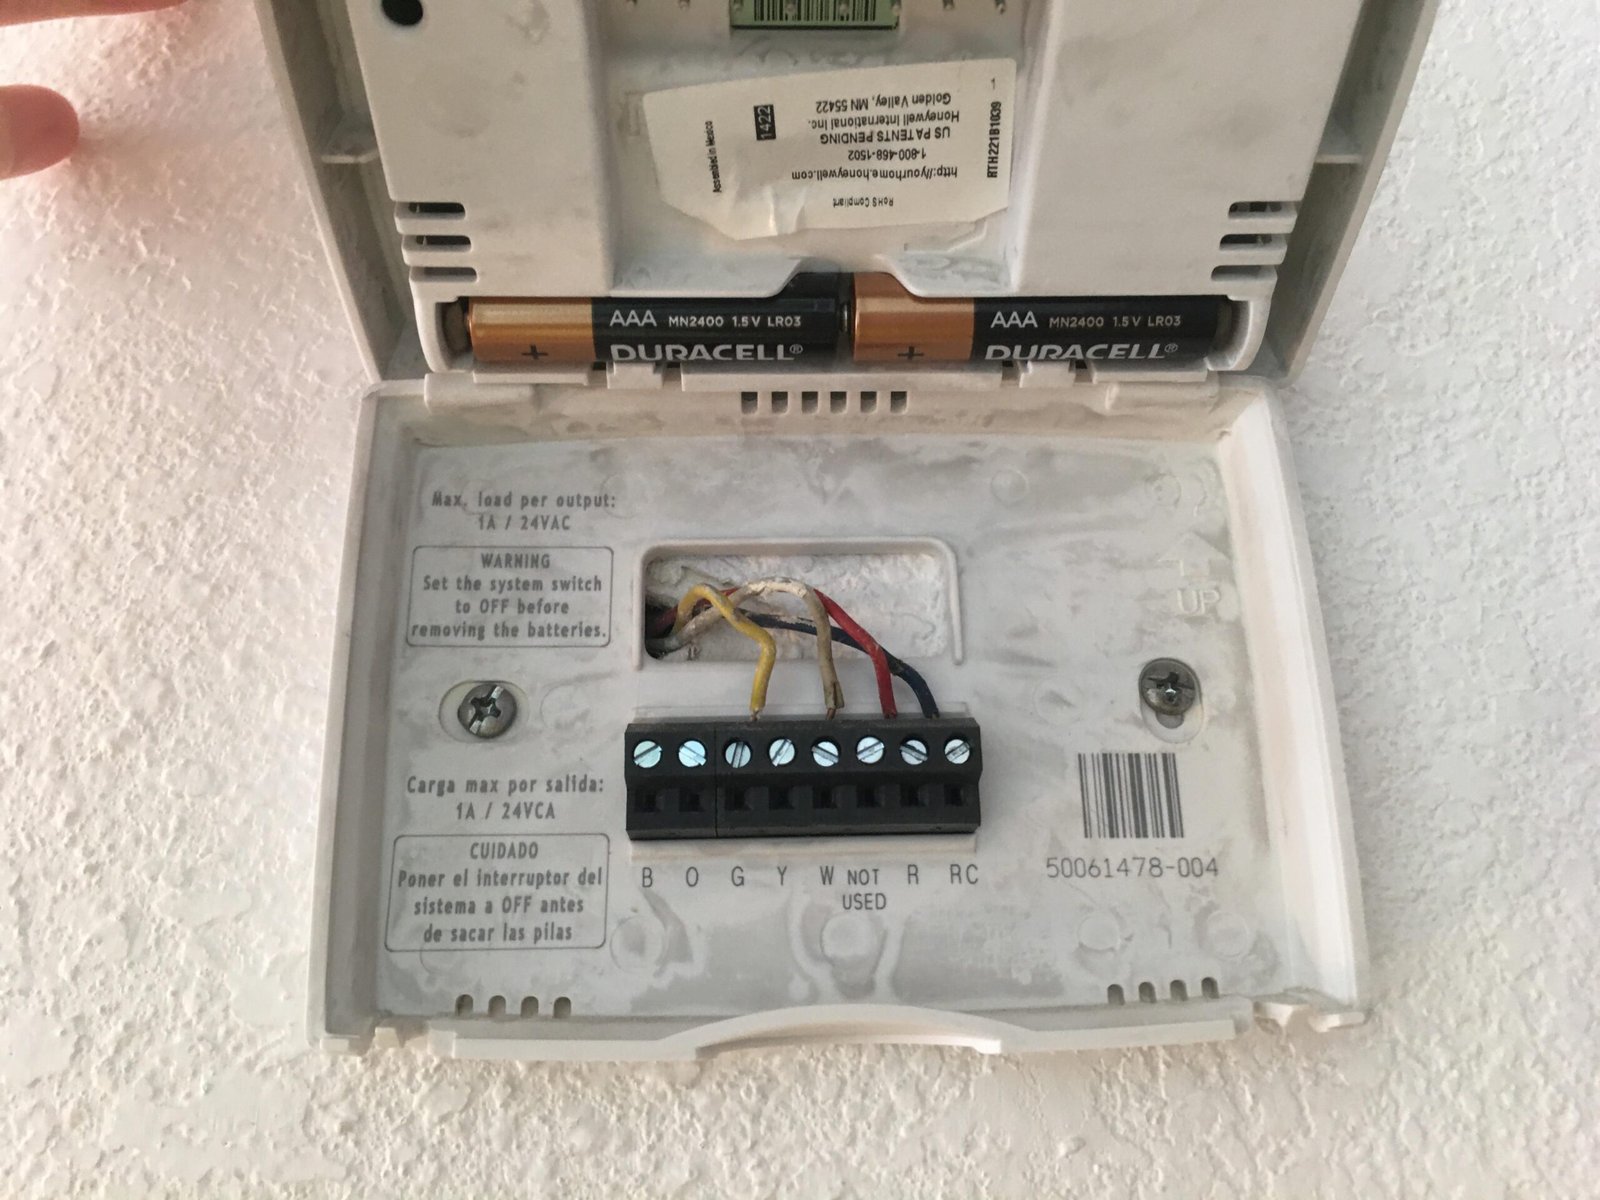
Now that you have the round display unit in your hand, turn it over. You're looking for the inner workings, the side that usually faces the wall. On most Nest Thermostat models, you'll spot a small, often rectangular, cover. This isn't just any cover; this is the gateway to its energy source, its very essence! Take a moment to appreciate the engineering – how such a smart device relies on something so wonderfully common. There's a certain charm in knowing that cutting-edge tech often has a wonderfully humble, accessible core. You might need a tiny fingernail or a gentle push to slide this cover open. And there they are, usually a couple of familiar friends: the AAA batteries.
The Little Boost: A Fresh Pair of Friends
This is the moment of truth, the vital swap. Carefully remove the old AAA batteries. Notice which way they were facing, usually with a little diagram inside the compartment to guide you. It's a quick, effortless motion, like helping a friend change their shoes after a long day. Now, grab your fresh, new AAA batteries. Make sure they’re good quality; your Nest deserves the best, after all its hard work! Pop them in, paying close attention to the positive (+) and negative (-) ends. You’ll feel a satisfying little click as they settle into place. This isn't just a battery replacement; it's a small act of kindness, a rejuvenation. Imagine your thermostat taking a deep, refreshing breath of new energy. Slide the cover back into place, securing its precious cargo.
The Triumphant Return: Reconnecting with the Wall
With its renewed power source, your Nest Thermostat is ready to return to its rightful place. Align the display unit with the backplate still on your wall. There are usually pins or connectors that need to line up. You don't need to force it; it should slide on smoothly. Give it a gentle push until you feel a satisfying click, a definite connection. It’s like the final piece of a puzzle, or your thermostat giving a cheerful little nod, saying,
"I'm back, and I'm better than ever!"The display should light up, perhaps with a friendly greeting or showing its usual temperature reading. Congratulations, you've done it!
There’s a unique satisfaction in taking care of the little things that make our lives easier. You haven't just replaced some batteries; you've reconnected with a piece of your home's intelligence, shown it a little love, and ensured it continues its silent watch over your comfort. It’s a testament to how even the most advanced smart home gadgets still rely on the simple, reliable power of a few ordinary batteries. So next time your Nest Thermostat needs a little jolt, remember this fun, easy journey. It's a small task with a surprisingly big reward: the continued, effortless comfort of your wonderfully smart home.