How To Remove Smoke Detector From Ceiling

Ah, the smoke detector. Our tiny, ever-vigilant sentinel against fiery doom. It’s a device we appreciate deeply… until it decides to serenade us at 3 AM with an ear-splitting chirp, signaling a low battery. Or perhaps it’s the culinary masterpiece that went slightly awry, triggering a full-blown alarm that sends pets scattering and neighbors wondering. In these moments, there's a particular kind of relief that comes with knowing how to silence the beast, or simply perform some much-needed maintenance. It’s less about "enjoying" the removal and more about embracing the eventual peace and quiet, or the satisfaction of a job well done.
The benefits of understanding this simple task extend far beyond silencing an annoying chirp. Smoke detectors, vital as they are, aren't immortal. Most have a lifespan of about 10 years, and knowing how to safely remove an old unit allows you to replace it with a newer, more efficient model. This ensures your home remains protected by up-to-date technology. Furthermore, regular battery changes are paramount, and knowing how to access the battery compartment without dismantling your ceiling is a true life skill. It also comes in handy for home renovations – painting a ceiling is far easier when you can temporarily remove the detector, ensuring a clean, professional finish.
Common scenarios where this skill shines bright include the aforementioned midnight battery alert (a universally recognized signal for "you need to learn this!"), the accidental burnt toast incident, or when you’re simply upgrading your home's safety features to smart detectors that connect to your phone. It's also applied during routine home maintenance, where you might clean dust from the unit to prevent false alarms, ensuring it always operates at peak performance. Knowing how to engage with this essential piece of home safety equipment empowers you to keep your household running smoothly and, most importantly, safely.
Must Read
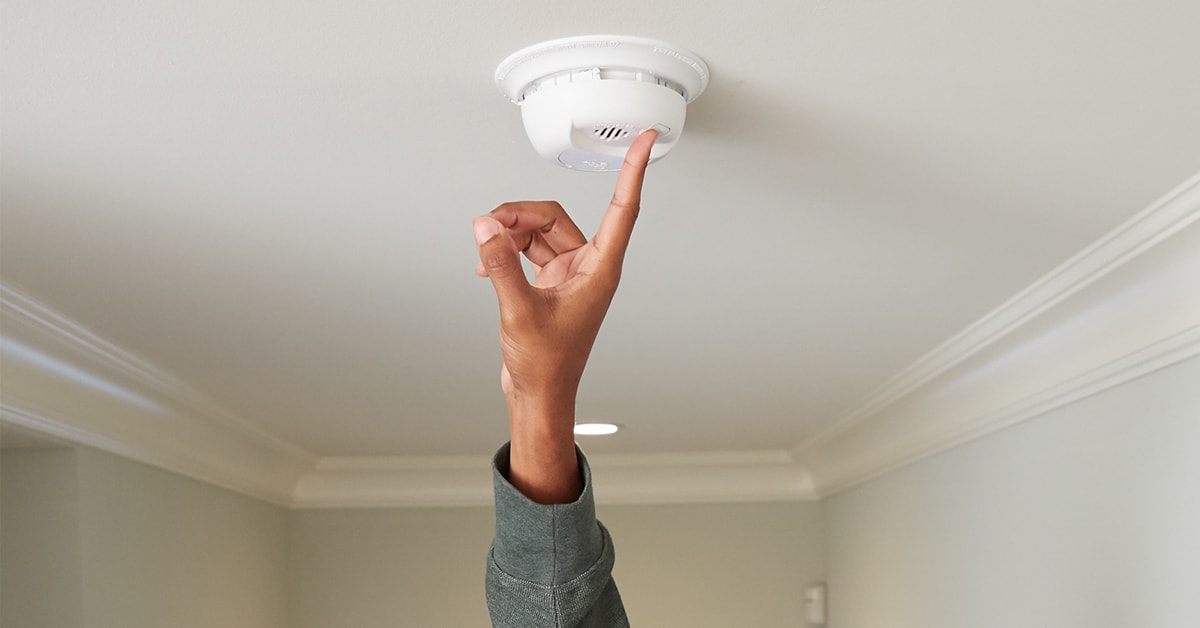
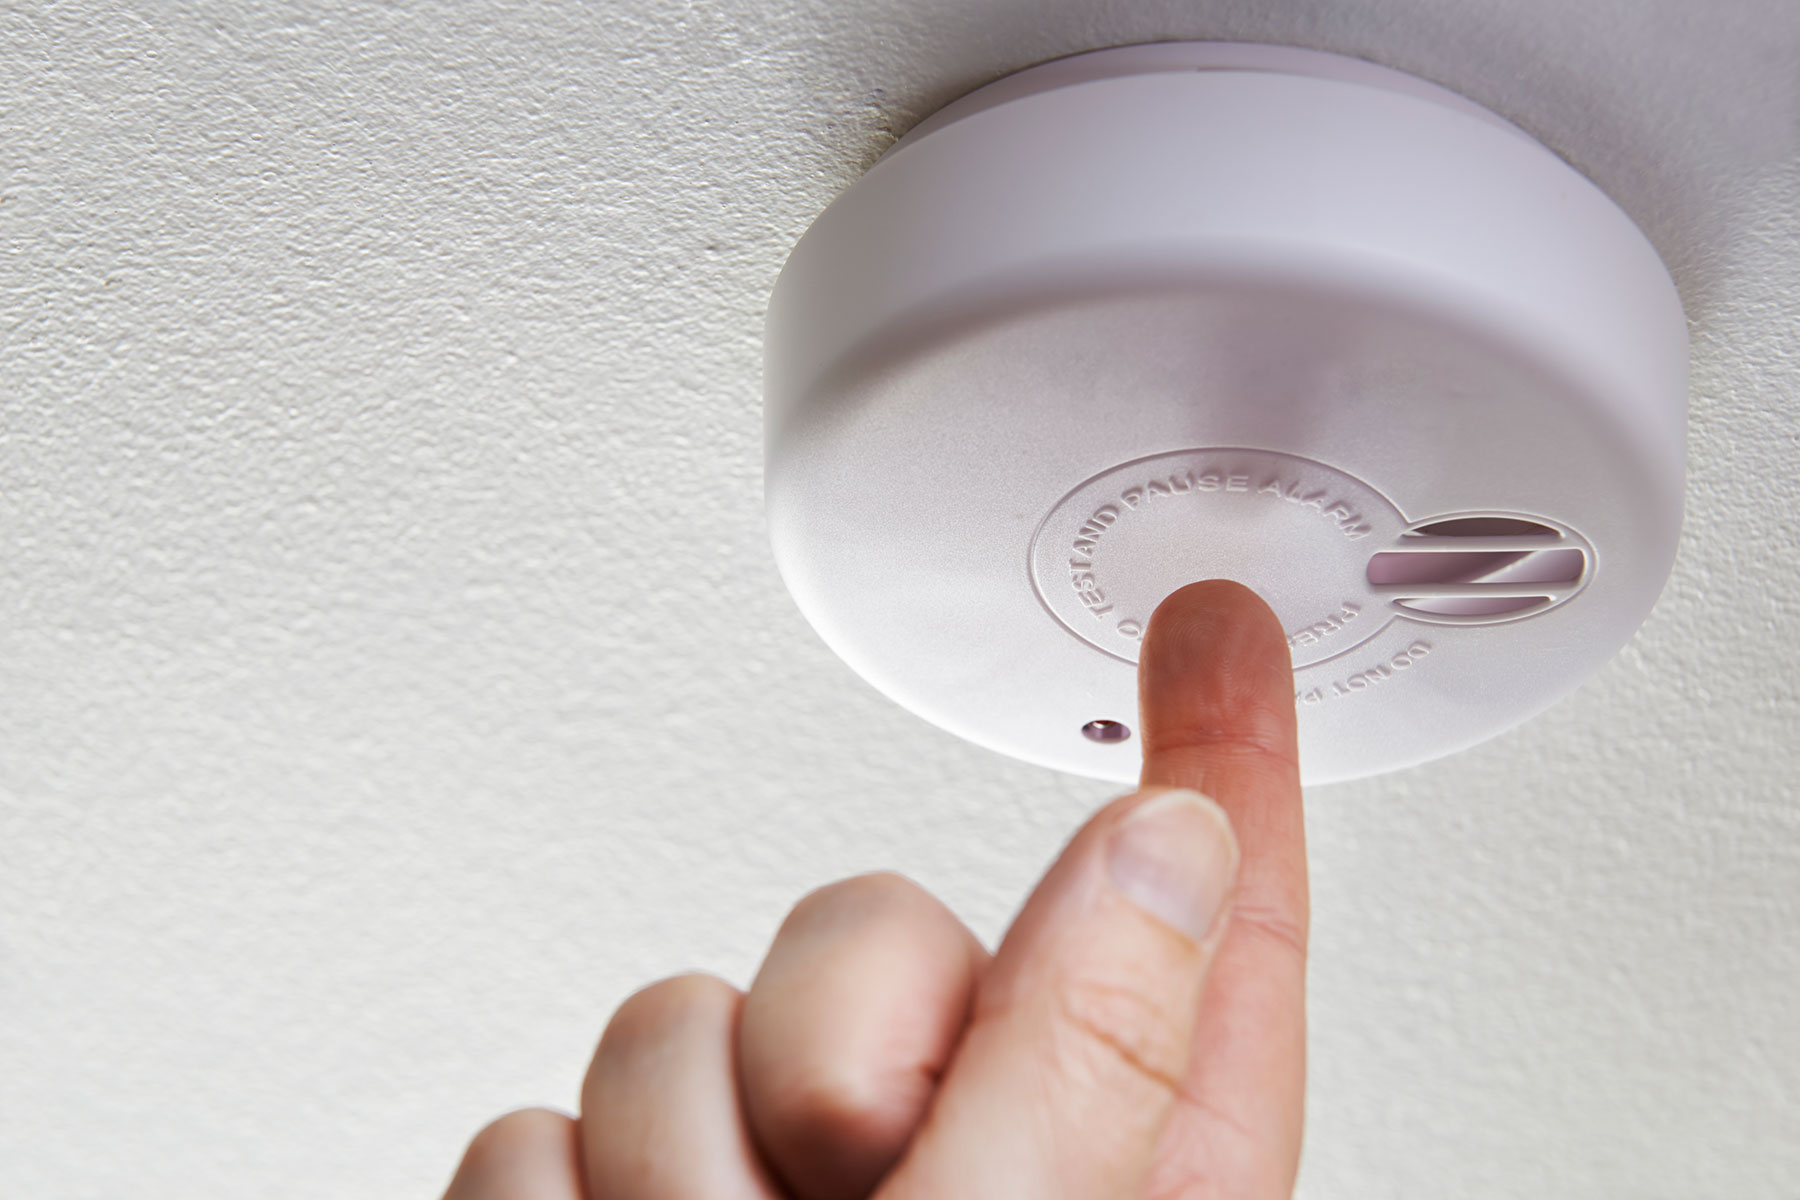
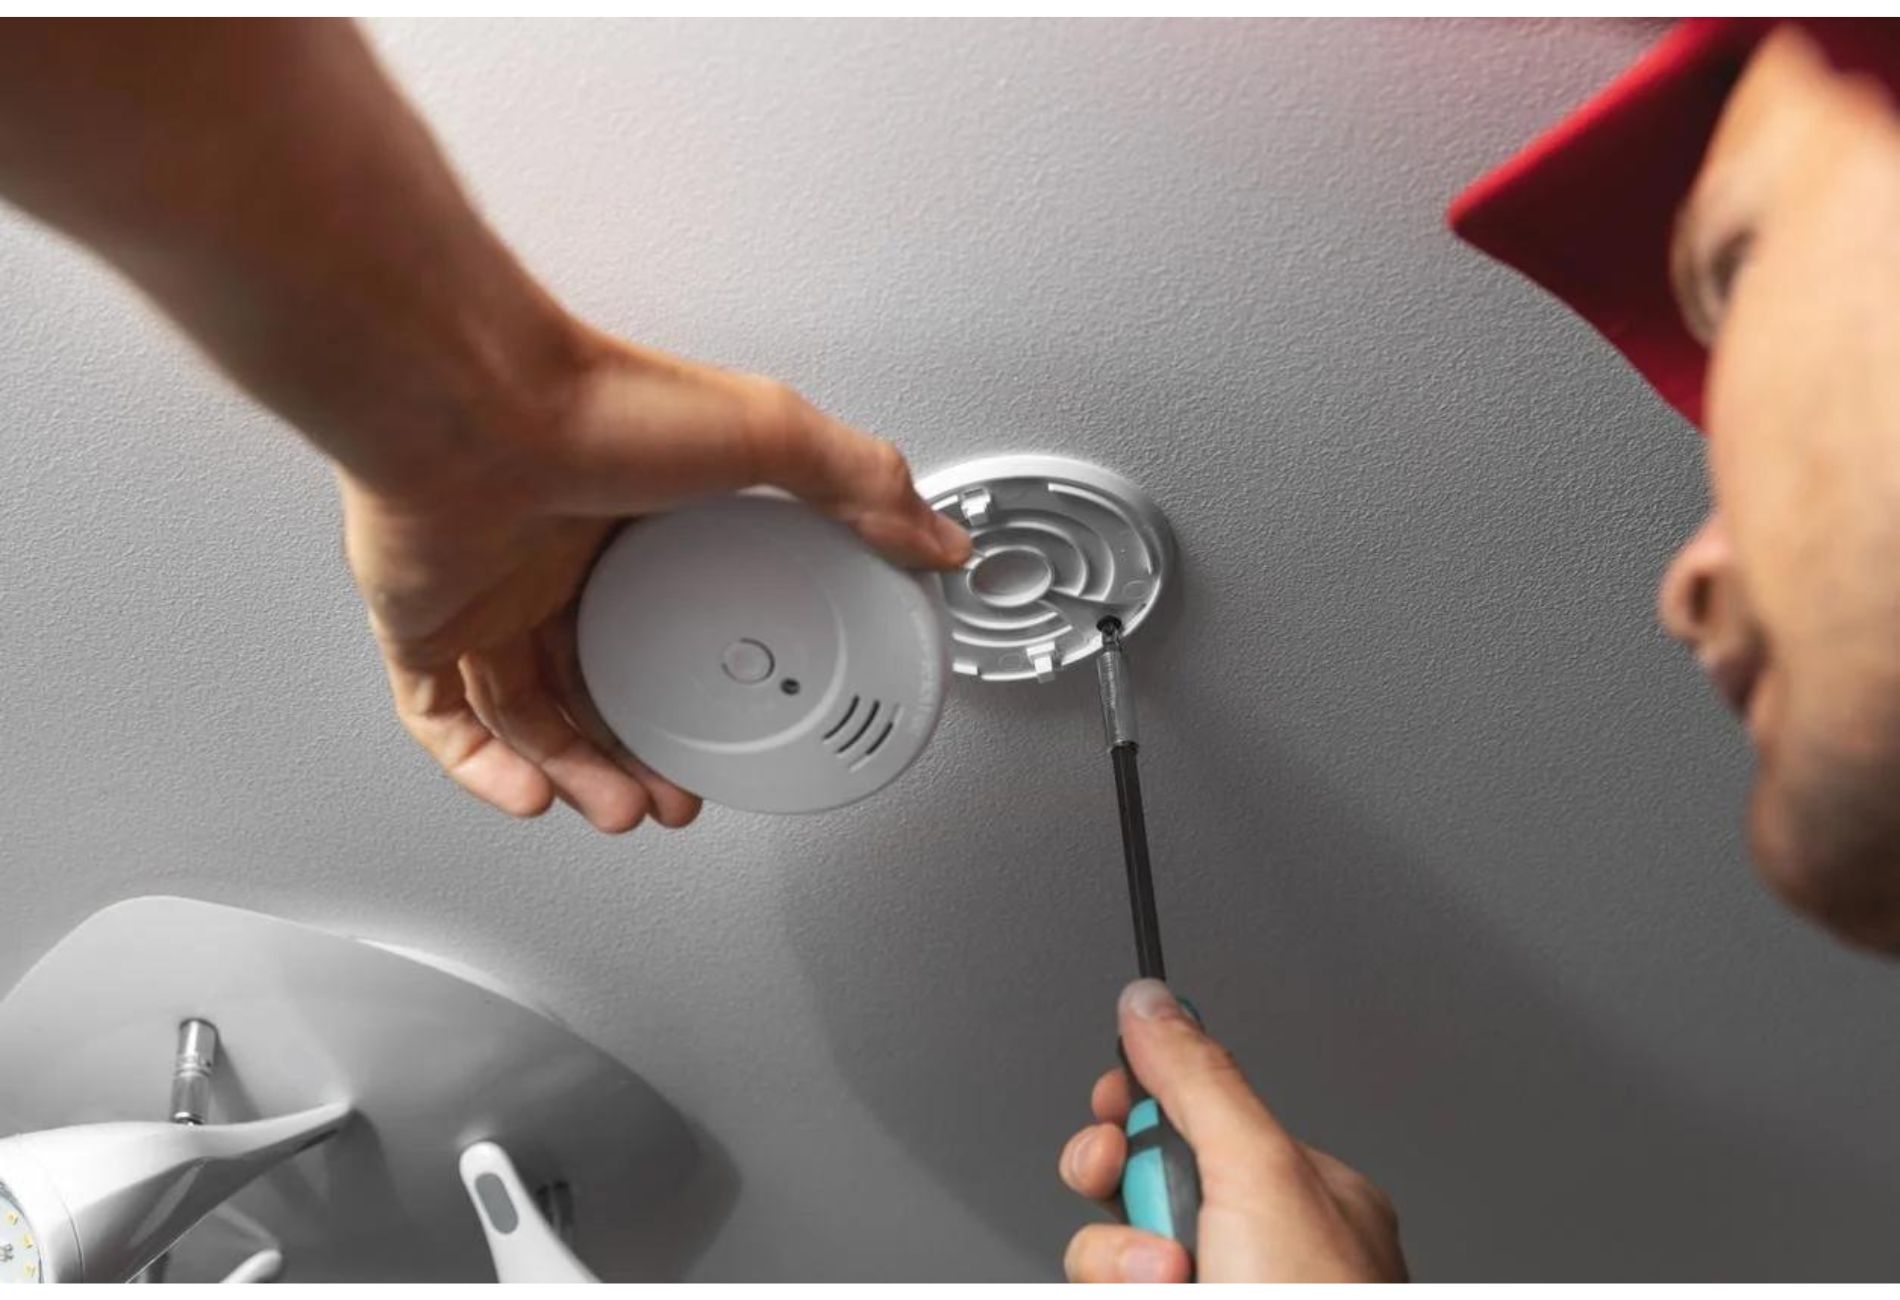
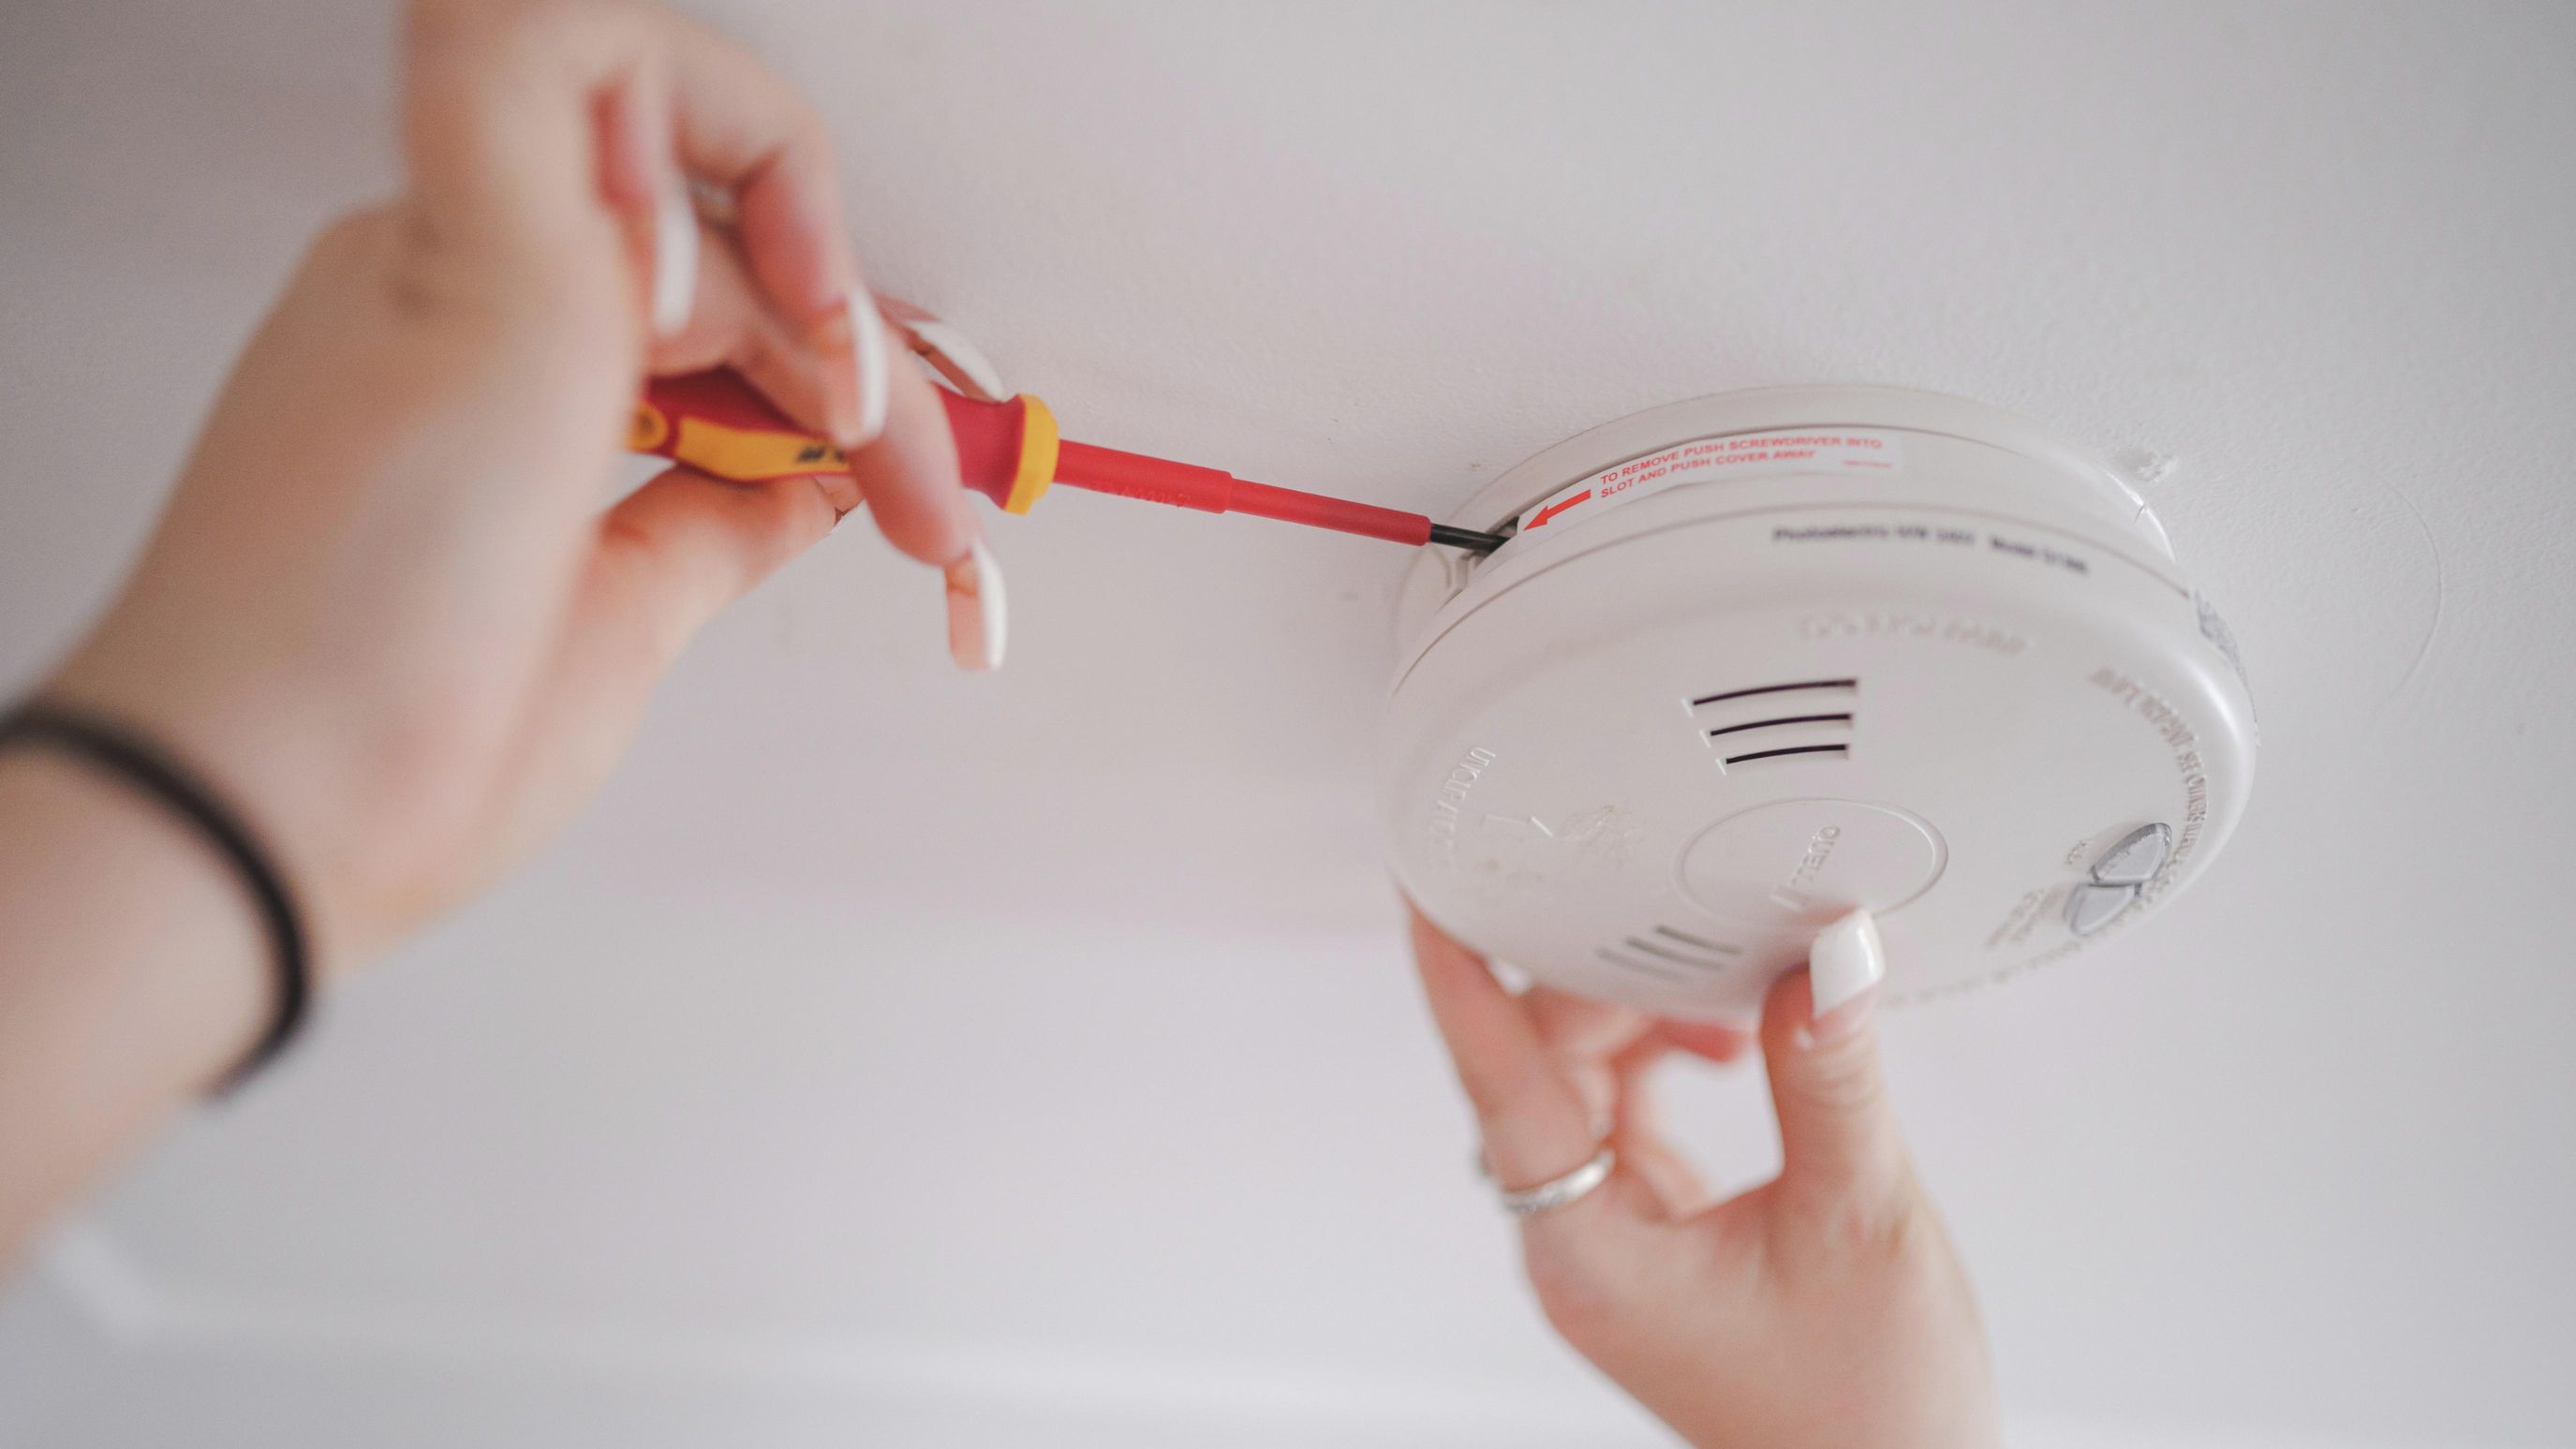
So, how do you approach this noble task effectively and safely? First, and most crucially, safety first! Grab a sturdy step stool or a ladder – no balancing on wobbly chairs! For hardwired units (those connected directly to your home's electrical system rather than solely relying on batteries), you must turn off the power to that circuit at your home’s breaker box. This is not optional; it’s essential to prevent electrical shock. Once you’re safely positioned, identify your detector type. Most ceiling-mounted detectors, whether battery-powered or hardwired, are removed by twisting. Look for arrows or indicators on the unit, but the general rule is to twist counter-clockwise (lefty loosey) until the unit detaches from its mounting plate. For battery-only units, you’ll then usually find the battery compartment on the back or side. For hardwired units, once twisted off, you'll see a wiring harness connecting it to the ceiling. Carefully squeeze the tabs on the connector and pull it apart. Now, you can replace batteries, install a new unit, or clean the old one. When reinstalling, simply reverse the steps: connect wires (if applicable), align the detector with its mounting plate, twist clockwise until secure, and then, for hardwired units, restore power at the breaker. Always test the unit using its test button after reinstallation. Mastering these simple steps transforms the dreaded smoke detector into a manageable, essential tool for home safety, bringing you not just quiet, but genuine peace of mind.