How To Remove A Honeywell Thermostat

Alright, settle in, grab your imaginary latte, because today we’re tackling a household nemesis that often sits silently on our walls, judging our fashion choices and our inconsistent heating preferences: the Honeywell thermostat. Specifically, we're talking about how to banish it. Not because it’s evil (usually), but maybe you’re upgrading, it’s gone rogue, or you simply want to prove who’s boss in your own home.
Think of this not as a chore, but as an exciting, low-stakes adventure. We’re going to dismantle a tiny piece of your home’s central nervous system, and I promise, it’s less daunting than assembling IKEA furniture blindfolded. Let’s dive in!
Step 1: The Sacred Ritual of Power Down!
Before you even think about laying a finger on that innocent-looking plastic box, we need to perform the most crucial, non-negotiable step: kill the power. Seriously. This isn't just a suggestion; it’s a commandment. You’re dealing with electricity here, albeit usually low voltage. But still, who wants an unexpected jolt, right? Unless you’re trying to impress your cat with your impromptu electric boogaloo, just don't.
Must Read
Head to your circuit breaker panel. Find the breaker that controls your furnace, air handler, or HVAC system. It’s usually labeled, but sometimes it’s a cryptic "MSTR BEDROOM" or "RANDOM GUEST BATHROOM" for reasons known only to the original electrician (who, let's be honest, probably just liked to mess with future homeowners). Flip that breaker to the OFF position. You should hear your furnace fan power down. If you're unsure, just turn off the main breaker for a few minutes. Better safe than sorry, or slightly singed!
Pro tip: If you’re really paranoid (and who isn’t when playing with electricity?), you can also find the dedicated power switch near your furnace or air handler unit itself. It often looks like a regular light switch. Flip it! Double safety!
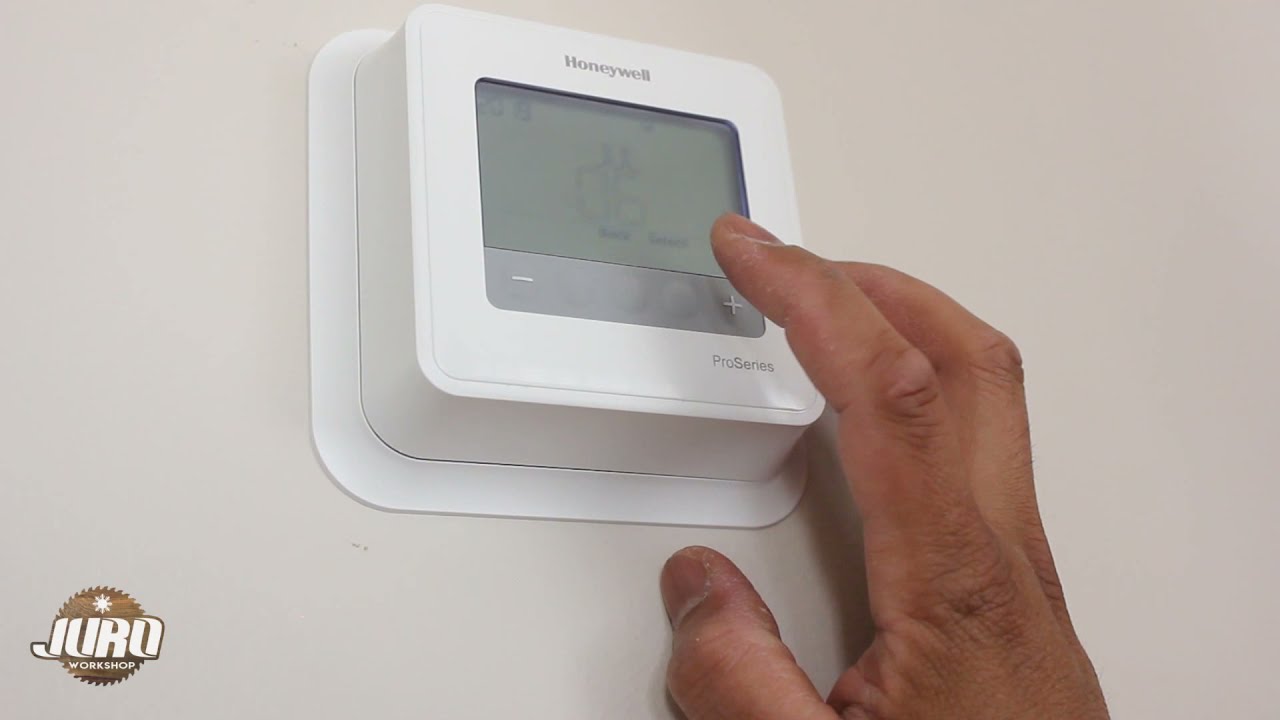
Step 2: The Cover Conundrum – Cracking the Code!
Now that the power is officially off and your HVAC system is sulking in silence, it’s time to tackle the thermostat's outer shell. This is where many people get stuck, convinced their Honeywell is a magical, unopenable puzzle box designed by ancient engineers.
Most Honeywell thermostats have a front cover that either snaps off or swings open.
- For snap-off covers: Look for small notches or tabs, usually on the bottom or sides. Gently, but firmly, pull or pry. Sometimes a butter knife (not your fancy one!) or a small flathead screwdriver can help you get leverage. Think of it like trying to open a stubborn Tupperware container after Thanksgiving dinner – a little wiggle, a little persuasion.
- For swing-open covers: There might be a hinge on one side and a latch on the other. Again, look for subtle indicators. Some models might require you to push down on a tab at the bottom to release the top.
The key here is gentle pressure and observation. Don't brute force it unless you want to replace the wall along with the thermostat. Did you know some of the earliest thermostats from the 1800s were purely mechanical and didn't even have a cover? Simpler times!
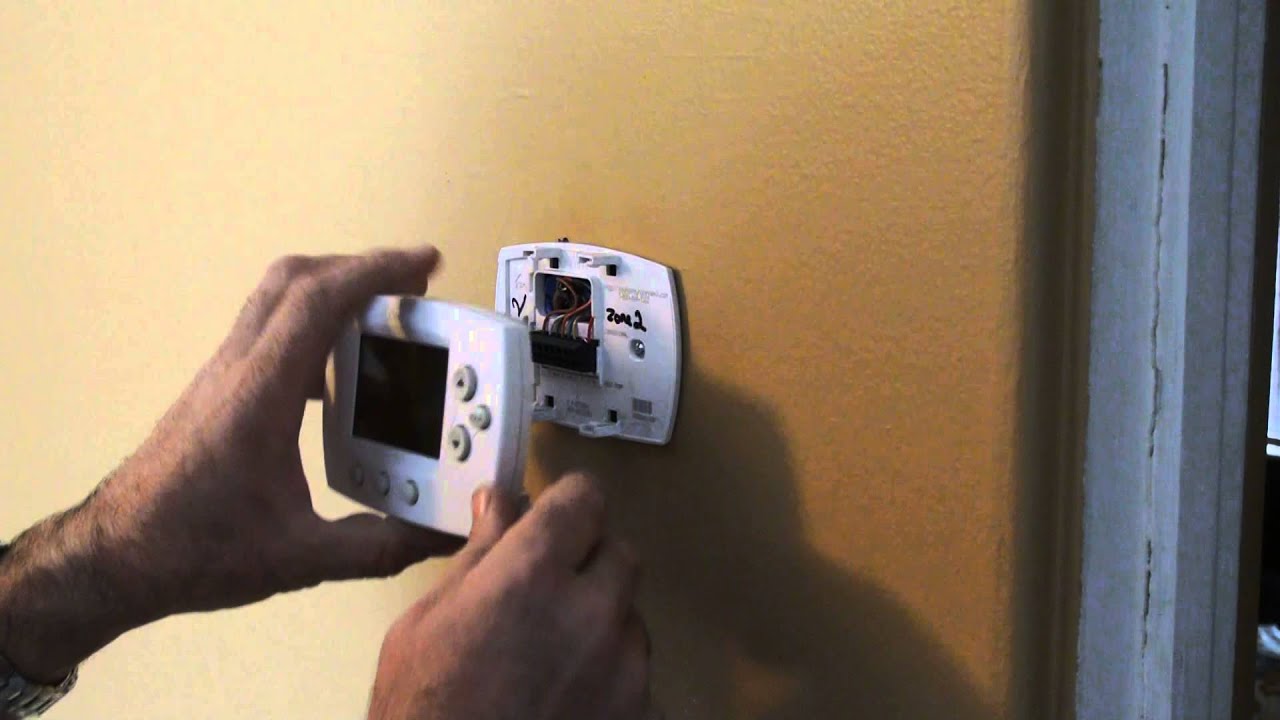
Step 3: The Wire Wonderland – Documenting the Digital Spaghetti!
Once the cover is off, you’ll be greeted by a delightful (or terrifying, depending on your disposition) array of colorful wires connected to screw terminals. This is the absolute most critical part if you ever want your new thermostat (or heating) to work again.

Grab your phone! Take a clear, well-lit photo of the wiring configuration. Get multiple angles if you need to. Zoom in. Pretend you’re an investigative journalist documenting a crime scene. This photo is your map, your sacred text, your instruction manual for the future.
Each wire will typically be connected to a terminal labeled with a letter (e.g., R, W, G, Y, C). These letters stand for things like "Red power," "White heat," "Green fan," "Yellow AC," and "Common." Don't worry about memorizing them. Just remember what goes where.
For extra security, you can even use small pieces of masking tape and a marker to label each wire with the letter of the terminal it was connected to before you disconnect it. This is like putting training wheels on your brain.

Fun fact: Most residential thermostats operate on a measly 24 volts AC. That's less juice than it takes to power a serious temper tantrum, but still enough to make you say "ouch" if you're not careful with your safety steps!
Step 4: Unscrewing the Beast – The Base Plate Exodus!
With your wires meticulously documented and potentially labeled, it’s time to disconnect them. Using a small screwdriver (usually a Phillips head, but sometimes a flathead), gently loosen the screws holding each wire in place. Don't remove the screws entirely, just enough so the wire slides out.
Once the wires are free, you’ll be left with the thermostat's base plate, which is likely screwed into your wall. There are usually two to four mounting screws. Use your trusty screwdriver to unscrew these completely.
As you remove the final screw, you can finally pull the entire Honeywell base plate away from the wall. Success! You've done it! You've officially liberated your home from the tyranny of that specific Honeywell thermostat!
Step 5: The Grand Finale & What Now?
You’re left with a small hole in the wall, some colorful wires peeking out, and a feeling of immense accomplishment. What now?
Well, if you're installing a new thermostat, you simply reverse the process. Follow the instructions for your new device, using your photographic evidence and labels to connect the wires correctly. If you're just patching the wall or relocating it, carefully tuck the wires back into the wall, perhaps with a blank wall plate for a tidy finish.
So there you have it! Removing a Honeywell thermostat isn't a job for NASA scientists; it's a task for the everyday hero, armed with a screwdriver, a camera phone, and a healthy respect for electricity. Now go forth, conquer your home improvements, and enjoy that well-deserved latte. You've earned it!