How To Put On Weather Stripping
Ever walked into a room and felt that sneaky little breeze, even with all the windows closed? Or perhaps you’ve noticed your heating or cooling system working a bit harder than it should? It’s a common household mystery, often solved by a simple, yet surprisingly powerful, superhero: weather stripping. Learning how to put it on isn't just about home improvement; it's about mastering a tiny skill that yields huge rewards, from a cozier living space to a happier wallet. It’s a fun, satisfying dive into making your home work smarter, not harder.
So, what exactly is weather stripping and why should we care? At its heart, weather stripping is any material used to seal the gaps around doors and windows. Think of it as your home's personal bodyguard, preventing unwelcome guests like chilly drafts, pesky dust, and even annoying noise from creeping in. Its primary purpose is to create a snug seal, transforming leaky openings into airtight barriers. The benefits are truly remarkable. Firstly, and perhaps most importantly, it's a huge win for energy efficiency. By stopping conditioned air from escaping and unconditioned air from entering, your HVAC system doesn't have to strain itself, leading to significantly lower energy bills. Imagine the extra cash you could save!
Beyond the financial savings, weather stripping brings unparalleled comfort. No more sudden shivers from a drafty window on a winter night, or battling a constantly warm room in the summer. Your home maintains a more consistent, pleasant temperature year-round. It's also a silent hero for peace and quiet, subtly dampening outside noise, creating a more tranquil environment. And let’s not forget the simple joy of less dust blowing in, meaning less cleaning for you!
Must Read
You see weather stripping's impact everywhere, even if you don't always spot the strips themselves. In our daily lives, it's the invisible force making our homes and offices more comfortable and sustainable. Every well-sealed door in a public building, every quiet window in a library, owes a nod to this humble material. In an educational context, understanding weather stripping is a practical lesson in basic physics – exploring concepts like heat transfer, air pressure, and insulation. It’s a fantastic hands-on example of how simple materials can solve complex problems, encouraging problem-solving skills and an appreciation for sustainable living.

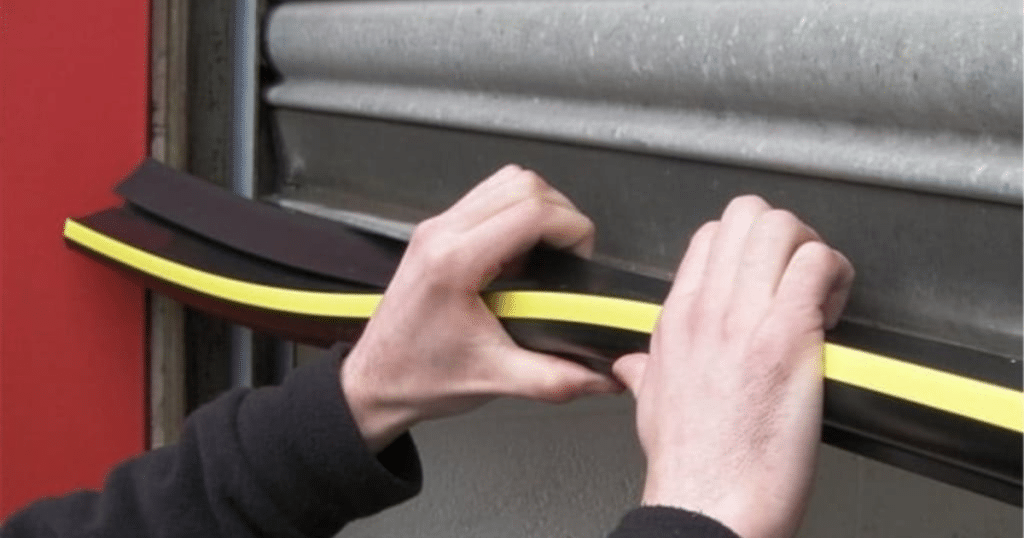
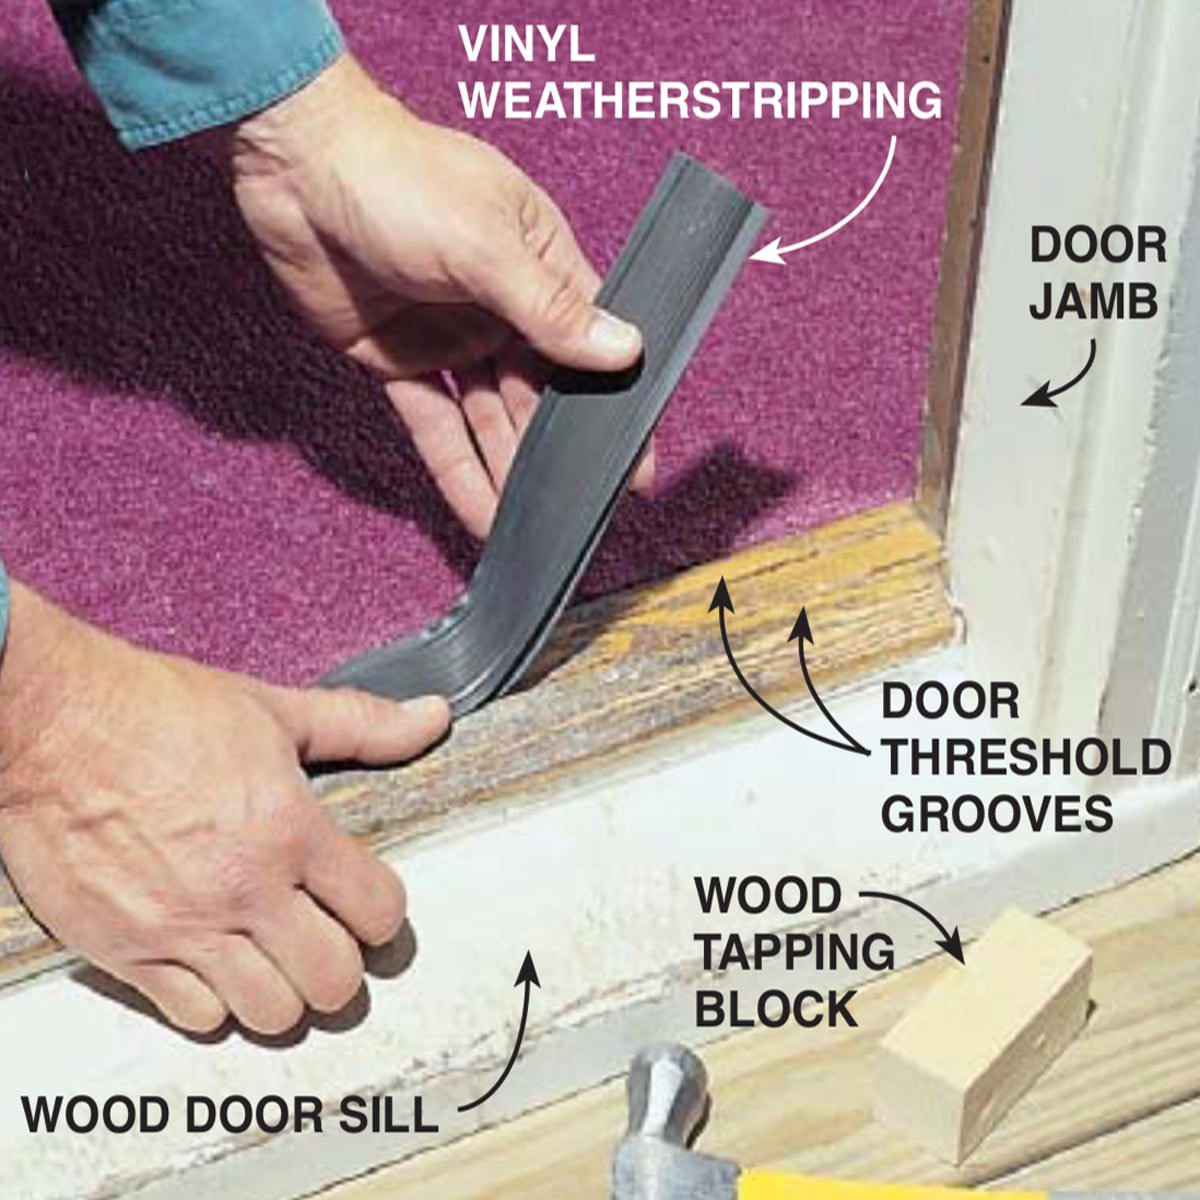
Ready to try your hand at it? It’s genuinely straightforward! Here are some practical tips to get started. First, identify the problem areas. A simple way is the "dollar bill test": close a door or window on a dollar bill. If you can easily pull it out, you’ve found a leak! Another method is to simply feel for drafts on a windy day. Next, choose the right type of weather stripping. There are various kinds: foam tape (easy peel-and-stick, great for uneven gaps), V-strips (thin, flexible plastic or metal for sliding windows), and door sweeps (for the bottom of doors). For windows, check for gaps along the sashes. For doors, focus on the top, sides, and bottom.
Before applying, always clean the surface thoroughly. Dust and grime prevent proper adhesion. Measure the length you need, cut the weather stripping, and then carefully apply it. For adhesive types, slowly peel off the backing as you press it firmly into place. Be patient and precise – a little extra care makes a big difference. Once applied, test it again! Close the door or window and see if you still feel a draft. You'll likely be surprised by the immediate improvement. Putting on weather stripping is one of those wonderfully rewarding DIY projects that empowers you to make a tangible difference in your home's comfort and efficiency, proving that sometimes, the biggest impact comes from the smallest fixes.