How To Make Transparent Background In Photopea
Ever wanted to magically remove the background from a picture and just keep the awesome subject? Maybe you’ve seen those cool stickers online or wanted to create a fun meme. The secret ingredient is a transparent background! And guess what? It's easier than you think, especially with a free online tool like Photopea.
Why bother with transparent backgrounds? Well, for beginners, it's a fantastic way to start exploring image editing without complex software. You can cut out your pet's face and paste it onto a silly background, instantly creating a personalized image. Families can use it to create unique greeting cards or birthday invitations. Imagine a photo of your child magically placed on a dinosaur! For hobbyists, transparent backgrounds are essential for creating logos, designing graphics for social media, or even crafting personalized avatars for online games. The possibilities are truly endless.
So, how do you actually DO it in Photopea? It's surprisingly simple! Here’s a basic rundown:
Must Read
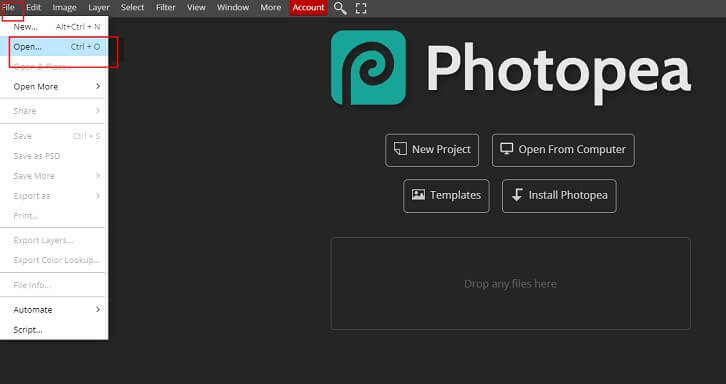
- Open Your Image: Go to Photopea.com and open the image you want to work with (File > Open).
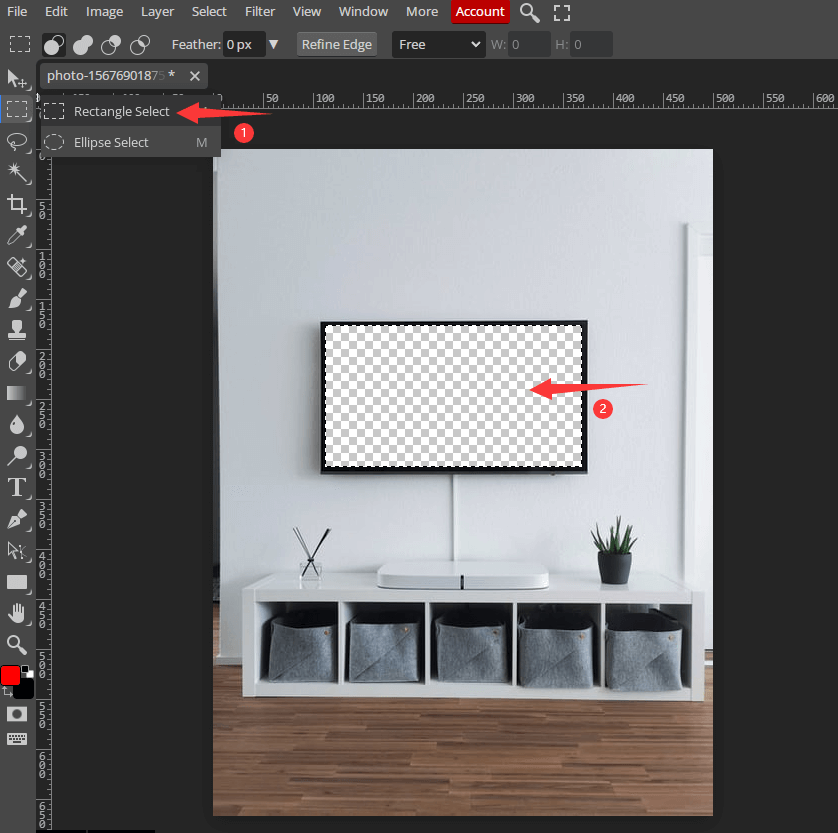
- Choose Your Selection Tool: Photopea offers a few ways to select the part of the image you want to keep. The Magic Wand Tool is great for backgrounds with uniform colors. Click on the background, and Photopea will select areas with similar colors. For more complex backgrounds, the Lasso Tool (either regular, polygonal, or magnetic) gives you precise control over your selection.
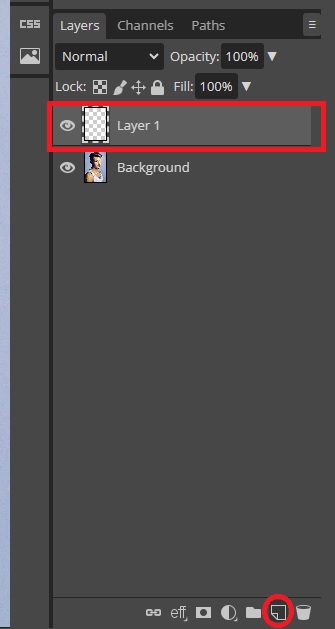
- Delete the Background: Once you've selected the background, simply press the "Delete" key on your keyboard. You should see a checkered pattern appear, indicating transparency. Don't worry if your selection isn't perfect on the first try; you can always refine it with more selection and deleting.
- Save as PNG: This is crucial! To keep the transparent background, you need to save your image as a PNG file (File > Export as > PNG). JPG files don't support transparency and will fill the transparent area with a solid color.
Variations and Examples: Think beyond simple cut-outs! You can use the same technique to create stickers, logos, or even overlays for videos. For example, create a logo with text and a transparent background so you can easily add it to your YouTube videos without covering up important content. Or, make a set of funny faces with transparent backgrounds that you can easily add to your friends' photos for a quick laugh.
Simple Tips to Get Started: Don't be afraid to experiment! Start with simple images that have a clear difference between the subject and the background. If the Magic Wand Tool selects too much (or too little), adjust its Tolerance setting in the toolbar at the top. A lower tolerance will select fewer colors, while a higher tolerance will select more. Zoom in close to your image for precise selections, especially when using the Lasso Tool. Practice makes perfect! The more you use these tools, the more comfortable you'll become with creating perfect transparent backgrounds.
Creating transparent backgrounds doesn't have to be daunting. With Photopea, it’s a fun and rewarding way to unlock your creative potential. So, go ahead, give it a try, and see what amazing things you can create. You might just surprise yourself with how easy and enjoyable it is!