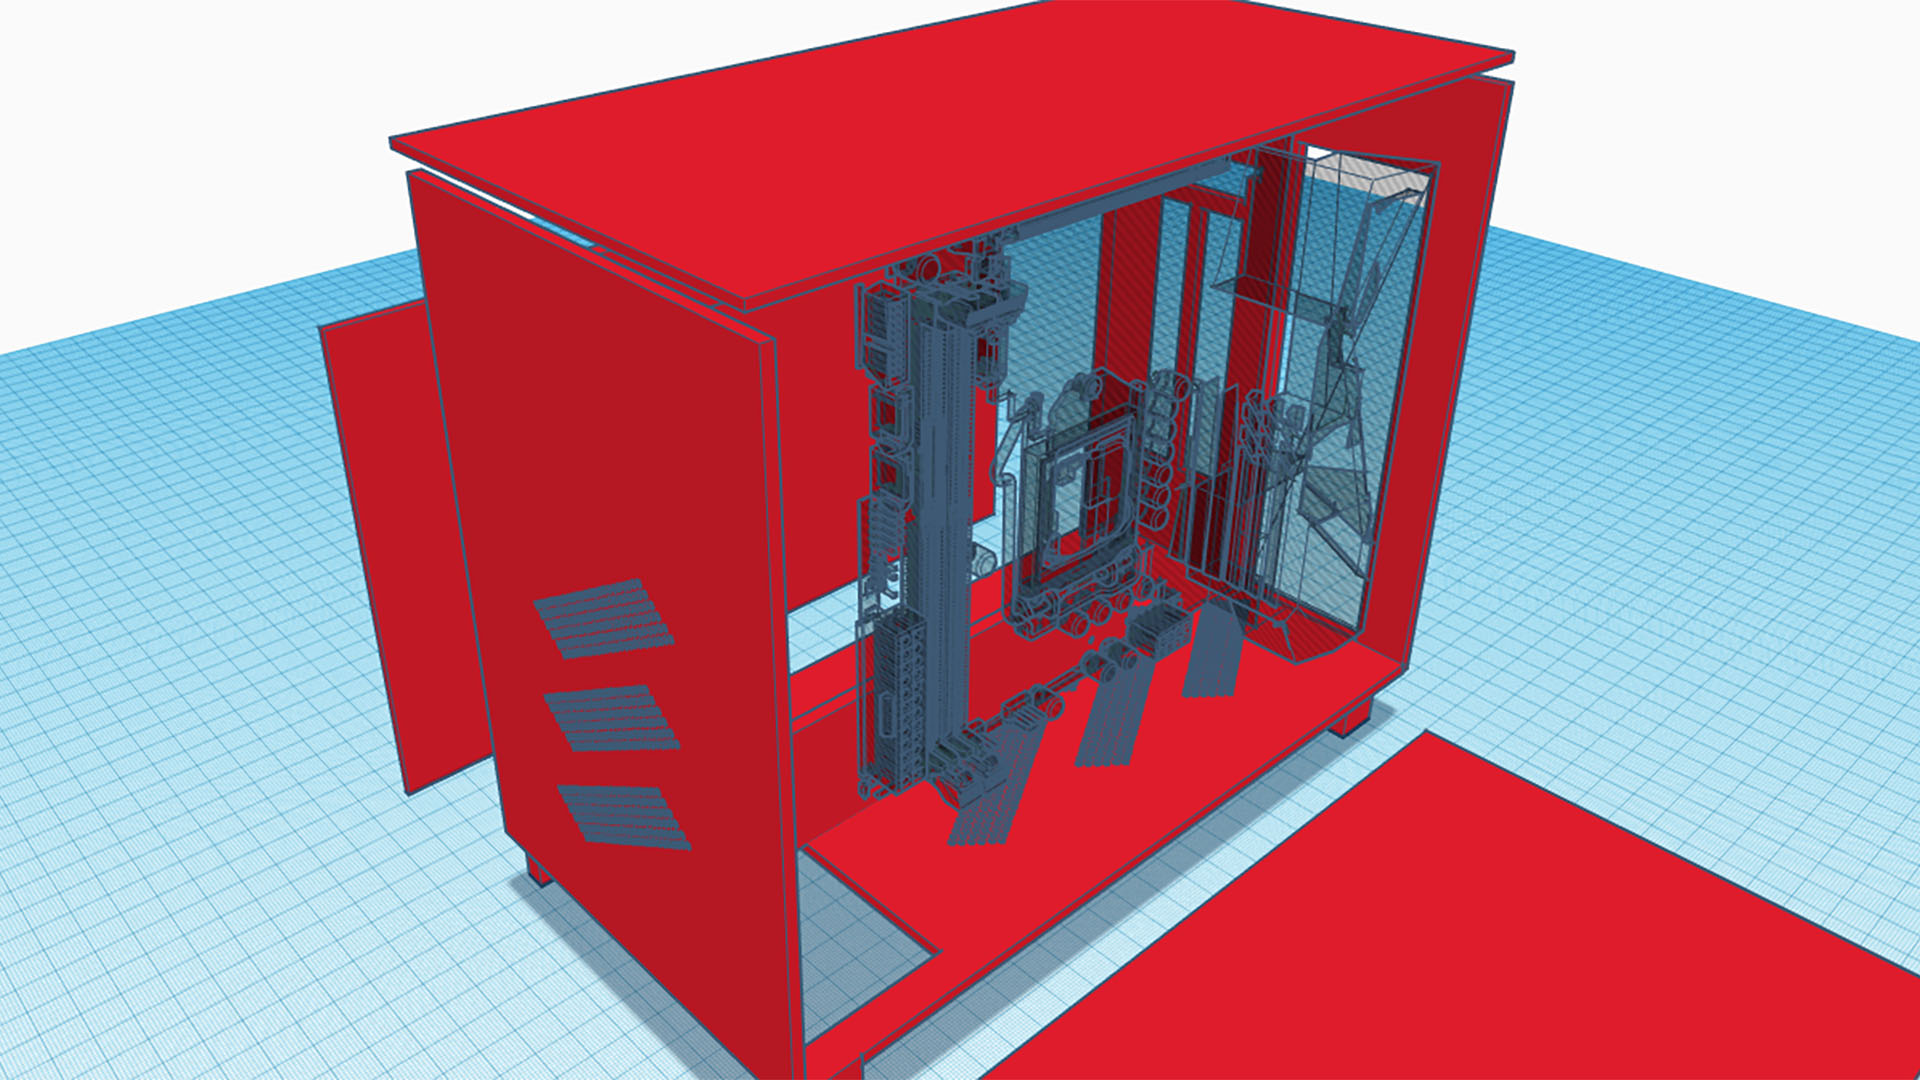
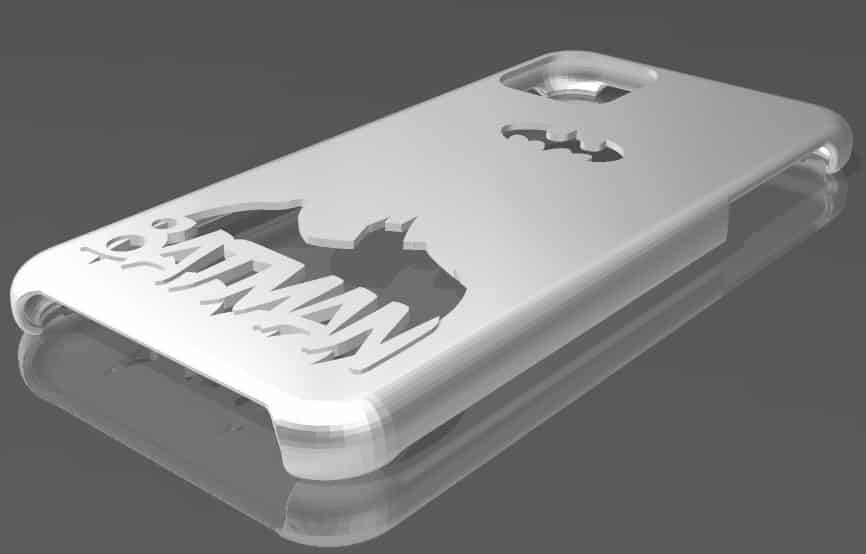
How To Make Custom Cut Outs For 3d Printed Cases

Hey there, fellow 3D printing enthusiast! Ever find yourself staring lovingly at your freshly printed case, only to realize… oh snap, there’s no hole for the power button? Or maybe your charger port is feeling a little claustrophobic? Don't worry, we've all been there. Today, we're diving into the wonderful world of custom cutouts – transforming those “almost perfect” prints into absolute masterpieces!
Think of it as tailoring, but for plastic! And trust me, it's way more fun than sewing. (Unless you're into sewing, then… well, maybe this is equally fun?)
The Humble Toolkit: What You'll Need
Okay, before we get started, let's gather our tools. This isn't brain surgery, but precision is key (mostly). Here's what I recommend:
Must Read
- Your 3D printed case: Obviously!
- A marking tool: A fine-tipped marker or pencil works great. Just something you can use to draw on plastic. (Please don't use crayon, unless you're going for a very abstract look.)
- Calipers or a ruler: For measuring with, you know, actual accuracy. Eyeballing is fun, but not when you're trying to fit a charging cable.
- Cutting tools: This is where things get interesting! Options include:
- Rotary tool (Dremel): My personal favorite! Fast, precise, and incredibly satisfying. But be warned: use with caution! Safety glasses are a MUST. Seriously.
- Craft knife/Exacto knife: Good for smaller, cleaner cuts, but takes more time and effort. A steady hand is your friend here.
- Small saw (coping saw or similar): Effective, but can be a bit rough. Sanding will likely be required.
- Sandpaper (various grits): For smoothing out those rough edges and making your cutouts look professional. Think of it as giving your case a spa day.
- Safety Glasses: Seriously, wear them! Plastic shards in your eye are not a good look.
Mapping Your Cutouts: Measure Twice, Cut Once!
The golden rule of woodworking (and apparently, plastic-working): measure twice, cut once! This cannot be stressed enough. It's the difference between a perfectly functional case and a mangled plastic mess.
Carefully measure the dimensions of the port, button, or whatever else needs a cutout. Transfer these measurements to your case using your marking tool. Be precise! I like to add a tiny bit of extra space – better to be slightly too big than too small.

Double-check your markings! Pretend you're an inspector at a high-security button factory. Is everything aligned? Are the measurements accurate? Good! You're ready to (cautiously) proceed.
Cutting Time: Let's Get to It!
Alright, let’s get cutting! Remember that rotary tool I mentioned? This is where it shines. But even with the right tool, take your time. Rushing leads to mistakes. And mistakes lead to… well, more sanding. Which is still better than starting over, but let's avoid it if we can.
If using a rotary tool, start with a low speed and gradually increase it as you get more comfortable. Work in small, controlled movements. Think of it as sculpting, not demolition. And for the love of all that is holy, wear your safety glasses!
If using a craft knife, score the plastic multiple times along your marked lines. This will create a groove that you can then gradually deepen until you cut all the way through. Be patient! This takes time, but it’s worth it for the cleaner result.
If using a saw, secure your case to a stable surface (a vise is ideal). Cut slowly and carefully along your marked lines. Be prepared for some rough edges!
Finishing Touches: Sanding and Smoothing
Once you've made your cutouts, it's time to smooth things out. This is where sandpaper comes in. Start with a coarser grit (like 120) to remove any major imperfections. Then, gradually move to finer grits (220, 400, and even higher) for a super smooth finish. It’s like giving your case a tiny, little massage.

Pay attention to the edges of your cutouts. You want them to be clean and smooth, so they don't snag on anything or hurt your fingers. A little elbow grease goes a long way here!
And that's it! You've successfully created custom cutouts for your 3D printed case. Give yourself a pat on the back. You deserve it!
The Grand Finale: Admire Your Handiwork
Step back, take a look, and admire your handiwork! You've transformed a "pretty good" print into a perfectly personalized creation. It fits your needs, it looks great, and you made it yourself. How cool is that? 3D printing isn't just about making things; it's about making them your things. So go forth, customize, and create with confidence! The world is your (3D printed) oyster! Now go show off your amazing new case!