How To Install Ceiling Fan In Vaulted Ceiling
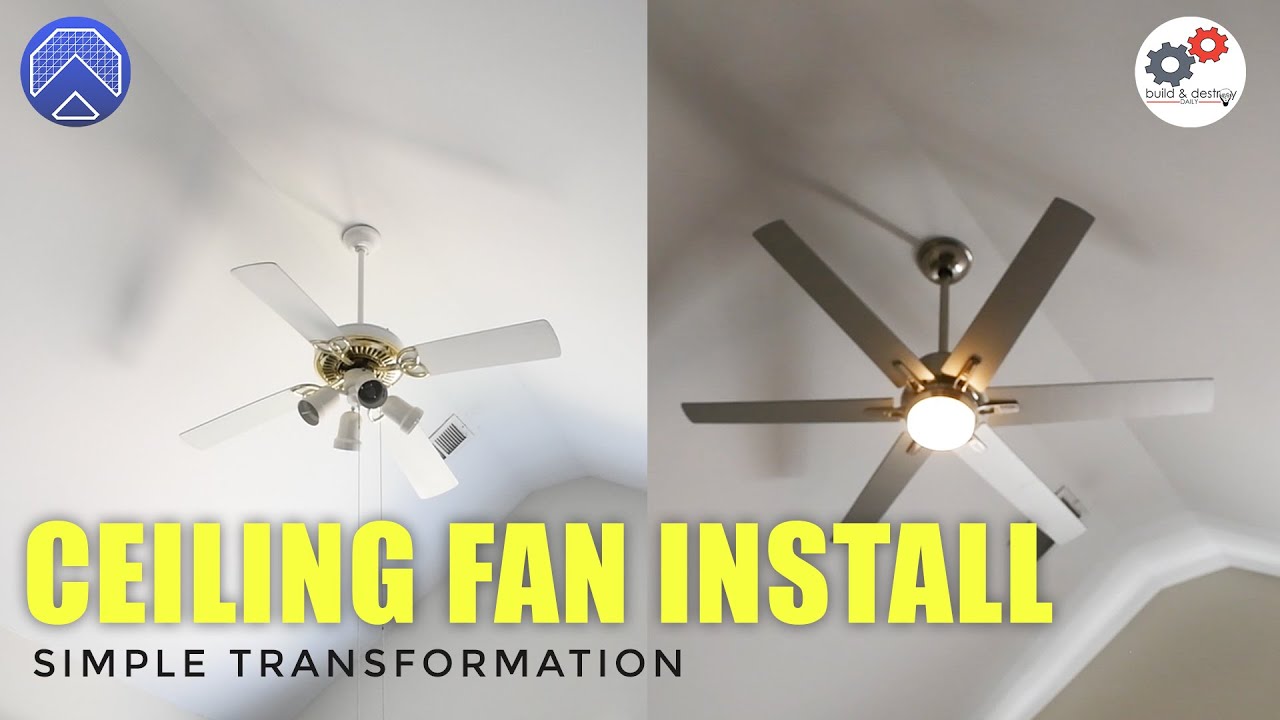
So, picture this: you're staring up at your vaulted ceiling, that glorious, soaring expanse of architectural awesomeness, and you think, "You know what this needs? A ceiling fan!" A noble thought, a brave endeavor.
Now, you’re probably imagining yourself as some kind of DIY superhero, cape billowing in the wind (or maybe just a dusty sheet), armed with a screwdriver and an unshakeable can-do attitude. Get ready, because this is where the fun begins.
First Things First: The Gear
You'll need a special mounting bracket. Look for one specifically designed for vaulted ceilings. This little piece of metal is your best friend, ensuring your fan doesn't decide to take a spontaneous trip to the floor.
Must Read
Make sure you have a ladder tall enough. A really tall ladder. Safety first, folks! Remember, you're aiming for breezy comfort, not a trip to the emergency room.
Of course, there's the fan itself. Choose wisely, my friend. Consider the size of your room. A tiny fan in a massive space is like whispering in a stadium.
Unboxing the Beast
Ah, the moment of truth. Unboxing your new fan is like Christmas morning, except instead of toys, you get… wires. Lots and lots of wires. Don't panic!
Spread out all the parts. Admire their sleek, metallic glory. Then, consult the instructions. Yes, those instructions. I know, I know, nobody reads them. But trust me on this one.
You might discover a hidden talent for interpreting hieroglyphics. The diagrams are often… abstract. Think modern art, but with screws and blades.
Mounting the Bracket: The Cornerstone of Cool
This is where the magic happens (or, you know, where you attach the bracket to the ceiling). Find the ceiling joist. It's the solid wood beam hiding behind the drywall.
Use a stud finder. It’s a little gadget that beeps excitedly when it senses wood. It's like a treasure hunt, but the treasure is structural support.
Attach the vaulted ceiling mounting bracket to the joist. Make sure it’s securely fastened. This bracket is holding the weight of the fan, so no skimping on the screws!
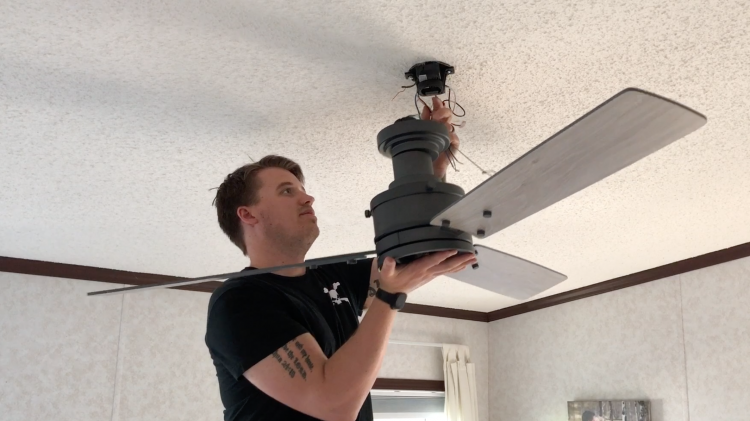
A Little Help From My Friends (or Family)
Installing a ceiling fan is often a two-person job. Especially when you're dealing with a vaulted ceiling. One person holds the fan while the other wrestles with the wires.
If you're going solo, consider using a makeshift support. A stack of books, a strategically placed chair… anything to keep the fan from crashing to the floor while you connect the wires.
Just be careful. You don't want to create a Rube Goldberg machine of household items supporting a ceiling fan. That’s a story for another day.
Wiring Wonders: Connecting the Dots
Now for the fun part: connecting the wires. Turn off the power at the breaker box. Seriously, do it. Electricity is not something to mess with.
Match the wires according to the instructions. Usually, it's black to black, white to white, and green (or bare copper) to green. If the wires are different colors, consult the instructions again.
Use wire connectors to secure the connections. Twist them on tightly. Make sure no bare wire is exposed. You want a secure, safe connection.
The "Spark" of Inspiration (Hopefully Not Literally)
Sometimes, even with the best intentions, things can go wrong. Wires can get crossed. Sparks can fly (hopefully not!). If this happens, don't panic.
Turn off the power again. Double-check your connections. Consult a professional electrician if you're unsure. There's no shame in asking for help. Seriously.
Remember, the goal is a smoothly spinning fan, not a light show of electrical mishaps.
Assembling the Fan: Putting it All Together
Once the wiring is done, it's time to assemble the fan blades. Attach them to the motor housing according to the instructions.
Make sure the screws are tight. Loose blades can cause the fan to wobble, which can be annoying and potentially dangerous. Think of it as giving your fan a good, firm handshake.
Attach the light kit (if your fan has one). Follow the instructions carefully. These kits can be a bit fiddly.
The Upside-Down Dance
You'll probably find yourself contorted into some unusual positions during this process. Reaching up, twisting, bending… It's like an upside-down yoga class.
Embrace the awkwardness. Laugh at yourself. Remember, you're creating comfort and style. Besides, you'll have a great story to tell later.

Just try not to pull a muscle. Or knock over the ladder. Or accidentally glue your hair to the ceiling.
The Moment of Truth: Flipping the Switch
You've done it! You've wrestled with wires, conquered confusing diagrams, and contorted yourself into positions you didn't know were possible. Now it's time for the moment of truth.
Turn the power back on at the breaker box. Take a deep breath. Say a little prayer to the electricity gods.
Flip the switch. And… drumroll please… If all goes well, your fan will spin to life, creating a gentle breeze.
A Celebration of Cool
Congratulations! You've successfully installed a ceiling fan in your vaulted ceiling. Bask in the glory of your accomplishment. Feel the cool breeze on your face. You're a DIY superstar!
Admire your handiwork. Show it off to your friends and family. Tell them the story of your adventure. Embellish it a little. Make yourself sound even more heroic.
Most importantly, enjoy the comfort and style that your new ceiling fan brings to your home. You earned it!
Troubleshooting Tips: When Things Go Wrong (Again)
Sometimes, even after all your hard work, things don't go quite as planned. The fan might wobble. The light might not work. Don't despair!

Check the blade screws. Make sure they're all tight. A loose screw is often the culprit behind a wobbly fan.
Check the wiring connections. Make sure everything is securely connected. A loose wire can cause all sorts of problems.
Call in the Experts: Knowing When to Throw in the Towel
If you've tried everything and your fan still isn't working properly, it's time to call in the experts. A professional electrician can diagnose the problem and fix it safely.
There's no shame in admitting defeat. Sometimes, the best DIY project is the one you don't do. Safety is always the priority.
Think of it as an investment in your peace of mind. Besides, you'll have a great story to tell about the time you almost electrocuted yourself trying to install a ceiling fan.
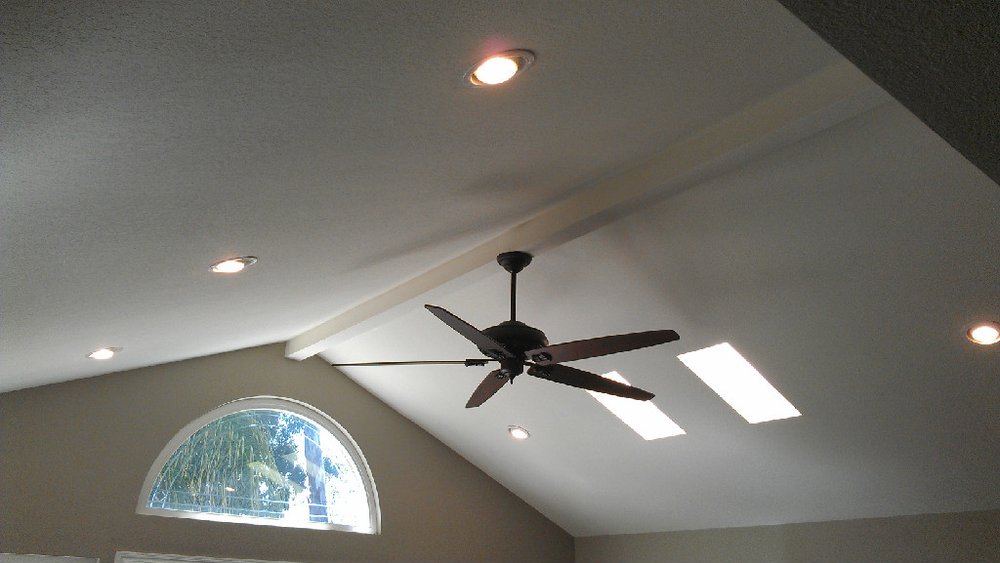
Final Thoughts: A Vaulted Ceiling, A Fan, and a Whole Lot of Fun
Installing a ceiling fan in a vaulted ceiling can be a challenging but rewarding experience. It's a chance to learn new skills, test your patience, and add a touch of comfort and style to your home.
Remember to take your time, be careful, and don't be afraid to ask for help. And most importantly, have fun!
After all, it's just a ceiling fan. And a really tall ladder. And a whole lot of wires. But hey, you got this!