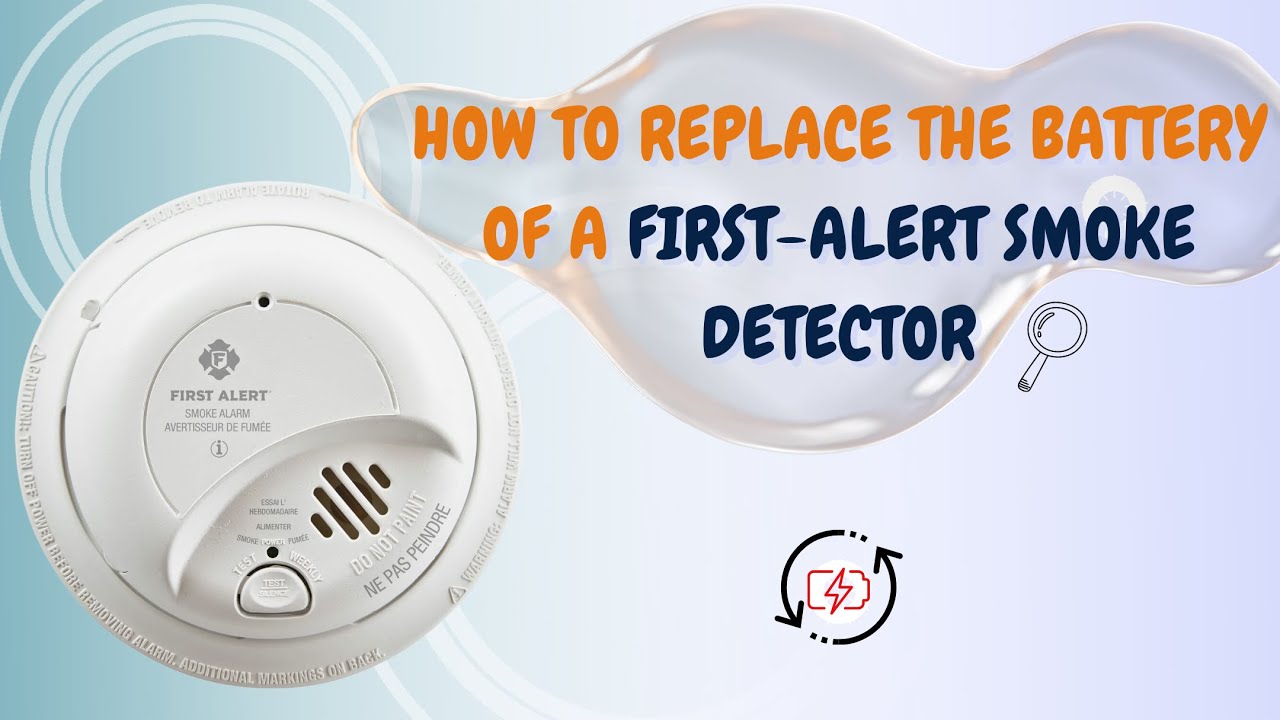
How To Install Battery In Smoke Detector

Ever woken up in the middle of the night to that insistent, high-pitched "chirp" that just won't quit? If so, you're not alone! That annoying sound is your smoke detector's polite (or not-so-polite) way of telling you it's running low on juice. Far from being a chore, learning how to quickly and easily swap out a smoke detector battery is actually a super satisfying and empowering skill. It's a small act of home maintenance that yields big peace of mind, and once you know how, you'll wonder why you ever let that chirp last longer than a minute. Think of it as a quick win for your home and your safety!
This isn't just about silencing a noisy alarm; it's about keeping your home and loved ones safe. For beginners, it's a fantastic first step into basic home DIY – a simple task that builds confidence and shows you just how capable you are. Families will benefit immensely, ensuring their protective devices are always ready to alert them in an emergency, giving parents one less thing to worry about. Even general home enthusiasts who love a bit of practical knowledge will appreciate mastering this fundamental safety procedure. It's a foundational skill that every household member should ideally know, making everyone a bit more prepared and secure.
While most smoke detectors use the familiar 9-volt battery, it's worth noting that some newer models might use AA or even AAA batteries, especially those with 10-year sealed batteries where only the entire unit is replaced after its lifespan. You might also encounter different opening mechanisms – some twist off, others have a simple slide latch, and a few require a small screwdriver to open a battery compartment. Whether it’s a standalone battery-powered unit, or an interconnected system with battery backup, the core principle of replacing the battery remains straightforward: find the compartment, swap the old for the new, and test. Always be sure to check your specific model if you're unsure.
Must Read
Ready to tackle that chirp? Here are some simple, practical tips to get you started. First, make sure you have the correct replacement battery on hand before you start. Most commonly, this is a 9V. If your detector is high up, grab a sturdy step stool or ladder. Carefully open the battery compartment – often a sliding cover or a small latch you can push. Note the orientation of the old battery before you remove it; batteries usually clip in one way. Pop out the old battery, snap in the new one, ensuring a snug fit. Close the compartment securely. The most crucial step? Press and hold the "Test" button until you hear a loud chirp or alarm. This confirms it's working properly. A great rule of thumb is to replace your smoke detector batteries at least once a year – many people tie it to Daylight Saving Time changes for an easy reminder!
And there you have it! A quick, easy task transformed from an annoyance into an act of proactive home safety. There's a real sense of accomplishment in knowing you've taken a small but significant step to protect your home and everyone in it. No more midnight chirps, just the quiet confidence that your smoke detector is standing guard, ready when it matters most. It's a testament to how simple actions can bring profound value and peace of mind to your everyday life.