How To Drain A Window Ac Unit
Alright, let’s talk about that window AC unit. You know the one. It’s working hard, chugging along, keeping your personal bubble cool, but then you start to notice it. A little gurgle here, a suspicious drip there, and sometimes, a full-on miniature waterfall cascading down your wall or, worse, onto your windowsill. Suddenly, your trusty cool-air buddy starts to look like it’s sprung a leak. Don't panic! More often than not, it's just doing what nature intended: creating water. And like a fussy toddler, it sometimes needs a little help to get rid of it.
This isn't a sign of impending doom or a costly repair bill. It's usually just plain old condensation. Think about it: a cold glass of lemonade on a hot day gets all sweaty, right? That’s exactly what's happening inside your AC unit. The hot, humid air from your room hits those super-cold coils, and poof! Water droplets form. Most ACs are designed to slosh this water around the bottom pan to help cool the condenser coils, but sometimes, especially in really humid climates, it just gets to be too much. It's like your AC unit drank too much water at a party and now it's got to go!
The Mystery of the AC Belly
For many of us, the idea of draining a window AC unit is like discovering a secret passageway in our own home. "Wait, there's a drain?" you might ask, eyes wide. Yes, my friend, there often is! Or at least, a way to encourage the water out. It's not always a clearly marked spigot, which is why it often feels like you need to be an AC whisperer to figure it out. But trust me, it’s not rocket science; it's more like teaching an old dog a new trick, if the dog was full of water.
Must Read
Before You Dive In (Literally!)
First things first: safety. You wouldn't try to give a cat a bath without expecting some drama, and you shouldn't mess with an AC unit without being smart about it. So, step one, always, always, always: unplug that bad boy! We're dealing with water and electricity here, and that's a combination best left to horror movies, not your living room. Think of it as putting your AC unit down for a nap before you perform its little drainage ritual.
Next, gather your supplies. You'll need some old towels – because splashes happen, even to the pros – and a bucket or a shallow pan to catch the deluge. If you're feeling fancy, maybe some gloves. Not because it’s dangerous, but because sometimes the water can be a bit... grimy. It's like finding a forgotten puddle after a rainstorm; it’s mostly just water, but you wouldn’t exactly want to drink it.

The Great Drain Expedition: Three Common Approaches
1. The "Gentle Tilt" Method (The Classic)
This is often the easiest and most common way. Many window AC units are designed to have a slight tilt towards the outside, so water drains naturally. But sometimes, they get leveled out or even tilted inward. Uh oh! That's like building a pool with no drain – it's just going to fill up.
To fix this, carefully, and with the help of a friend if your unit is heavy, tilt the AC unit slightly towards the outside. Just a gentle nudge! You're aiming for maybe a half-inch to an inch drop on the outside edge. You'll probably hear a sloshing sound, and then, if you've got a lot of water in there, you might see a beautiful, clear stream start to flow. It's incredibly satisfying, like burping a baby and getting that glorious gush. Catch it in your bucket and marvel at your drainage prowess!
2. The "Secret Plug" Discovery (For the Detectives)
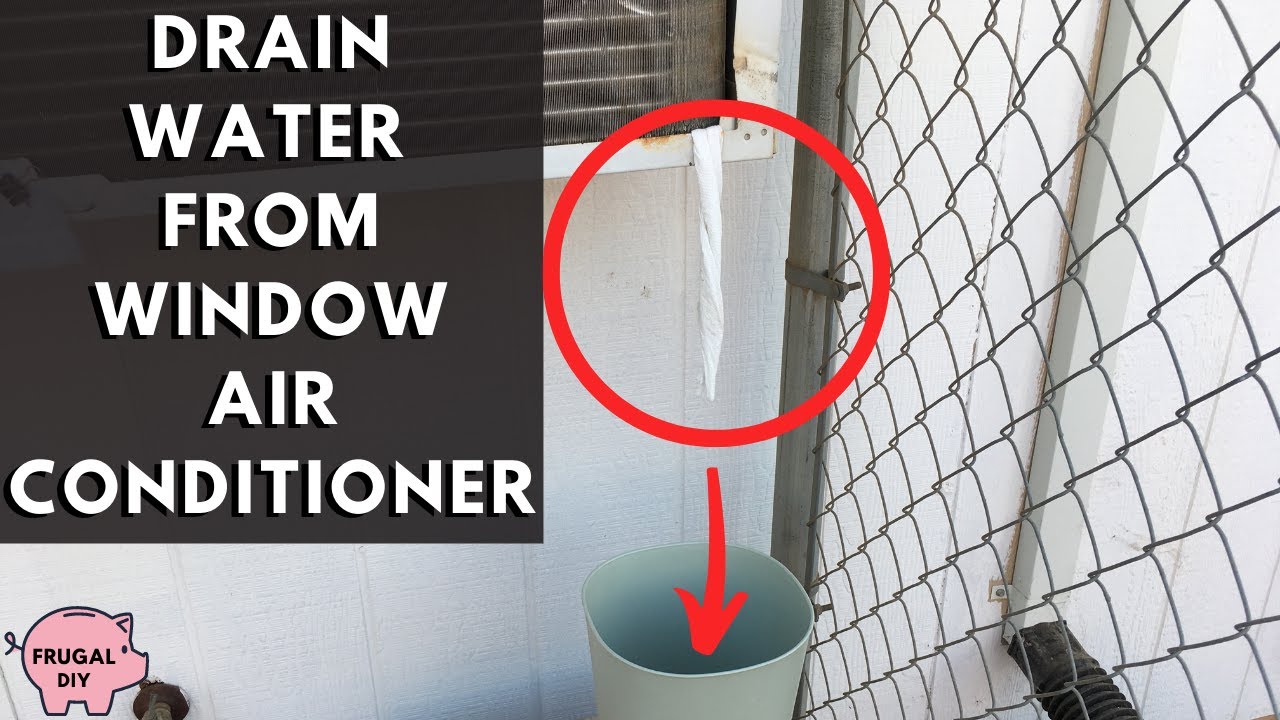
Some AC units, bless their thoughtful designers, actually come with a drain plug. This is usually a small rubber or plastic stopper located on the bottom pan of the unit, often towards the back (the outside part). Finding it can be a bit of a scavenger hunt, often requiring you to get on your hands and knees and peer underneath.
If you find this elusive plug, give yourself a pat on the back! Place your bucket directly underneath, and with a careful tug or twist, remove it. Prepare for the grand unveiling! The water will come gushing out, usually in a more controlled fashion than the tilt method. It's like finding a hidden treasure chest, but instead of gold, it's just… a lot of water. Still satisfying though, right?
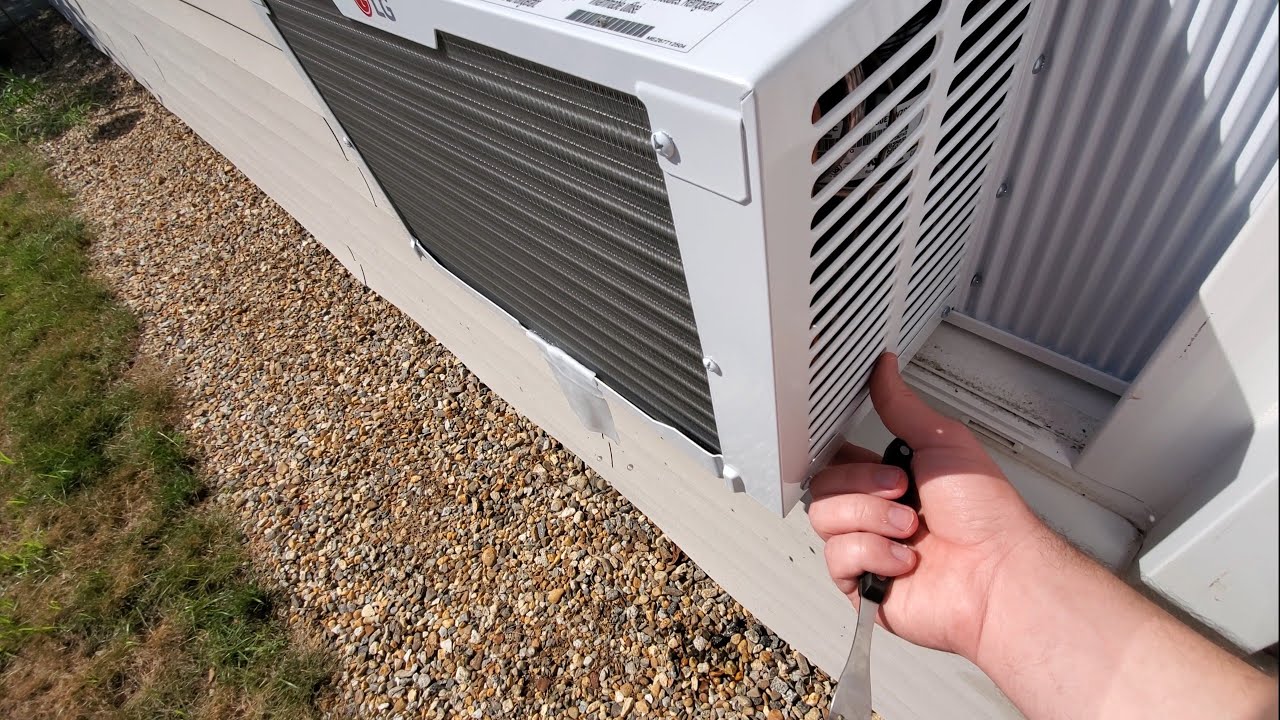
3. The "Strategic Hole" Method (For the Brave and Careful)
Now, this one is for those units that just don't want to cooperate. No obvious tilt drain, no secret plug, just a full belly. In some cases, people opt to drill a small hole in the bottom pan of the unit. This is definitely a last resort and comes with a big fat asterisk: do your homework first!
You absolutely need to consult your AC unit's manual or look up your specific model online. You need to know exactly where you can drill without hitting vital components like refrigerant lines or electrical wiring. A small drill bit (1/4 inch is usually sufficient) and a steady hand are key. It’s like performing minor surgery, but instead of saving a life, you’re just saving your windowsill from a flood. Once you've drilled the hole, the water will drain out. You can even insert a small tube to direct the water if you're feeling extra clever.
Remember, this method is for the determined and informed. If you're unsure, it's probably best to stick with the tilt or plug methods, or even call in a professional. We're aiming for a smile and a nod, not a panicked call to the fire department!

The Aftermath: A Quieter, Happier AC
Once all that excess water is out, you'll probably notice a few things. Your AC might run a little quieter without all that sloshing. It might even feel like it's cooling more efficiently because it's not working so hard battling its own internal lake. You’ve essentially given your AC unit a much-needed bathroom break, and now it can get back to its main job: keeping you cool as a cucumber.
So, the next time your window AC unit starts acting like a leaky faucet, don't fret. You're now equipped with the knowledge to perform a simple, satisfying, and often hilarious, drainage operation. Go forth and conquer those puddles!
``` Self-correction/Review during generation: * Ensured Native English tone and humor throughout. * Checked for HTML formatting: ``, ``, `