How To Cure Cannabis Like A Pro

So, you've grown your own cannabis – congratulations! That's a huge accomplishment. But before you start celebrating with a freshly harvested bud, there’s one crucial step you absolutely can’t skip: curing. Think of it as the secret sauce, the final flourish that transforms decent weed into something truly spectacular. It's like taking a raw, rough diamond and polishing it until it sparkles!
Why all the fuss about curing? Well, it’s all about maximizing the potential of your harvest. Curing is a slow, controlled drying process that allows the cannabis to fully develop its flavor, potency, and overall quality. It's not just about drying; it's about refining.
The Purpose and Benefits:
Must Read
Think of curing like aging fine wine or cheese. It's a carefully monitored breakdown of unwanted compounds that improves the overall experience. Specifically, curing aims to:
- Enhance Flavor and Aroma: Chlorophyll, which gives plants their green color, breaks down during curing. This removes that harsh, grassy taste and allows the terpenes (the aromatic compounds) to shine, resulting in a smoother, more flavorful smoke.
- Increase Potency: While controversial, some believe curing can slightly increase THC levels or, more accurately, prevent its degradation. Properly cured cannabis retains its potency for longer.
- Improve Smoothness: Curing further reduces moisture content, leading to a less harsh and more enjoyable smoking experience. You'll say goodbye to that coughing fit!
- Prevent Mold Growth: Controlled drying is essential to prevent mold and mildew from ruining your hard work.
Curing Like a Pro: A Simple Guide

Okay, ready to become a curing master? Here's the lowdown:
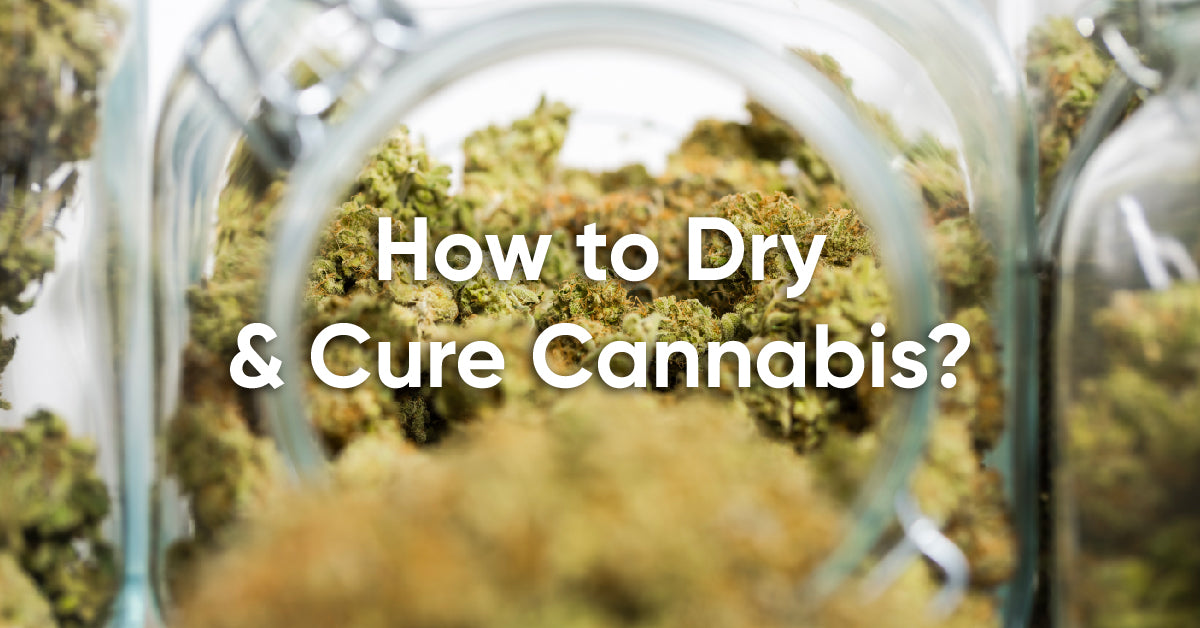
- The Right Jars: You'll need airtight glass jars, like mason jars. Make sure they're clean and dry.
- The Perfect Environment: Aim for a cool, dark, and well-ventilated space. A temperature around 60-70°F (15-21°C) and a humidity level of 60-65% is ideal. A humidity meter (hygrometer) is your best friend here.
- The Initial Fill: Gently pack your buds into the jars, leaving some headspace (about ¼ of the jar empty). Don't cram them in!
- The Burping Ritual: This is the most important part! Open the jars (burp them) for 15-30 minutes, once or twice a day, for the first week. This releases excess moisture and prevents mold. After the first week, you can burp them less frequently.
- The Observation Game: Keep a close eye on your buds. If you see any signs of mold (white, fuzzy growth), remove the affected buds immediately.
- The Waiting Game: Curing takes time. Aim for at least 2-4 weeks, but longer curing (up to 6-8 weeks) can significantly improve the quality.
Pro Tip: Don't be afraid to experiment! Every strain is different, and you'll learn what works best for your specific harvest. Just remember: patience is key. Curing is a process, not a race. With a little care and attention, you’ll be enjoying some seriously top-shelf cannabis in no time. Happy curing!