How To Connect Nest Thermostat To New Wifi

Ah, the Nest Thermostat. That sleek, intuitive circle of magic on your wall. It's more than just a thermostat; it's the brain of your home's comfort, quietly learning your habits, predicting your needs, and saving you a few bucks on the energy bill to boot. People adore their Nests because they transform a mundane necessity – temperature control – into an effortless, almost invisible part of modern living. Imagine waking up to a perfectly warm house without ever lifting a finger, or arriving home to a cool oasis on a scorching day, all managed by this clever little gadget.
The beauty of the Nest lies in its ability to adapt and connect. Its primary purpose? To keep you comfortable while being energy-efficient. It learns your schedule, recognizes when you're home or away (thanks to its sensors and your phone's location), and even reminds you of your energy usage, nudging you towards greener habits. This isn't just about turning the heat up or down; it's about a smarter approach to your environment. Common applications range from setting intricate schedules that pre-heat your home before your morning alarm, to adjusting the temperature from thousands of miles away while on vacation, ensuring everything is just right for your return. It's the ultimate set-it-and-forget-it device, giving you peace of mind and palpable comfort.
But what happens when that brilliant brain suddenly loses its connection? Perhaps you've changed your internet provider, upgraded your router, or simply moved homes. Your Nest, once a beacon of smart comfort, might suddenly feel like a very fancy paperweight. Fear not! Reconnecting your Nest Thermostat to a new Wi-Fi network is a surprisingly simple dance, and once it's done, you'll unlock all its wonderful capabilities once more.
Must Read
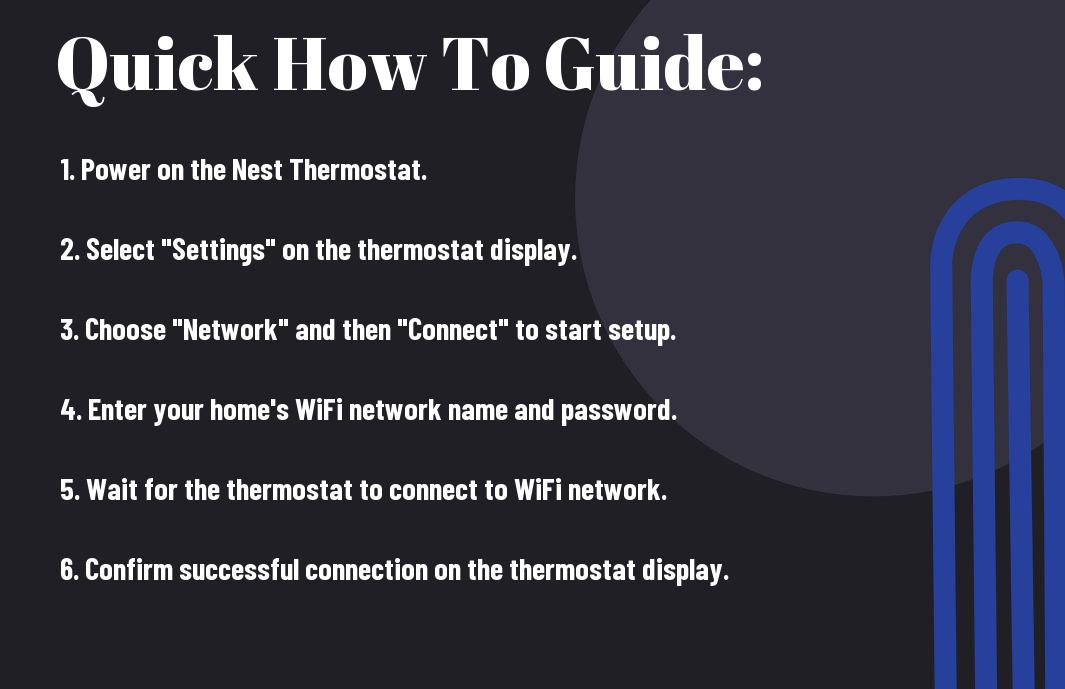
Here’s the practical lowdown on getting your Nest back online:
- Wake up your Nest: Gently press the ring to bring up the main menu.
- Head to Settings: Rotate the ring to the gear icon (
 typically) and press to select.
 - Find "Network" or "Wi-Fi": Scroll down until you see an option like "Network" or "Wi-Fi" and select it.
- Scan for your new network: Your Nest will begin scanning for available Wi-Fi networks. Find the name of your new Wi-Fi network from the list.
- Enter the password: This is crucial. Use the ring to carefully select letters and numbers for your Wi-Fi password. It can be a bit tedious, but accuracy is key. Once entered, select "Done" or "Connect."
- Confirm connection: Your Nest will attempt to connect. A confirmation message should appear if successful. You might also see a Wi-Fi symbol at the top of the main screen.
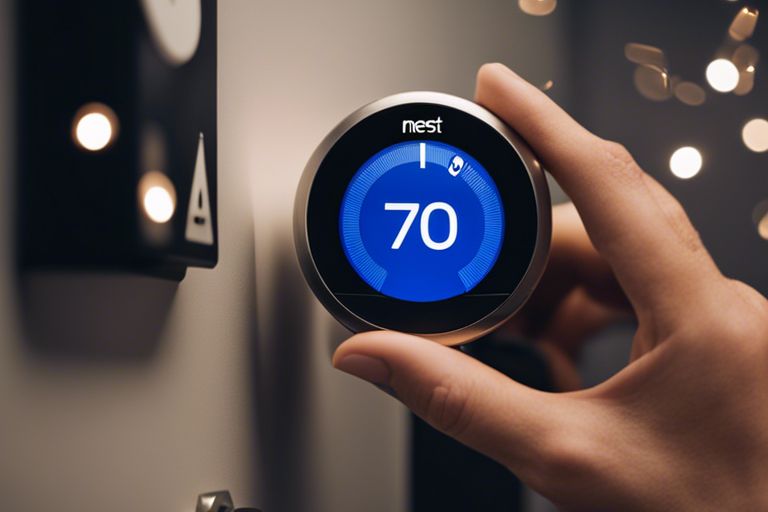
Once your Nest is back online, it's time to enjoy it even more effectively! First, ensure your Nest app is up-to-date on your smartphone; it should now reflect the thermostat's online status and allow remote control. Dive into its settings to fine-tune your schedule, even if it learns your habits. Sometimes a manual tweak can optimize comfort during specific times. Explore the "Energy History" to track your usage and find more ways to save. Don't forget to enable "Home/Away Assist" if you haven't already, letting your Nest automatically switch to an energy-saving mode when you're out. Finally, if you have a voice assistant like Google Assistant or Amazon Alexa, connect your Nest for hands-free temperature control. "Hey Google, set the thermostat to 70 degrees!" Reconnecting your Nest isn't just about fixing a problem; it's about rediscovering the seamless comfort and efficiency that makes this smart thermostat such a beloved part of countless homes.