How To Connect 3 6 Gauge Wires
Ever stared at a new appliance, a dream project like a backyard hot tub, or even just that intimidating box where your electric vehicle charger should be, and thought, "How on earth do I make this work?" You're not alone! Many of us feel a little shiver down our spine when the topic of electrical wiring comes up. But what if I told you that understanding something as specific as how to connect 3 6-gauge wires isn't just a technical skill, but a gateway to a whole new world of DIY freedom and fun?
Yes, you read that right: fun! We're not talking about memorizing arcane formulas or wrestling with high-voltage nightmares. We're talking about unlocking the power to create, to fix, and to truly understand the world around you. And guess what? Connecting three robust 6-gauge wires is a perfect example of a challenge that looks big but is totally achievable with a little know-how and a can-do attitude.
Why Does Connecting Wires Even Matter to My Awesome Life?
Good question, my friend! Think about it: that heavy-duty workshop equipment you've been eyeing? The one that needs serious juice? Or maybe you're dreaming of installing a dedicated circuit for your RV, or perhaps, yes, that glorious hot tub that promises endless relaxation. These aren't just fantasy; they're within your reach when you grasp the basics of how power flows and how to safely manage it.
Must Read
Learning to connect wires, especially something substantial like 6-gauge (which is thicker and carries more current, often used for major appliances), gives you incredible independence. No more waiting around for someone else, no more endless electrician bills for every minor tweak. You become the hero of your own home projects! Imagine the satisfaction of flipping that switch and seeing your creation hum to life, knowing you made it happen. That's a feeling money can't buy, my friend!
The Unveiling: The "How-To" (Simplified for Your Delight!)
Now, before we dive into the nitty-gritty of connecting wires, let's establish one golden rule: safety first! Always, always, always turn off the power at the breaker before you even think about touching a wire. Got it? Good! Your safety is paramount, and a little caution goes a long way.
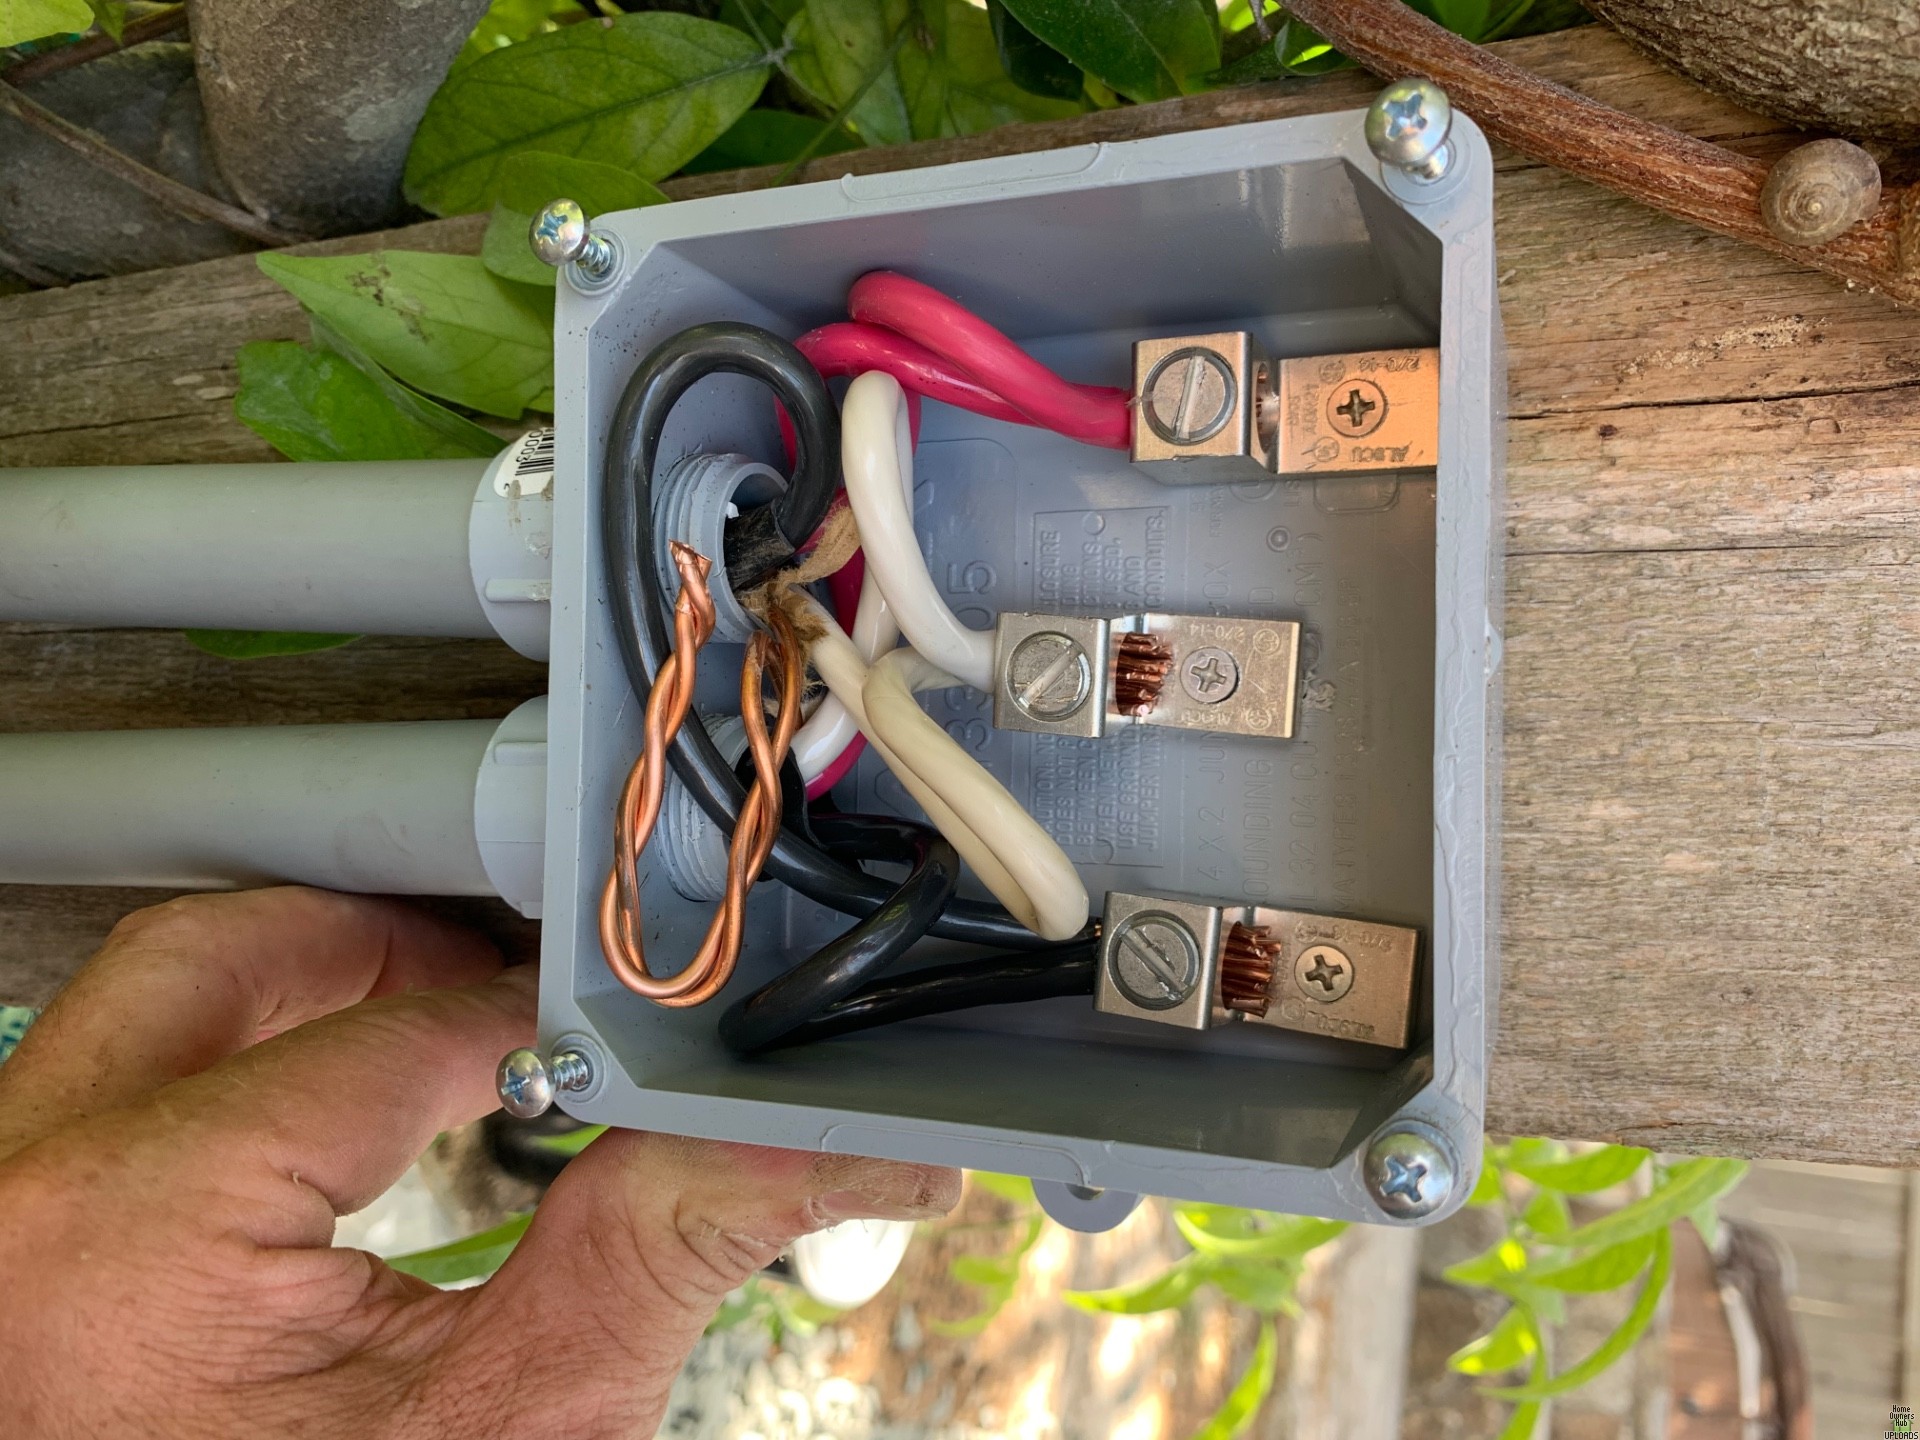
Okay, let's picture our three brave 6-gauge wires. They're thick, they're sturdy, and they're ready for action. Connecting them often means bringing them together in a junction box, usually to extend a circuit or split power to multiple points.
Step 1: The Stripping Symphony
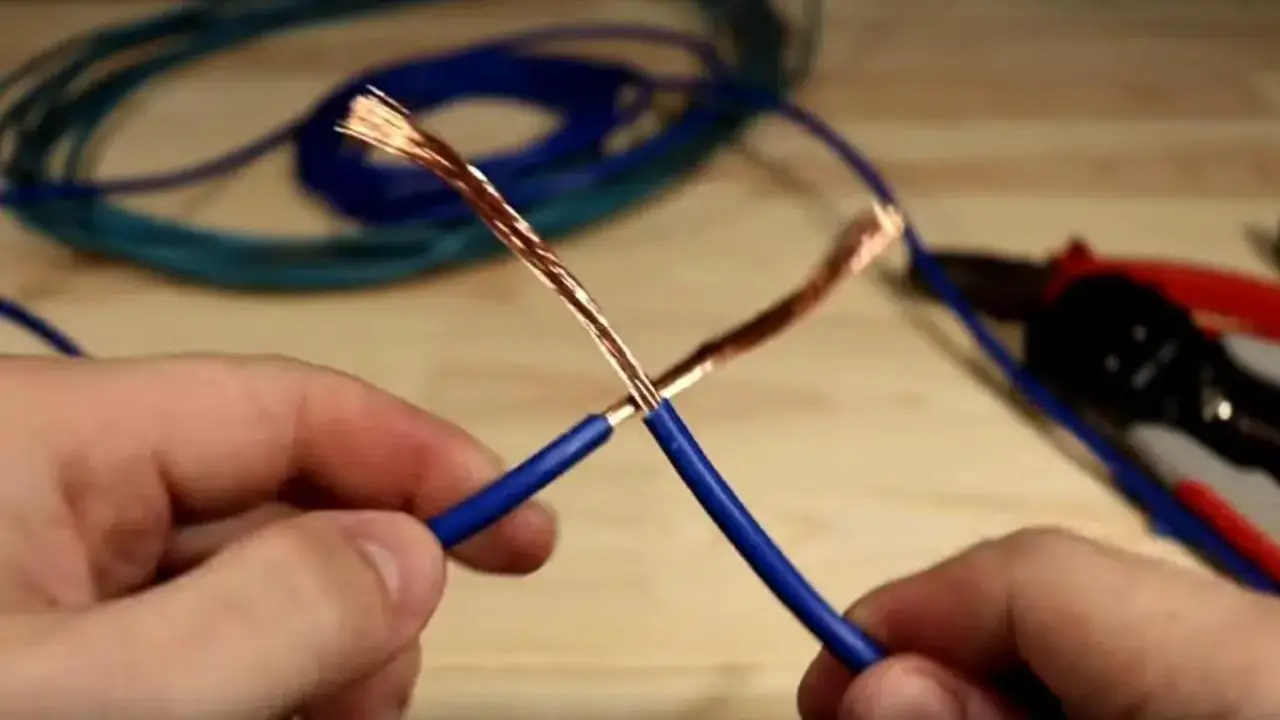
First up, we gently, but firmly, remove a precise amount of insulation from the ends of each wire. Think of it like peeling a banana – you want to expose the good stuff inside without damaging it. For 6-gauge wire, you'll need a suitable wire stripper, not your average household scissors! There's a real zen to getting that perfect strip, revealing the gleaming copper strands underneath. It's like uncovering treasure!
Step 2: The Twist & Connect Tango
Once stripped, it's time for the connection. For three wires of this gauge, you might be looking at a heavy-duty wire nut, a specific splicing connector, or a terminal block designed to handle the current. The key is to ensure all three exposed copper ends are gathered together firmly. If using a wire nut, twist the wires together clockwise with pliers (a small pre-twist helps!), then thread the wire nut onto the bundle, twisting it securely until it’s nice and tight. You want a connection that's so solid, it practically winks back at you.
The goal? To create a connection with maximum surface contact between all the wires. This minimizes resistance, keeps things cool, and ensures a happy, efficient flow of electricity. It's like a firm handshake between electrical currents!

Step 3: The Tape Hug (Optional, but Good Practice!)
For an extra layer of insulation and peace of mind, many pros will wrap the wire nut and the base of the connection with high-quality electrical tape. It’s like giving your connection a little protective hug, ensuring nothing accidentally touches where it shouldn't. A little TLC for your wires!
Step 4: The Moment of Truth (After Re-Energizing!)
Once everything is secure, double-checked, and safely enclosed in its junction box, you can head back to the breaker panel. Take a deep breath, flip the breaker, and watch for that glorious moment when your new connection powers up whatever marvelous thing you've hooked it to! The feeling of success? Pure elation!

Your Future is Bright (and Electrified!)
See? It's not a dark art; it's a learnable skill! Connecting three 6-gauge wires is just one tiny, powerful step on a much larger journey of discovery. Every time you successfully complete a task like this, you're not just connecting wires; you're connecting dots in your own understanding, boosting your confidence, and proving to yourself that complex things can be broken down and conquered.
Don't let the technical jargon intimidate you. Embrace the challenge! The world of DIY electrical work, when approached with respect for safety and a genuine desire to learn, is incredibly rewarding. Imagine the projects you'll tackle, the money you'll save, and the sheer pride you'll feel looking at a job well done.
So, are you ready to stop just dreaming about those projects and start doing them? Are you ready to empower yourself with skills that literally light up your life? Grab a book, watch some reputable videos, and start exploring. Your next great adventure could be just a few well-connected wires away. Go on, get inspired, and let your curiosity spark something amazing! You've got this, and the world is waiting for you to plug into its possibilities!