How To Clean Lint From Inside Dryer Cabinet
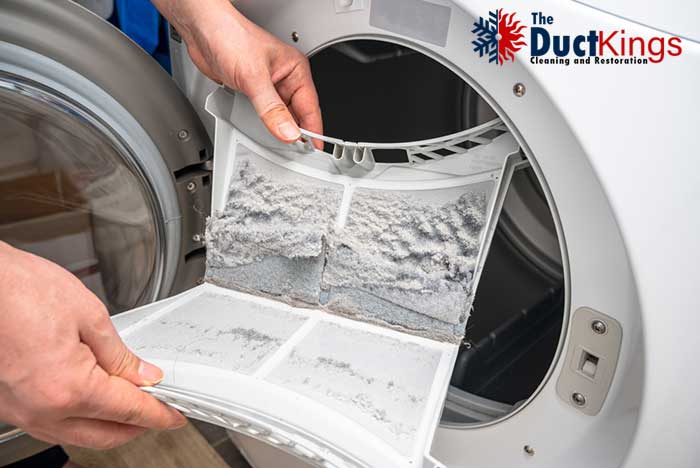
Ever wonder what happens to all that lint that doesn't get caught in your dryer's lint trap? It doesn't just vanish! A significant portion of it ends up inside your dryer cabinet, and learning how to clean it out is more important (and frankly, more satisfying) than you might think. It’s a little like discovering a hidden superpower – the ability to prevent fires and save money, all with a bit of elbow grease.
The purpose of cleaning lint from inside your dryer cabinet is two-fold: safety and efficiency. Lint is highly flammable. Over time, accumulated lint inside the dryer can become a serious fire hazard. Cleaning it out drastically reduces this risk, providing peace of mind. Furthermore, that build-up restricts airflow. Your dryer has to work harder (and use more energy) to dry your clothes, costing you money on your utility bill. A clean dryer cabinet allows for proper airflow, leading to faster drying times and lower energy consumption – a win-win!
The benefits extend beyond your home, too! Think about vocational schools or appliance repair courses. Learning to disassemble and clean a dryer is a practical skill taught to students, providing them with valuable knowledge for future careers. In daily life, this knowledge allows you to maintain your appliances, potentially avoiding costly repair bills or even the need to replace your dryer prematurely. Imagine the satisfaction of diagnosing and fixing a problem yourself, rather than calling in a professional!
Must Read
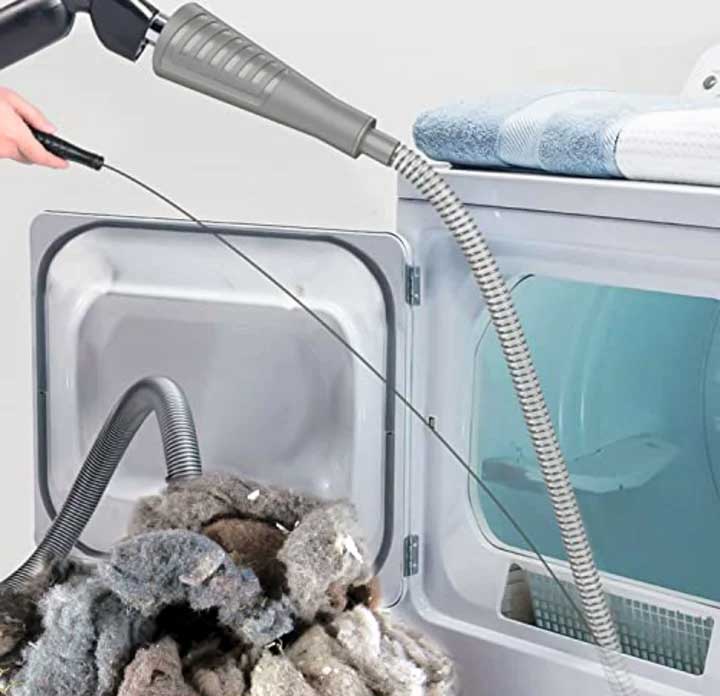
So, how do you tackle this lint beast? Before you begin, unplug your dryer! Safety first! You’ll likely need a few basic tools: a screwdriver (or two, depending on your dryer model), a vacuum cleaner with a hose attachment, and possibly a flexible brush or crevice tool. Consult your dryer's manual for specific instructions on how to access the inside of the cabinet. Usually, this involves removing the back panel or the front panel, depending on the design.
Once you’ve gained access, you’ll likely be greeted by a surprisingly large amount of lint. Use the vacuum cleaner to remove as much of it as possible. The flexible brush or crevice tool can help you reach those stubborn areas. Pay close attention to the area around the heating element and the motor, as these are common collection points for lint. Consider taking pictures before you start disassembling, as it can be helpful when putting everything back together.
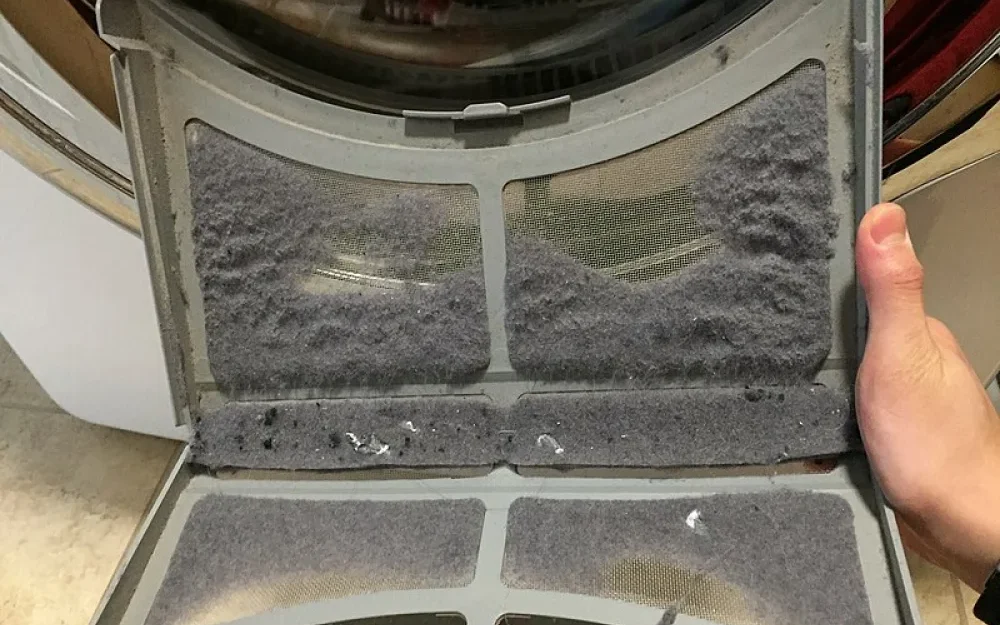
For a simple way to explore this without diving headfirst into disassembly, check the outside vent of your dryer. Make sure the vent flap opens easily and isn't clogged with lint. Clearing this external vent can significantly improve airflow and dryer efficiency. Another simple tip is to clean your lint trap after every load. This small habit prevents lint from escaping into the cabinet in the first place.
Cleaning your dryer cabinet isn't just a chore; it's an investment in safety, efficiency, and the longevity of your appliance. So, grab your tools, unplug your dryer, and get ready to uncover the surprisingly satisfying world of lint removal!