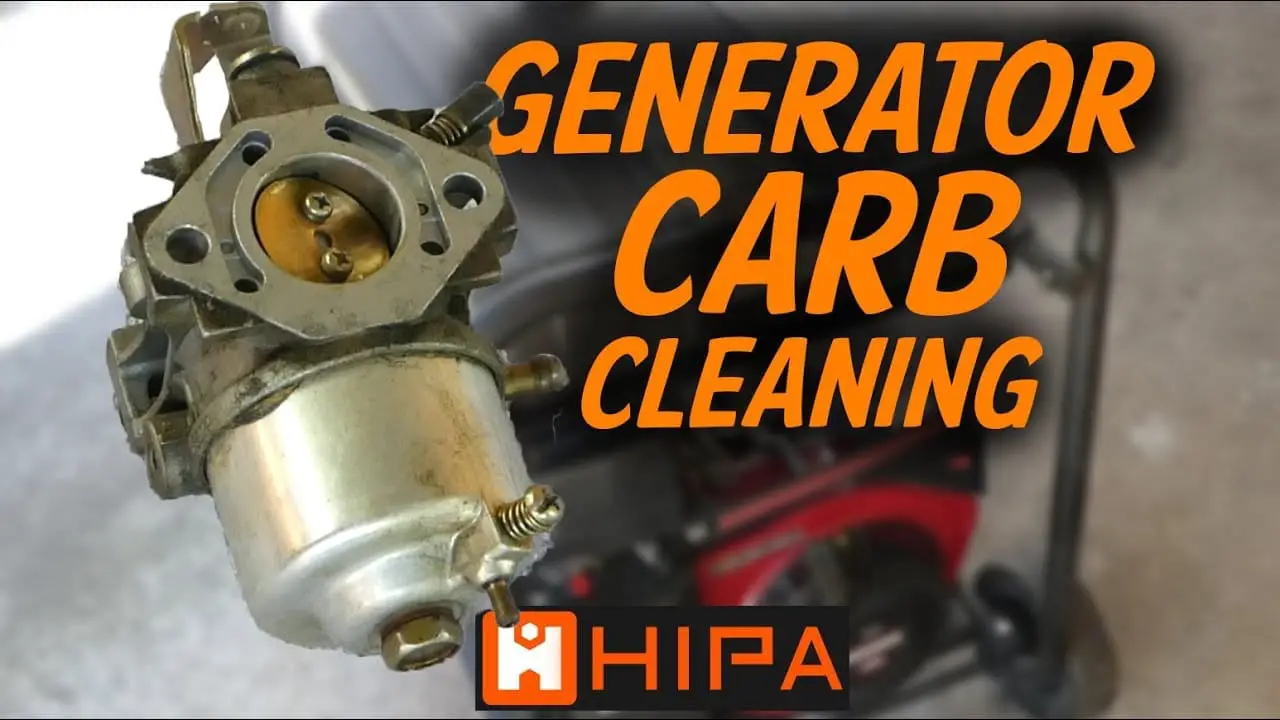
How To Clean Carburetor Without Removing It

Alright, so your engine's been acting a little… grumpy lately? Coughing, sputtering, maybe even threatening to stall at every red light? Sounds like your carburetor might be clogged. Don't worry, it happens to the best of us! Before you start panicking and envisioning a full-blown engine rebuild (cue dramatic music!), let’s talk about how to clean that carb without having to wrestle it off your engine. Think of it as a quick spa day for your engine's fuel delivery system.
Now, I know what you're thinking: "Cleaning a carburetor without removing it? Is that even possible?" Absolutely! It’s not a miracle cure for every carb ailment, but for minor clogs, it can work wonders. Just remember, this is more of a "refresh" than a "deep clean." Think of it like a surface wipe versus a full-on spring cleaning. Got it? Good!
What You’ll Need: Your Carb Cleaning Arsenal
Gather your supplies, soldier! You won't need much, thankfully. Here's your shopping list:
Must Read
- Carburetor Cleaner Spray: This is your magic potion! Make sure it's specifically designed for carburetors and is safe for your engine's components. Don't go spraying WD-40 in there, folks! That's a recipe for disaster.
- Safety Glasses: Protecting your peepers is always cool. Plus, you'll look like a mad scientist. Win-win!
- Gloves: Unless you're a fan of permanently stained hands and weird chemical smells, grab some gloves.
- Screwdriver (possibly): You might need a screwdriver to remove the air filter housing. Keep it handy!
- A Clean Rag or Two: For wiping up spills and generally keeping things tidy. Nobody likes a messy mechanic (except maybe your cat).
The Cleaning Process: Let’s Get Down to Business!
Alright, now for the fun part! (Okay, maybe not "fun" in the roller-coaster-ride sense, but definitely satisfying when your engine purrs like a kitten again.)
Step 1: Safety First! Make sure your engine is off and cool. Seriously. We don't want any burnt fingers or accidental explosions. Disconnect the negative terminal of your battery to prevent any electrical surprises while you're poking around. We're going for clean carb, not fried brain.
Step 2: Access the Carburetor. Remove the air filter housing. This is usually a pretty straightforward process, involving a few screws or clips. Check your owner’s manual if you’re unsure. Don't force anything! If it's stuck, there's probably a hidden fastener somewhere. Pro tip: Take a picture before you start removing things. It'll save you a headache when it's time to put everything back together.
Step 3: Spray Away! With the air filter housing out of the way, you should have a clear view of the carburetor's throat (the big hole where air goes in). Now, grab your carburetor cleaner and give it a good shake. Aim the nozzle into the throat of the carburetor and spray in short bursts. Focus on any visible gunk or deposits. Don't go overboard; a little goes a long way. Remember, we're trying to dissolve the crud, not drown the engine.
Step 4: Let It Soak. After spraying, let the carburetor cleaner sit for about 5-10 minutes. This gives it time to work its magic and loosen up the deposits. You might hear some hissing or bubbling – that's normal! It’s just the cleaner doing its thing. If you have a particularly stubborn buildup, you can try spraying again after a few minutes.

Step 5: Start the Engine (Carefully!). Reconnect the negative battery terminal. Now, start your engine. It might be a little rough at first, as the carburetor cleaner gets sucked through the system. Don't panic! Let it idle for a few minutes, and the engine should smooth out as the cleaner burns off. If it's really struggling, give it a little gas. Just be careful not to rev it too high.
Step 6: Reassemble and Enjoy! Once the engine is running smoothly, turn it off and reassemble the air filter housing. Double-check that everything is secure. Then, take your car for a spin! Hopefully, you'll notice a smoother idle, better acceleration, and an overall happier engine. 🎉
Important Considerations: When to Call in the Pros
If your engine is still running rough after trying this method, it might be time to consult a professional mechanic. A more thorough cleaning, or even a carburetor rebuild, might be necessary. Don’t be afraid to seek help! Sometimes, admitting you need assistance is the bravest thing you can do. Plus, you'll avoid potentially causing more damage trying to fix it yourself.
Also, remember to always dispose of used carburetor cleaner properly. Don't just dump it down the drain! Check your local regulations for hazardous waste disposal.
So there you have it! Cleaning your carburetor without removing it is a relatively simple process that can save you time and money. With a little patience and the right supplies, you can get your engine running smoothly again. Now go forth and conquer those clogged carburetors! You got this! And remember, even if it doesn't work perfectly, you learned something new and gave your engine a fighting chance. That's a win in my book!