How To Choose Welding Machine
Okay, picture this: it was a sweltering Saturday afternoon, and I was trying to fix a wobbly old patio chair. Classic DIY stuff, right? The kind of project where you start with good intentions and end up questioning all your life choices. I’d tried everything – screws, epoxy, even some industrial-strength duct tape that probably belonged in a spaceship. Nothing worked. The chair just kept taunting me with its incessant wobble. That’s when it hit me: "Man, I wish I could just weld this thing." And suddenly, a whole new world of possibilities, and a whole new level of frustration (initially!), opened up. My rusty gate, my broken garden tools, that ridiculous metal art project I keep dreaming about... it all seemed within reach.
Sound familiar? Maybe you’ve had your own "aha!" moment, realizing that a bit of metal joining magic is exactly what you need. But then you Google "welding machine" and BOOM! A tsunami of acronyms, voltages, and prices hits you square in the face. It’s enough to make you just grab a bigger roll of duct tape. Don't panic! Choosing the right welding machine doesn't have to be like deciphering ancient alien texts. Let's break it down, shall we?
Why Are You Even Here? (Your Welding Goals)
Before you even glance at a machine, ask yourself: "What exactly do I want to weld?" This is the absolute, most important first question. Are you fixing a rusty old gate, patching up a lawnmower deck, or dreaming of fabricating custom choppers in your garage? Your goals dictate everything.
Must Read
Think about the types of metals (steel, aluminum, stainless steel?), their thickness, and how often you'll be using the machine. Just occasional small repairs? Or a weekly hobby project? Answering these questions honestly will save you a heap of headaches (and money!) down the line. It's like buying a car; you wouldn't get a monster truck for city commutes, right? Well, maybe you would, but you get my drift.
The Big Three (and a Wildcard): Types of Welders
Alright, let’s talk about the main players you’ll encounter. Each has its own personality, strengths, and weaknesses.
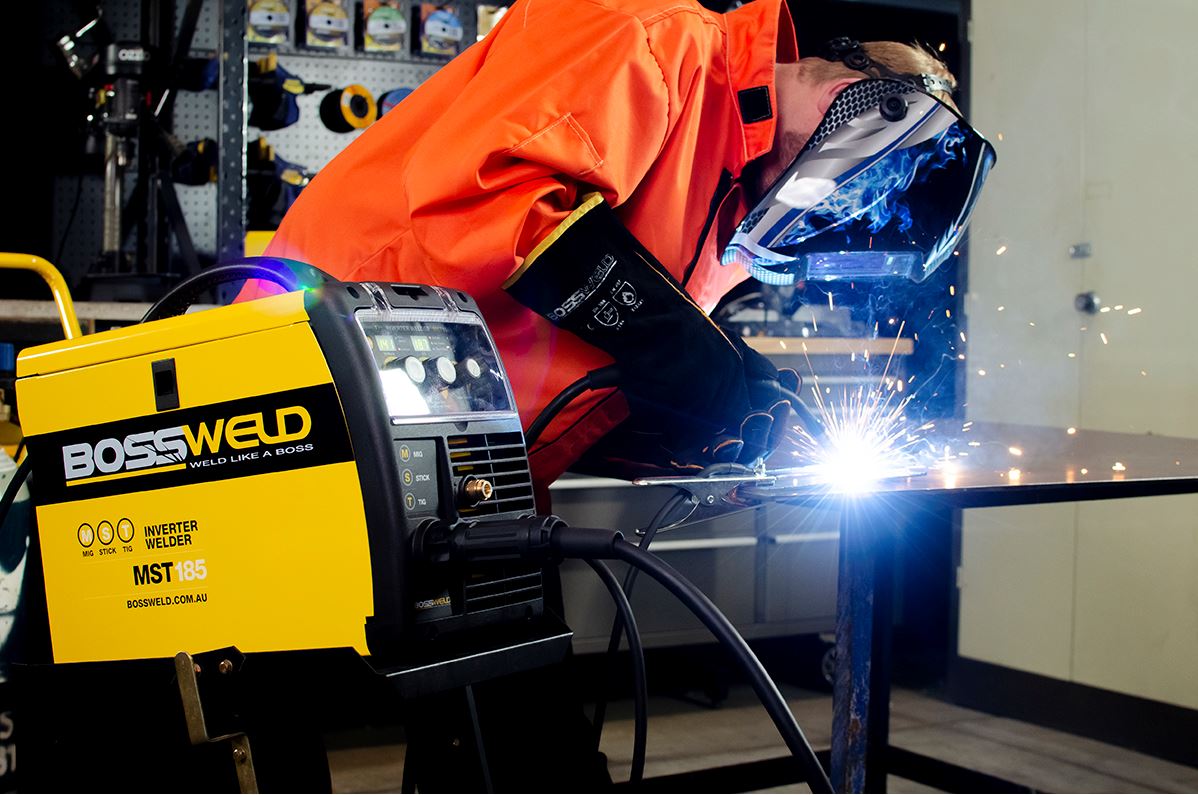
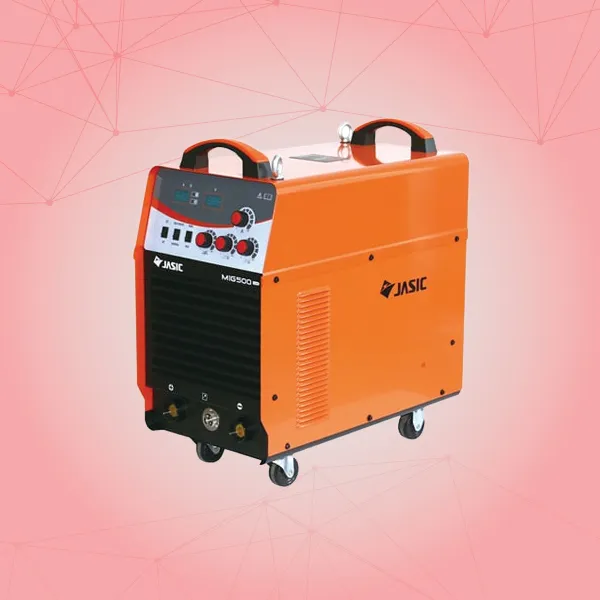
1. Stick Welder (SMAW): The OG. Simple, robust, and relatively inexpensive to start. It uses consumable electrodes (the "stick") and is great for dirty or rusty metal, outdoor work, and thicker materials. The learning curve is a bit steeper for beginners to get clean welds, but once you get it, you'll feel like a true craftsman. Think of it as the reliable old pickup truck of welders. 2. MIG Welder (GMAW): This is often considered the most beginner-friendly. It uses a continuous wire feed and a shielding gas (unless it's flux-cored, more on that in a sec). It’s fast, relatively easy to learn, and produces clean welds on a variety of metals, especially thinner stuff. If you want to get productive quickly, MIG is probably your best bet. It’s the versatile SUV of the welding world. 3. TIG Welder (GTAW): The precision artist. TIG produces incredibly clean, beautiful welds and can handle almost any metal, including aluminum and stainless steel. It uses a non-consumable tungsten electrode and a separate filler rod, requiring a lot of dexterity (like patting your head and rubbing your belly while hopping on one foot). It's got the highest learning curve and is usually the most expensive, but the results are gorgeous. This is the precision sports car – beautiful, but requires skill to drive. 4. Flux-Cored Arc Welder (FCAW): Often bundled with MIG machines, flux-cored welding uses a special wire that contains a flux core, so it doesn't need external shielding gas. This makes it fantastic for outdoor use (wind won't blow away your gas!) and for thicker, dirtier metals. It’s a bit smokier and spatter-prone than gas-shielded MIG, but super convenient for portable repairs. Think of it as the rugged, off-road package for your SUV. Now for the nitty-gritty. Most home users will look at machines that run on either 120V (standard wall outlet) or 240V (your dryer or oven outlet). 120V machines are great for portability and lighter tasks, but they generally have lower amperage, meaning they can’t weld super thick metals. 240V machines offer more power and a higher duty cycle. What’s duty cycle? It’s basically how long the machine can weld continuously at a given amperage before it needs a rest to cool down. A 30% duty cycle at 90 amps means it can weld for 3 minutes out of every 10 minutes at 90 amps. Higher duty cycle = less waiting. Your wallet (and patience) will thank you for considering this. Amperage range is crucial. Thicker metal requires more amps. Make sure the machine you pick has enough juice for what you plan to do. And speaking of juice, you'll also hear about "inverter" vs. "transformer" welders. Inverters are generally lighter, more efficient, and often offer more features. Transformers are older, heavier, but incredibly durable and often cheaper. Let's be real, price matters. You can find decent beginner machines for a few hundred bucks, and professional setups can cost thousands. Set a realistic budget, but remember to factor in more than just the machine itself. You’ll need consumables (electrodes, wire, gas if applicable), a good auto-darkening helmet (do not skimp on eye protection!), gloves, and other safety gear. These things add up, so build them into your initial budget. Some machines come with fancy features like "synergic controls" (it automatically sets parameters for you – nice for beginners!) or "pulse" (for more control). Are they necessary? Maybe, maybe not. It depends on your skill level and how much you value convenience over cost. So, take a deep breath. Start with your goals, understand the basic types, consider your power needs, and then look at your budget. There’s a perfect machine out there for you, whether you’re fixing a wobbly chair or building your dream project. Happy welding!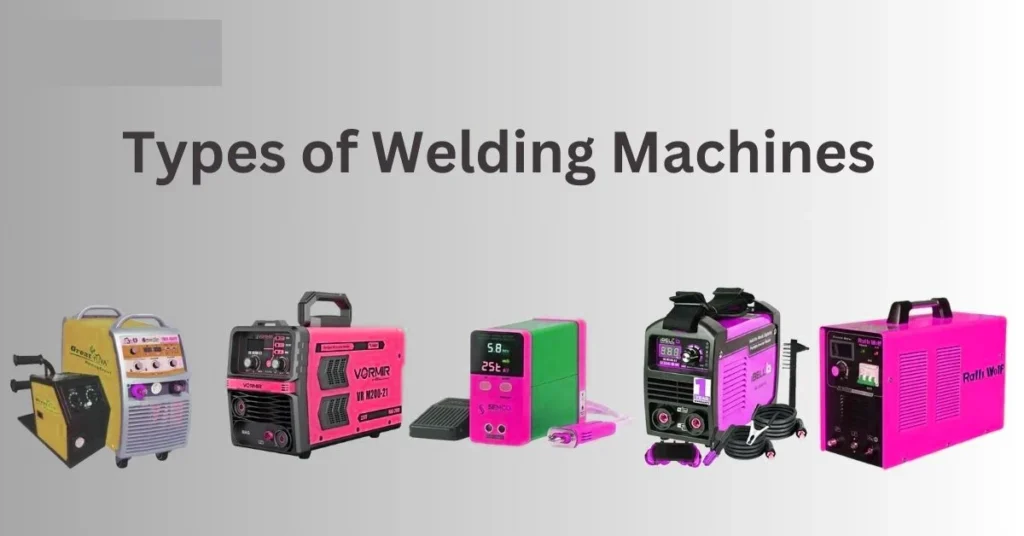

Power, Amps, and Your Wall Socket (Oh My!)
Budget & Bells and Whistles