How To Charge Apple Pencil Gen 1
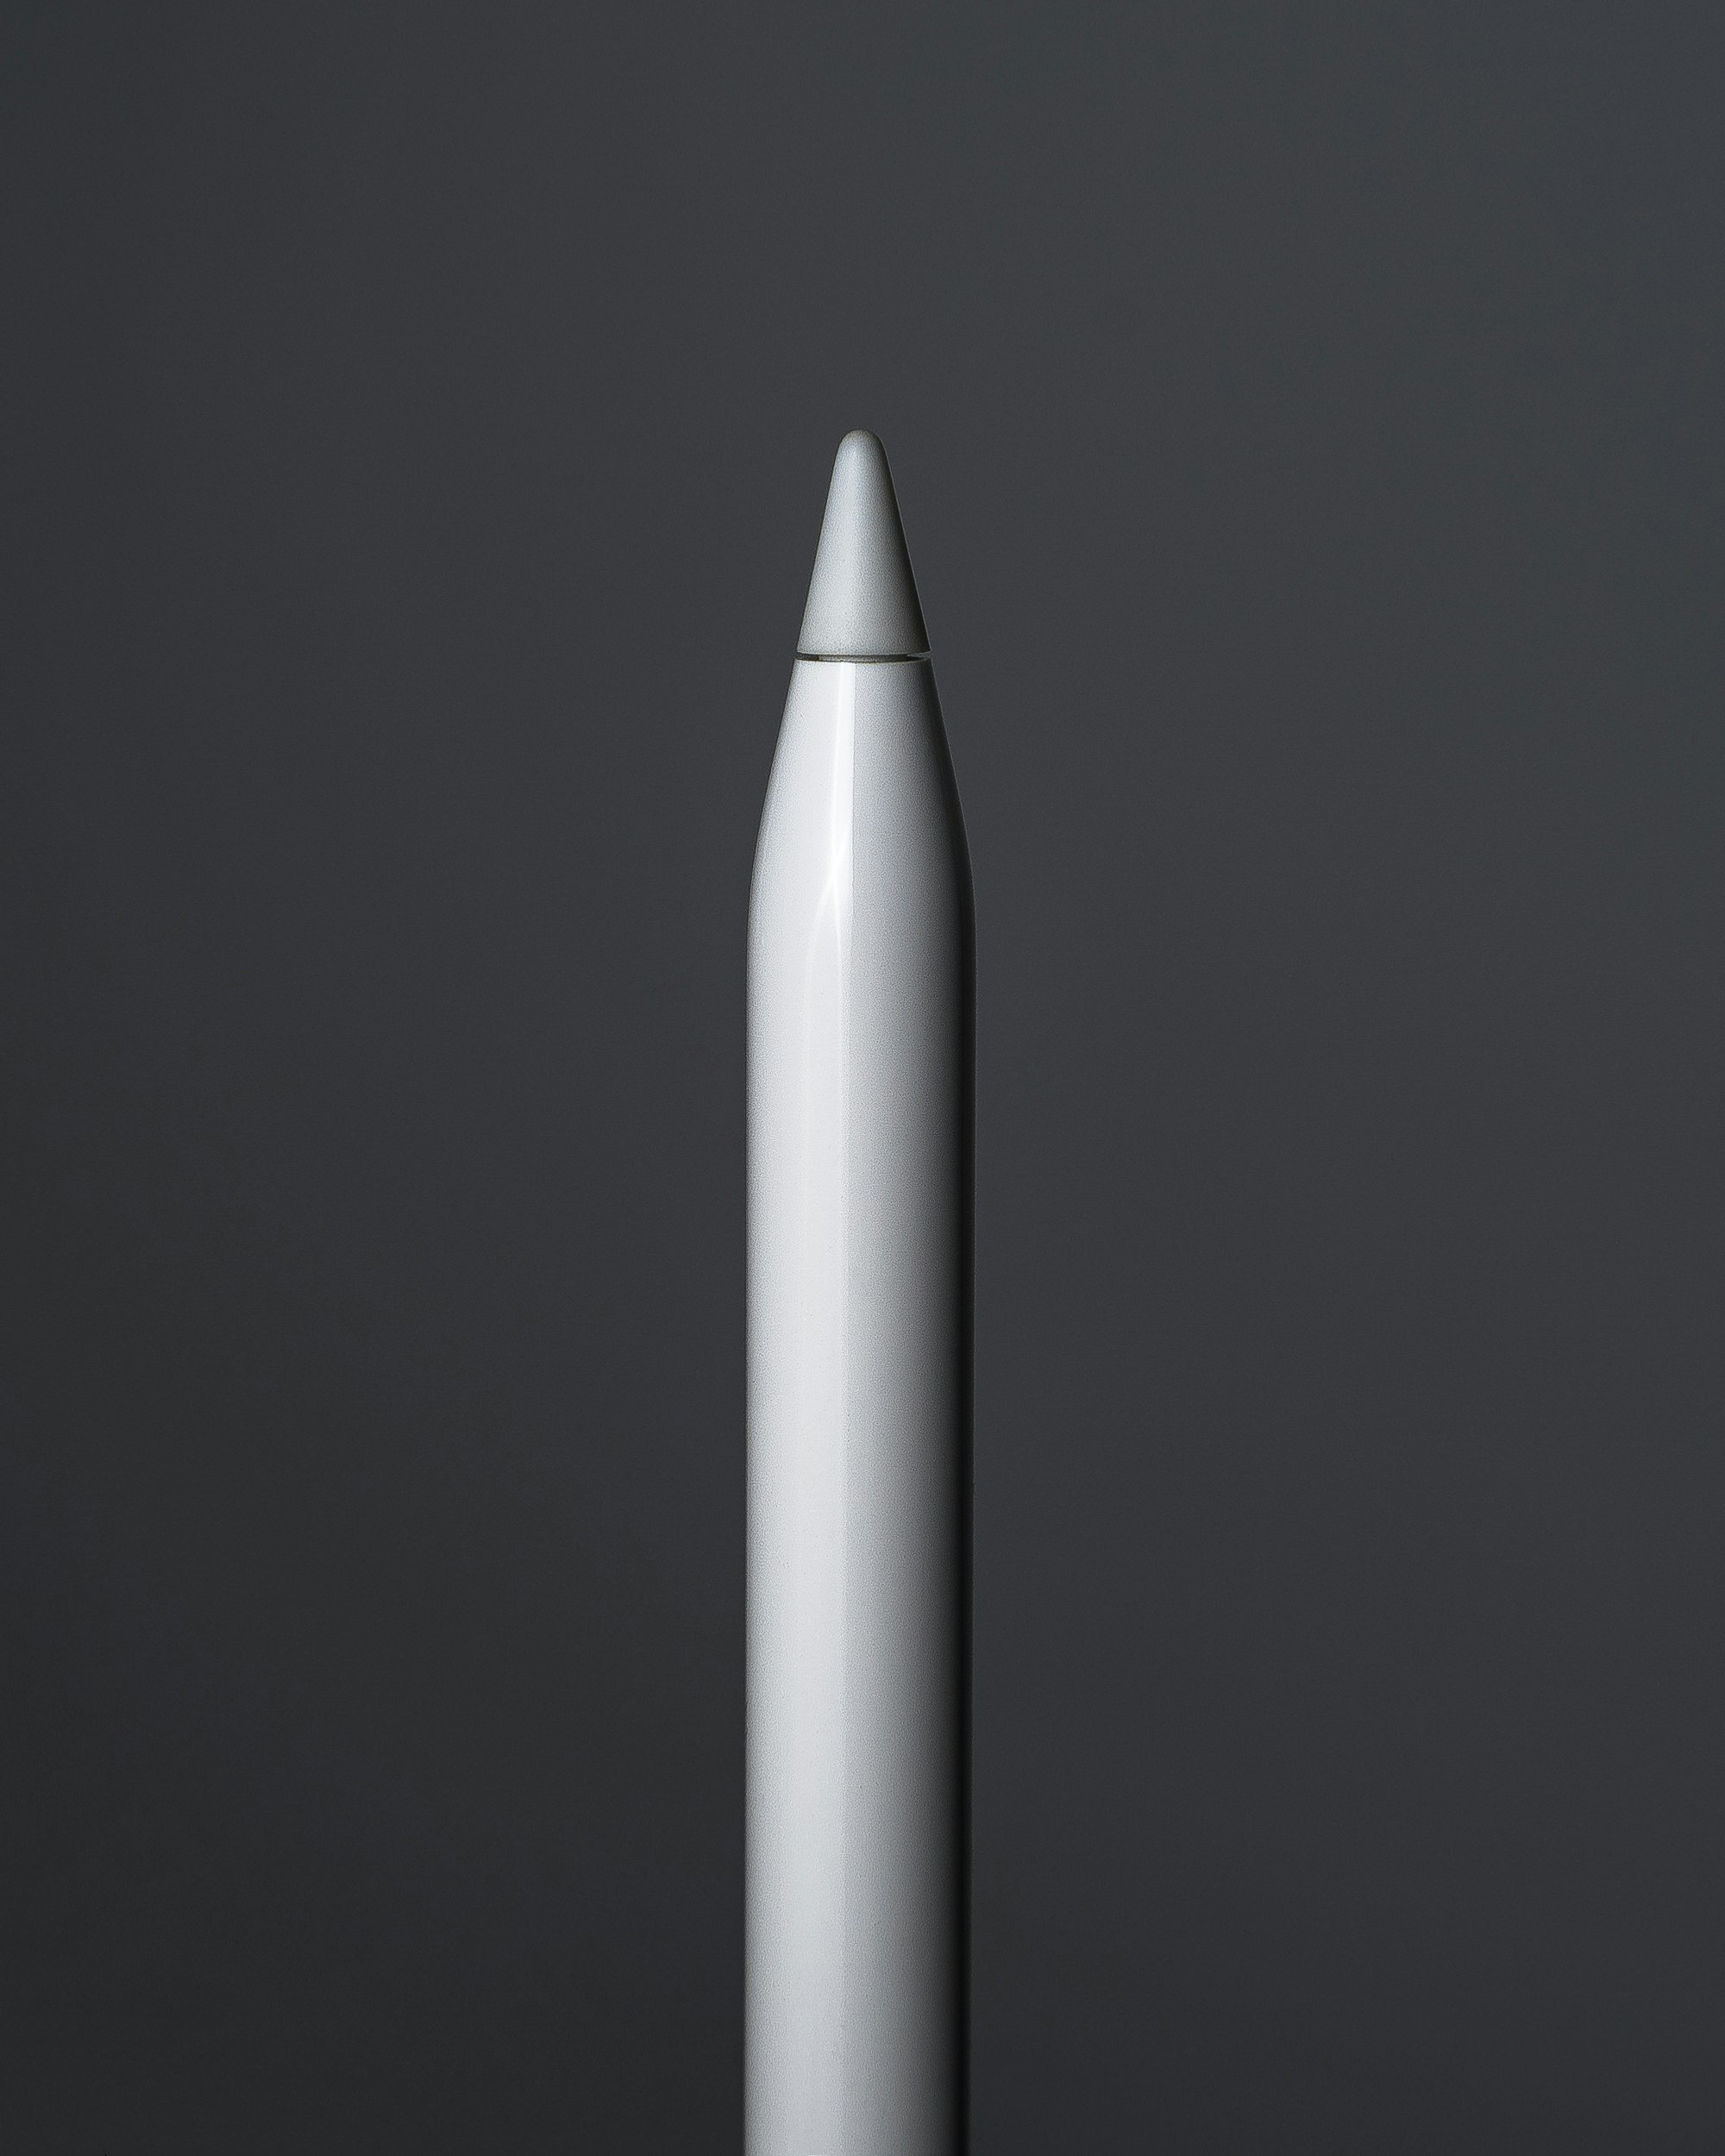
Ah, the Apple Pencil Gen 1! This sleek, white stylus truly transforms your iPad into a canvas, a notebook, or a sophisticated design studio. It lets you sketch, annotate, and brainstorm with an uncanny precision, feeling just like pen on paper. But there's one little quirk that often sparks a chuckle or a moment of head-scratching for newcomers: its rather... distinctive way of charging. Fear not, fellow creatives and note-takers! Unraveling the mystery of how to juice up this brilliant accessory is not only simple but also key to unlocking its full potential. Let's dive into the wonderfully unique world of Apple Pencil charging!
Why bother mastering this particular charging method? Because a dead Apple Pencil is like a paintbrush without paint – utterly useless when inspiration strikes! Knowing how to quickly and efficiently power up your Pencil means you're always ready to capture that fleeting idea, add a crucial detail to your artwork, or flawlessly sign a document. It keeps your creative flow uninterrupted and ensures your iPad remains the powerful, versatile tool you love. Getting it right means more time creating and less time fumbling!
Okay, let's get down to brass tacks. The Apple Pencil Gen 1 offers a couple of clever ways to recharge its creative spirit.
Must Read
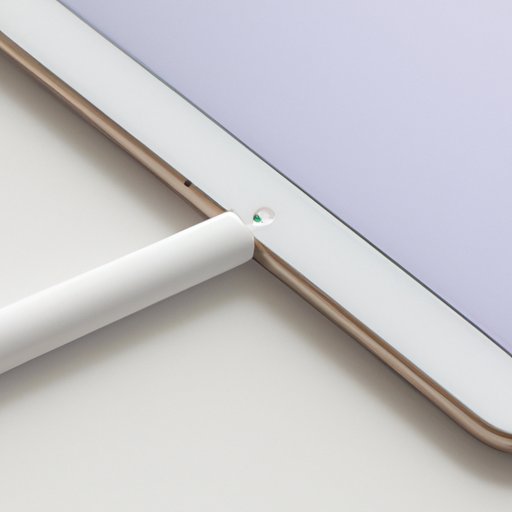
The most iconic method is direct to your iPad. Here’s how it works:
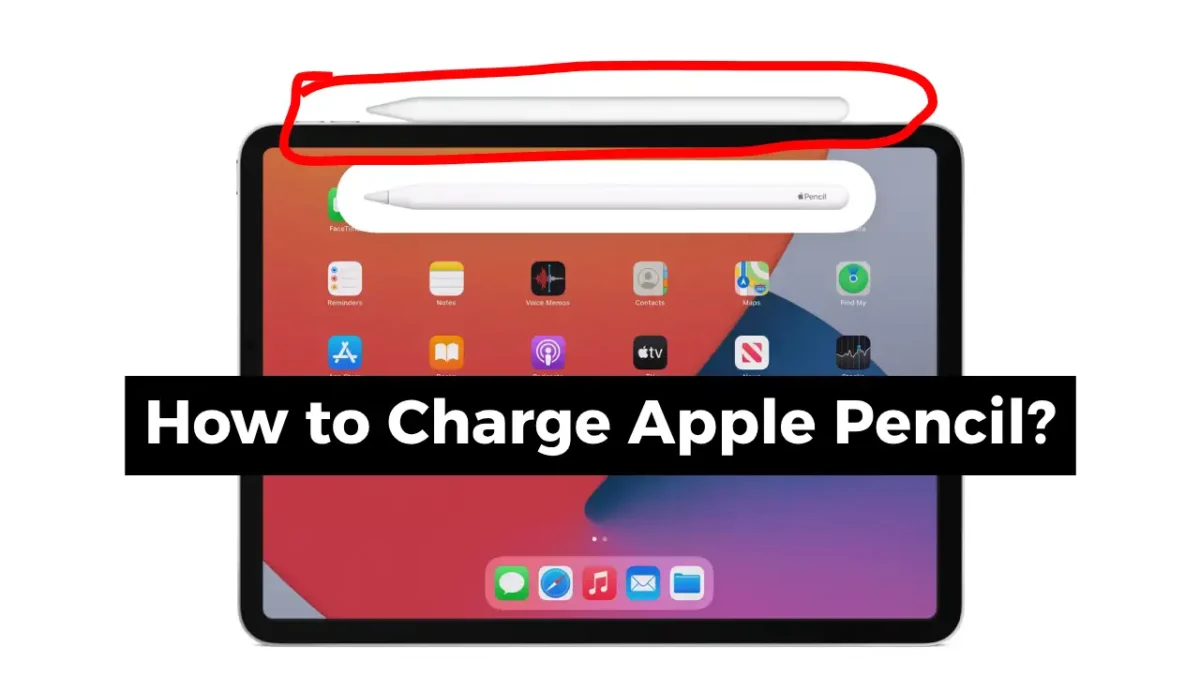
- First, gently remove the magnetic cap from the back of your Apple Pencil, revealing a Lightning connector.
- Then, simply plug that Lightning connector directly into the Lightning port on your iPad (the same one used for charging your iPad itself!).
- Yes, it looks a bit like your Pencil is taking a refreshing drink straight from your tablet, sticking out at a slightly awkward angle. But hey, it works!
- Your iPad will usually display a small notification confirming it's charging. You can also check the battery widget.
This method is fantastic for a quick top-up or when you're out and about without extra accessories. It charges surprisingly fast!
The second method offers a more discreet charging experience, thanks to the Lightning adapter that came with your Apple Pencil. This tiny connector is a true game-changer:
- Again, remove the magnetic cap from your Apple Pencil to reveal its Lightning connector.
- Plug the Pencil's Lightning connector into one end of the tiny adapter.
- Take your standard iPad charging cable and plug its Lightning end into the other side of the adapter.
- Finally, plug the USB-A/USB-C end of your charging cable into a wall adapter or any USB port.
Voila! Your Apple Pencil will now charge much like any other gadget, lying flat and out of the way. This is ideal for charging overnight or when you want to avoid having your Pencil sticking out of your iPad.
Pro Tip: To check your Pencil's battery life, simply swipe down from the top right of your iPad screen (iPadOS 15 or later) or swipe right on your home screen to access the widgets. If you don't see the battery widget, you can easily add it! You only need to connect your Pencil to your iPad briefly for the battery percentage to appear.
See? Charging your Apple Pencil Gen 1 isn't nearly as daunting as its unique appearance might suggest. Whether you prefer the direct-to-iPad quick boost or the more traditional adapter route, you're now equipped to keep your creative companion fully energized. Go ahead, unleash your imagination, draw your masterpieces, and jot down those brilliant ideas – your fully charged Apple Pencil is ready for action!