How To Change An Air Filter In An Apartment

Let's be honest, when was the last time you thought about your apartment's air filter? Probably not since you moved in, right? But guess what? Changing it is actually kind of... empowering! Okay, maybe not superhero-level empowering, but definitely "adulting-like-a-boss" empowering. Plus, it's incredibly easy, saves you money, and improves your apartment's air quality. What's not to love?
So, why bother with this seemingly mundane task? Your air filter's primary job is to protect your HVAC (Heating, Ventilation, and Air Conditioning) system. It's like the bouncer at a nightclub, stopping dust, pollen, pet dander (if you're lucky enough to have a furry friend!), and other airborne particles from getting into the system's delicate parts. Without a filter, or with a seriously clogged one, all that gunk ends up coating the coils and fan, making your system work much harder to heat or cool your apartment. And a hard-working system uses more energy.
Think of it this way: imagine trying to breathe through a really dusty bandana. Not fun, right? Your HVAC system feels the same way. A clean air filter offers a multitude of benefits:
Must Read
- Improved Air Quality: This is a big one, especially if you have allergies or asthma. A clean filter traps those pesky allergens, making your apartment a haven of fresh(er) air.
- Lower Energy Bills: As mentioned, a clean filter helps your HVAC system run efficiently, which translates to lower energy consumption and a lighter hit on your wallet. Cha-ching!
- Extended HVAC System Lifespan: By protecting the system from dust and debris, you're helping it last longer. Replacing an HVAC system is expensive, so preventative maintenance is key.
- Prevent Expensive Repairs: A clogged filter can cause your system to overheat or freeze up, leading to costly repairs. A quick filter change is a much cheaper solution.
Now, for the fun part: actually changing the filter! Here's a simple step-by-step guide:
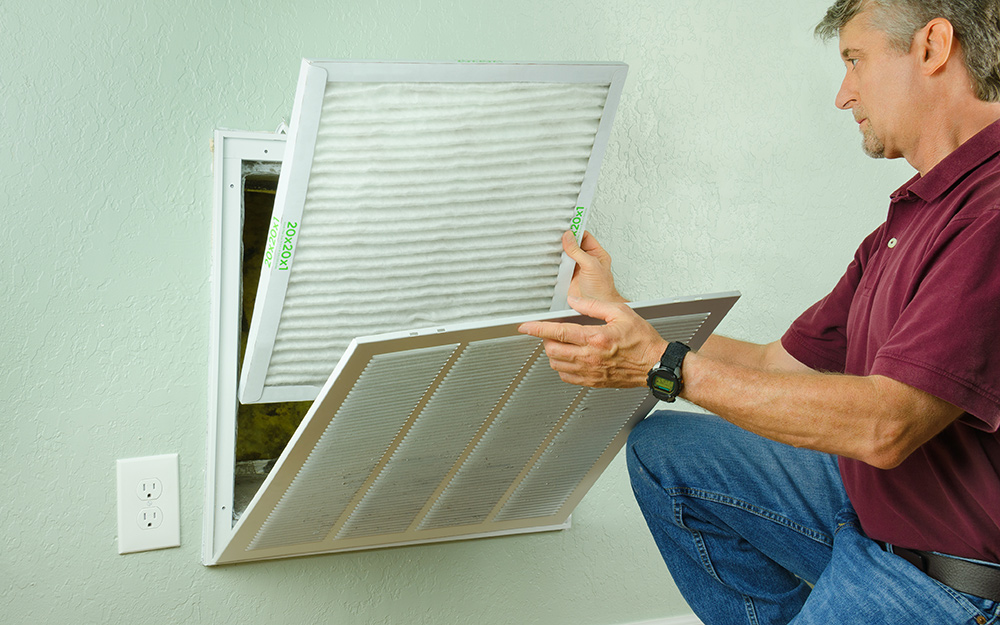
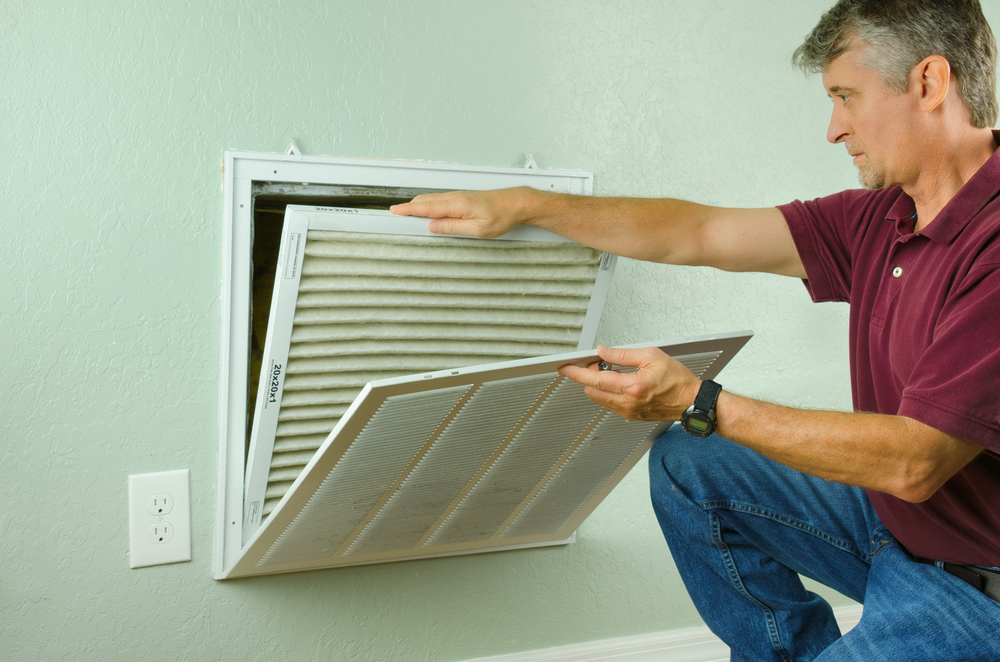
- Find the Filter: In most apartments, the air filter is located in the return air vent, often in a hallway or central area. It's usually a rectangular grille.
- Determine the Filter Size: Before you do anything else, check the size of your existing filter. It's usually printed on the frame (e.g., 16x25x1). Write this down! You'll need it when buying a replacement.
- Buy a New Filter: Head to your local hardware store or order online. Make sure you get the correct size. You don't need the most expensive filter; a standard pleated filter will do the job just fine.
- Turn Off the HVAC System: This is important for safety. Turn off your thermostat.
- Remove the Old Filter: Most vent covers have clips or screws holding them in place. Open the vent, slide out the old filter, and dispose of it responsibly.
- Insert the New Filter: Pay attention to the airflow direction arrow on the filter frame. It should point towards the HVAC system (usually away from the room).
- Close the Vent: Secure the vent cover back in place.
- Turn On the HVAC System: Turn your thermostat back on.
That's it! You've successfully changed your air filter and conquered a small but significant task. Aim to change your filter every 1-3 months, depending on air quality and usage. Set a reminder on your phone so you don't forget. You're now an air filter changing pro, ready to breathe easier and save some cash. Go forth and conquer!