How To Build A Windmill At Home
Ever looked out your window on a blustery day and thought, "Man, I wish I could harness all that free energy?" Of course you have! Who hasn't dreamed of being a backyard mad scientist, a mini-Don Quixote tilting at their own glorious creation? Well, buckle up, buttercup, we're about to dive into building your very own windmill right at home. No huge turbines, no hard hats needed – just pure, unadulterated, wind-powered fun!
Why Bother with a Backyard Breeze-Catcher?
Why build a windmill? Besides the obvious bragging rights ("Oh, that? Just my personal wind farm."), it’s an utterly fascinating peek into how the world works. You'll tap into the same ancient principles that powered civilizations. Imagine, a breezy afternoon could soon be charging your phone or lighting a tiny LED. Plus, it's a fantastic excuse to play with tools and make something awesome. Forget expensive gadgets; this is about pure DIY satisfaction.
Did you know windmills weren't always about electricity? For centuries, they ground grain, pumped water, and sawed timber. Our little project is a nod to that clever history, but with a modern, quirky twist. We're embracing the spirit of invention, one gust of wind at a time!
Must Read
So, What Exactly Are We Building Here?
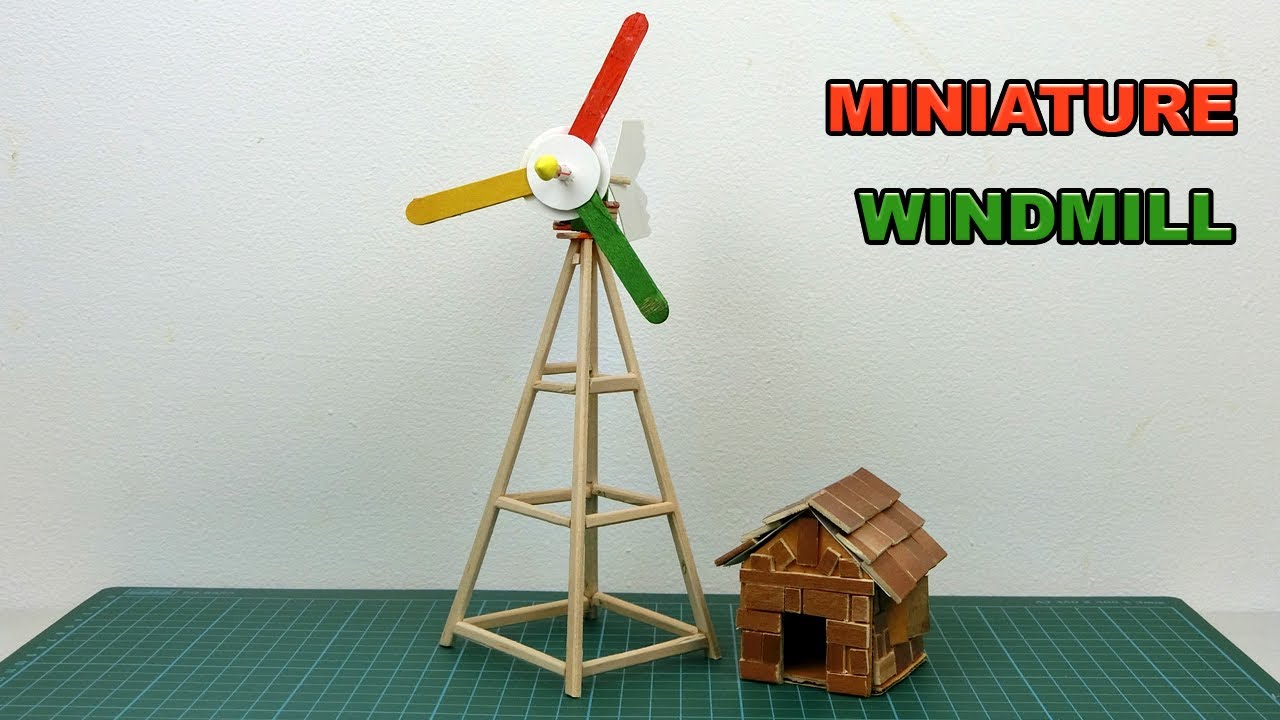
Now, let's be super clear: we're not talking about those colossal giants on wind farms. No, thank you! Those majestic beasts have blades longer than a Boeing 747 wing (true story!). Our version? It's more of a mighty mini-mill. Think desk ornament, science project, or a quirky garden feature that might, just might, charge a small battery or light a tiny bulb. It’s all about the fun of creation and understanding the basics, not powering your whole block. We're chasing curiosity, not kilowatt-hours!
Gear Up! Your DIY Windmill Shopping List (Mostly Household Junk)
Ready to get your hands dirty? Good! Your 'shopping list' is probably lurking in your recycling bin or junk drawer. We're talking resourceful re-purposing here!
- A small DC motor (from an old toy car, printer, or mini fan – this is your generator!).
- Sturdy but light material for blades: plastic bottles, thin PVC, cardboard, or even old CDs.
- A PVC pipe or wooden dowel for your tower/mast.
- A base to keep it upright: a wooden block, heavy plastic container, or a flower pot with sand.
- Wire, tape, glue, scissors, a drill (with adult supervision!), and maybe a small LED light or battery pack to test your power.
- And your imagination – it's the most important tool!
See? Mostly stuff you already have! No need for fancy power tools or a trip to a specialized wind turbine store. We're going old-school, clever-school.
The Whirly-Gig Wizardry: How It Kinda Works
Okay, science time! But don't worry, it's the fun kind. Wind is just air in a hurry, right? When this speedy air hits your carefully crafted blades, it pushes them. Think of it like a sail catching the wind. These blades are attached to a shaft, and when they spin, the shaft spins too. This spinning shaft is connected to your small DC motor.
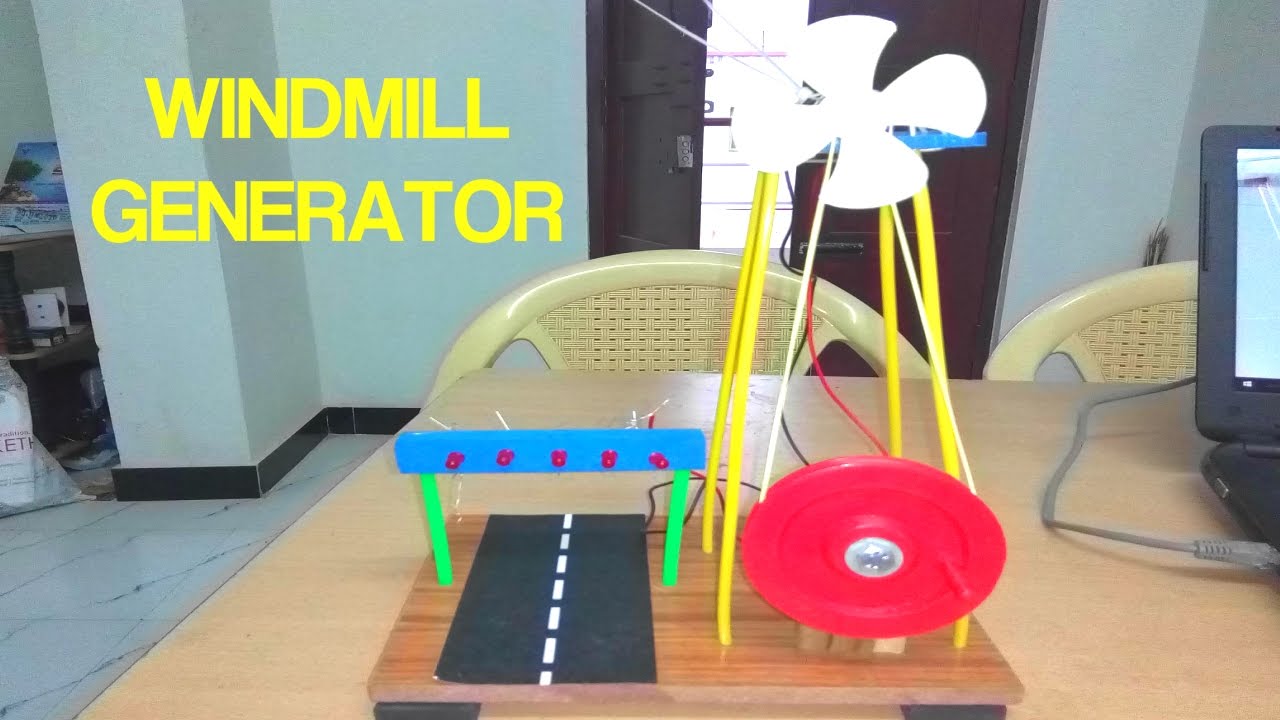
Here's the magic: a DC motor can work in reverse! Instead of using electricity to spin, when you spin it, it generates electricity. Mind. Blown. That tiny bit of electricity then flows through your wires, and poof – a tiny LED lights up! It's literally turning wind energy into electrical energy. Pretty neat, huh?
Let's Get Building! Your Super Speedy Steps
Step 1: The Blades, Baby!
This is where your creativity truly shines! Cut out 3-6 identical blades from your chosen material. Think propeller-shape, slightly curved to catch the wind. A good start might be cutting a plastic bottle lengthwise, then shaping the pieces. Make sure they’re balanced! Balance is key for smooth spinning. Attach them securely to a central hub (a bottle cap works well) that connects to your motor shaft. Get them even, or your windmill will wobble more than a toddler on roller skates.

Step 2: The Mighty Mini Tower
Your tower needs to be strong enough to hold your blades and motor aloft, but not so heavy it topples. A PVC pipe or wooden dowel is perfect. Secure it firmly to your base. You want it tall enough to catch a good breeze, but still accessible. Remember, stability is vital here. No one wants a runaway windmill!
Step 3: The Sparky Bit (Careful!)
Mount your small DC motor at the top of your tower. This is where the magic happens. Ensure the motor's shaft is free to spin and connects easily to your blade assembly. This might involve drilling or hot gluing (adult supervision mandatory for tools and hot glue!). The wires from your motor should run down the tower. Keep them tidy!

Step 4: Connect 'Em Up!
Now for the grand assembly! Attach your blade hub to the shaft of your DC motor. This connection needs to be solid but allow for smooth, free rotation. Next, connect the wires from your motor to your testing device – an LED light, a multimeter, or a small battery charger circuit. Polarity usually doesn't matter for just lighting an LED with a simple DC motor. If you're feeling fancy, Google "DC motor as generator polarity" for charging batteries.
Step 5: The Grand Reveal!
Time for the big test! Take your magnificent creation outside on a breezy day. Does it spin? Does your LED light up? Don't be disheartened if it doesn't work perfectly on the first try! That's half the fun. Adjust blade angles, check connections, maybe try a stronger breeze. Troubleshooting is where the real learning happens. When it finally whirs to life and that tiny light flickers, you'll feel like an absolute genius. You've literally harnessed the wind!
Quirky Windmill Wisdom & Why It's All Worth It
Did you know the earliest known windmills were in Persia (modern-day Iran) in the 9th century? They were vertical-axis windmills, totally different from what we usually picture! Pretty cool, right? Building your own mini-mill isn't just about the finished product; it's about the journey. You learn about physics, engineering, problem-solving, and the sheer joy of creating something from scratch. You'll gain a newfound appreciation for renewable energy and human innovation. So go on, embrace your inner inventor, and let's get those blades spinning!