How Do You Insulate Windows With Bubble Wrap

Okay, so hear me out. Bubble wrap isn’t just for popping! It’s actually a surprisingly awesome, super cheap window insulator. Seriously!
Think about it: all those little air-filled bubbles. They’re basically mini pockets of insulation, trapping air and keeping the cold out. Who knew procrastination packing could be so practical?
Why Bubble Wrap, Though? Is This a Joke?
Nope! It's budget-friendly. We're talking seriously budget-friendly. Way cheaper than new windows. Plus, it's easy to install. No special skills required! If you can use scissors, you're basically a pro.
Must Read
And get this: it’s reusable! Pack it away when summer rolls around and bring it back out when the winter winds start howling. It’s the gift that keeps on giving (warmth!).
Did you know bubble wrap was originally intended to be a wallpaper? Imagine that! Talk about a textured living room.
Bubble Wrap Window Insulation: The DIY Guide
Ready to get bubbly? Here's what you need:

- Bubble wrap: The bigger the bubbles, the better! Aim for the larger size.
- Scissors or a craft knife: For precise cutting. Don't use your good kitchen knives, okay?
- Spray bottle: Filled with water (or slightly soapy water).
- Measuring tape: To get those dimensions just right.
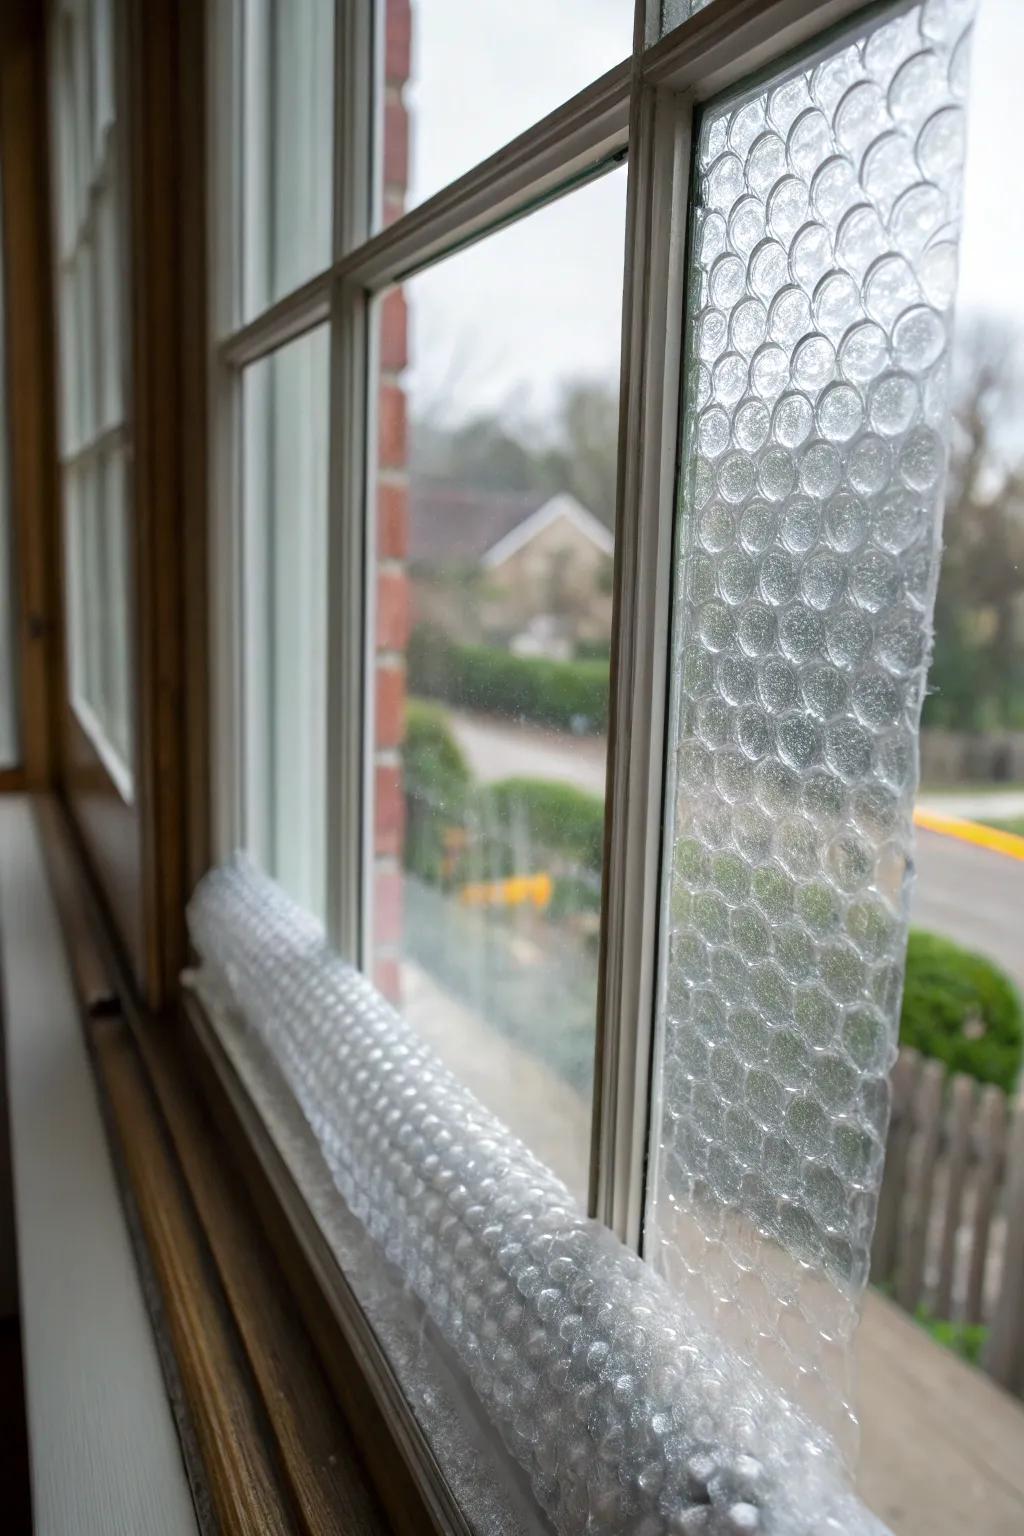
Step 1: Measure Your Windows. This seems obvious, right? But seriously, measure twice, cut once. Nobody wants a sad, too-small piece of bubble wrap clinging desperately to the corner of their window.
Step 2: Cut the Bubble Wrap. Cut the bubble wrap slightly larger than the window pane. You can always trim it down later. Better to have too much than too little. Like that time you accidentally ordered a giant pizza? Remember? Good times (and leftover pizza for days!).
Step 3: Spray the Window. Lightly mist the window with water. Just enough to make it damp, not soaking wet. Think morning dew, not Niagara Falls.
Step 4: Stick It On! Press the bubble wrap, bubble-side down, against the window. Smooth it out with your hands, getting rid of any air bubbles (ironic, I know!).

Step 5: Trim (Optional). If your bubble wrap is a little too big, trim the edges with your scissors or craft knife. Now it looks all neat and tidy.
Voila! Insulated windows! You're basically a DIY genius now. Go forth and conquer the cold!
The Nitty-Gritty: Does It Actually Work?
Okay, let's be real. Bubble wrap isn't going to turn your drafty old windows into super-insulated, energy-efficient marvels. But it does help. It reduces heat loss, minimizes drafts, and can even lower your energy bills a bit.
Think of it like this: it's like putting on a sweater for your windows. It's not a full winter coat, but it definitely makes a difference.
.webp)
Some folks swear it makes their rooms noticeably warmer. Others say they just like the quirky, textured look. Hey, whatever floats your boat (or insulates your windows!).
Bubble Wrap Caveats and Considerations
Light! Bubble wrap will reduce the amount of natural light entering your room. So, maybe don't bubble wrap your only window in your only room. Unless you really hate sunlight.
Clarity. It's not crystal clear. Your view of the outside world will be slightly… distorted. Think looking through a bubbly kaleidoscope. Maybe that’s a plus! Adds a touch of whimsy, right?
Moisture. Keep an eye out for moisture buildup between the bubble wrap and the window. If you see condensation, remove the bubble wrap, dry the window, and reapply. Nobody wants moldy bubble wrap. Ew.
Longevity. Bubble wrap won't last forever. It can get dirty, dusty, or even start to deflate over time. But hey, it's cheap! Just replace it when needed.
Final Thoughts: Embrace the Bubble!
So, there you have it. Bubble wrap window insulation. It's cheap, easy, and surprisingly effective. Plus, it's a fun conversation starter. "Hey, nice bubble wrap windows! Did you insulate yourself, or were you born that way?"
Give it a try! You might be surprised at how much of a difference it makes. And if nothing else, you'll have a good excuse to buy a whole bunch of bubble wrap. For...uh... insulation purposes, of course. Not for popping. Definitely not for popping.
Now, if you'll excuse me, I have some windows to… uh… insulate.