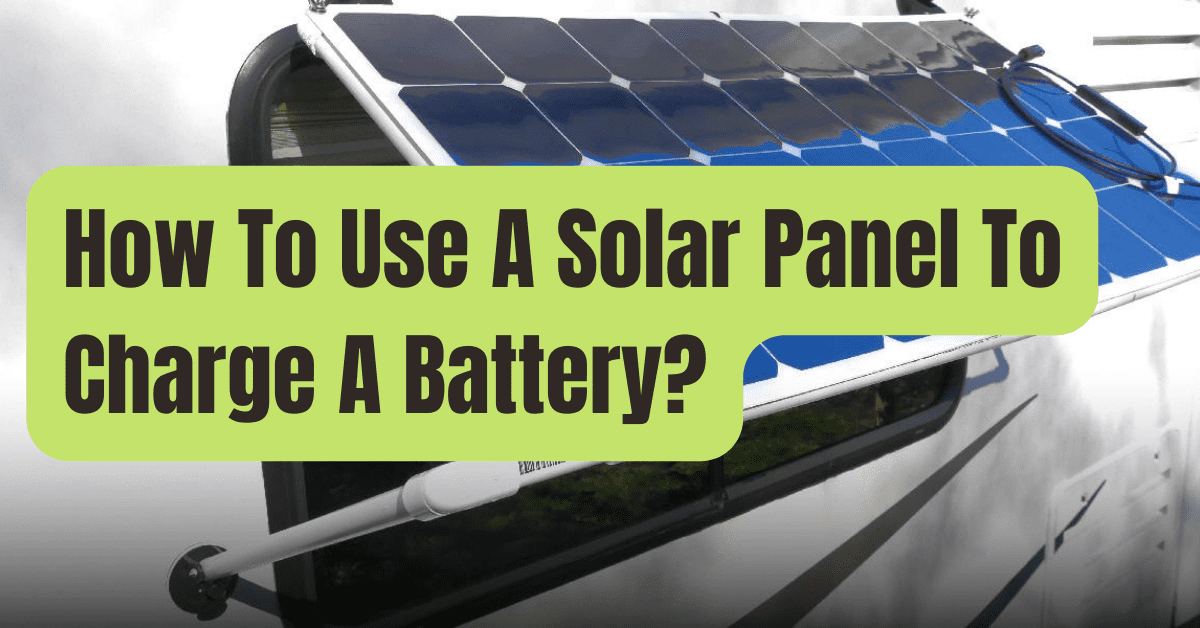
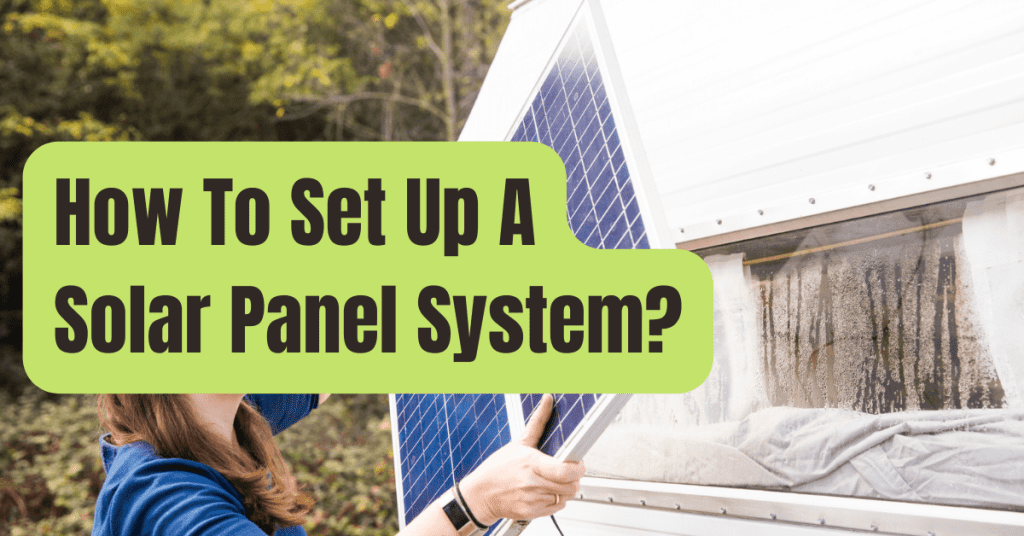
How Do You Hook Up A Solar Panel

Ever gazed at a gleaming solar panel and thought, "Wow, that's cool, but how in the world does it actually work?" You're not alone! The idea of harnessing the sun's power to light up your life is incredibly appealing, and perhaps surprisingly, hooking up a basic solar panel system isn't as daunting as it might seem. It's a fantastic journey into energy independence, a brilliant way to save some cash, and honestly, a pretty satisfying DIY project.
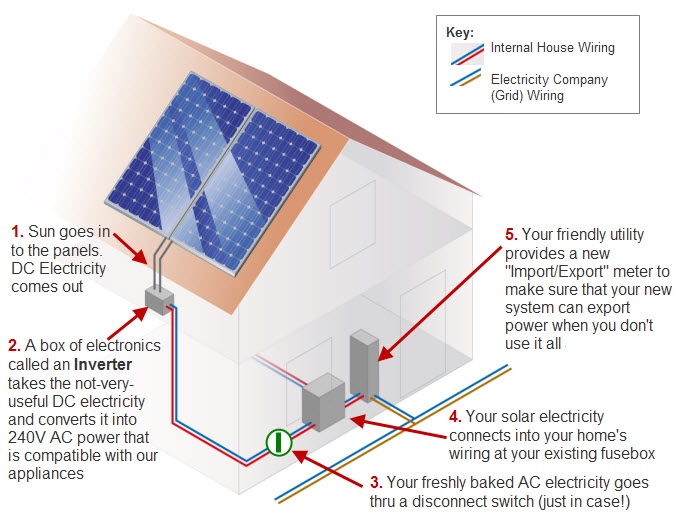
The core purpose of a solar panel is simple yet profound: it captures sunlight and converts it into electricity. This isn't magic; it's physics! The benefits are enormous. Imagine running your gadgets during a power outage, reducing your electricity bill, or even just powering a remote shed or RV with clean, sustainable energy. It’s about more than just saving money; it’s about taking control of your power, reducing your carbon footprint, and experiencing the pure satisfaction of generating your own juice.
So, how do you get that sun-kissed electricity flowing? Let's break down the basic components and the "hook-up" process in a friendly, easy-to-understand way. Think of it like connecting a few essential friends to make a powerful team:
Must Read
- The Solar Panel (The Collector): This is your star player, the big rectangle soaking up the sun's rays. It generates DC (Direct Current) power, which is what batteries use.
- The Charge Controller (The Manager): This is absolutely crucial. It sits between your panel and your battery. Its job? To regulate the power coming from the panel, preventing your battery from overcharging or discharging too deeply, which can severely damage it. Think of it as a smart traffic cop for electrons.
- The Battery (The Storage Unit): If you want power when the sun isn't shining, you need a battery. This is where your collected energy is stored for later use.
- The Inverter (The Translator): Most of our everyday appliances use AC (Alternating Current) power (like what comes out of your wall outlets). Since your panel and battery produce DC, the inverter translates that DC power into AC power. If you're only powering DC devices (like some RV lights or USB chargers), you might not need an inverter.
Now, for the actual connection, remember to always work safely – turn off all power sources before connecting wires! Here's the simplified flow:
- First, connect your solar panel to the charge controller. Pay close attention to polarity – positive (+) to positive and negative (-) to negative. This is non-negotiable!
- Next, connect the charge controller to your battery. Again, maintain that crucial positive-to-positive, negative-to-negative connection.
- If you're using AC appliances, finally connect the battery (or directly from the charge controller, depending on your setup) to the inverter. And yes, you guessed it: respect the polarity.
- Then, plug your AC appliances into the inverter, or your DC appliances directly into the battery/charge controller's DC output.
And there you have it! You've just created a basic solar power system. For small setups like charging a phone, lighting a shed, or powering a camping trip, this foundational knowledge is all you need to get started. For larger home systems, it’s always wise to consult with a professional, but understanding these basic building blocks makes the whole process feel much more accessible. Happy harnessing, sun worshipper!