Picture this: You’re settling in for a cozy movie night, remote in hand, ready to unleash the cinematic magic. You press “play”... nothing. Or maybe your favorite gadget, the one that sings lullabies or makes coffee, suddenly goes silent. A profound hush descends. Panic? Nah! This isn't a crisis, my friend. This is your personal invitation to become a bona fide battery-changing hero!
You might think changing a battery is some sort of arcane art reserved for tech wizards. But let me tell you, it's about as complicated as making a sandwich – and arguably, even more satisfying! It’s a tiny quest, a mini-adventure right in your own living room, and you, yes YOU, are perfectly equipped for the job!
The Grand Adventure Begins: Your Path to Power!
Before we dive headfirst into the glorious task, let's gather our legendary tools. Most of the time, all you'll need are some fresh batteries (the correct size, of course – more on that later!) and maybe, just maybe, a tiny screwdriver. Think of it as your trusty sword for opening the most stubborn battery fortresses. Are you ready? Let’s conquer!
Step One: The Great Unveiling (Finding the Secret Lair)
Every device, from your zippy remote control to that adorable robotic dog, has a secret spot where its power source hides. This is the battery compartment! It’s usually on the back, the bottom, or sometimes the side. Look for a little door, a slider, or a panel held by a tiny screw. It’s like a mini treasure chest waiting to be opened!
Pro Tip: Don't be afraid to gently prod around. Batteries love to play hide-and-seek, but they always leave a clue!
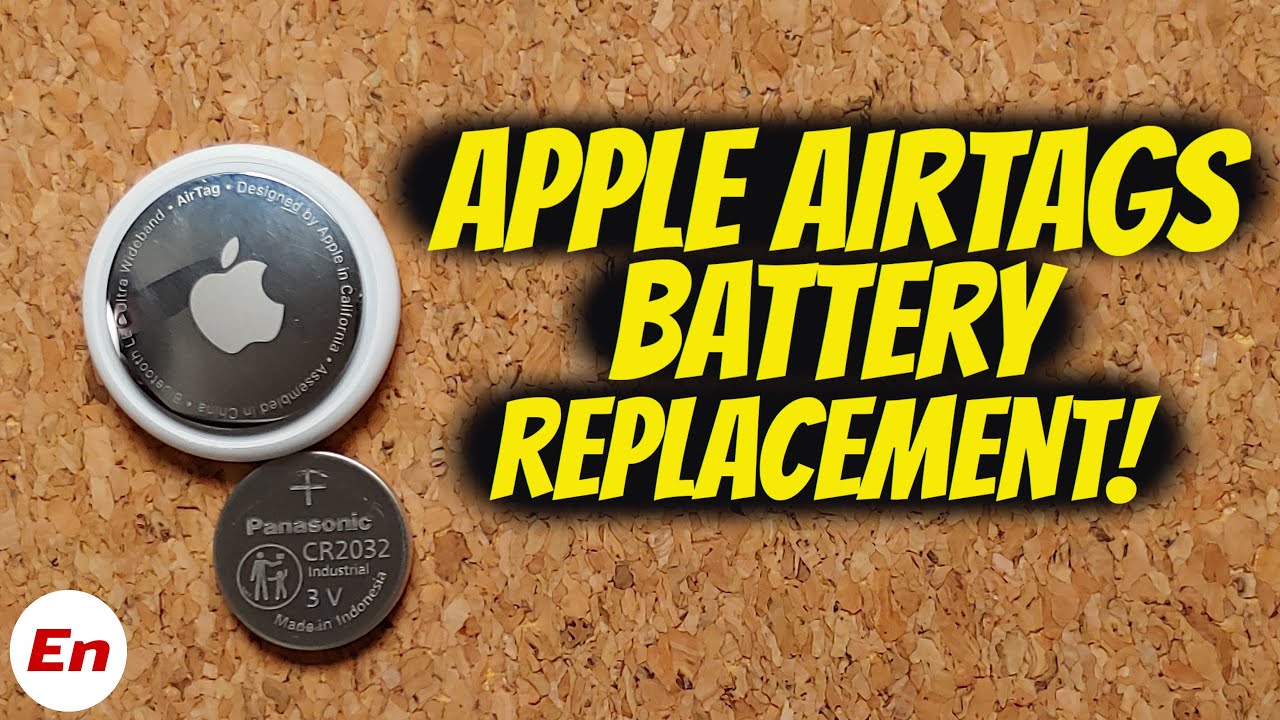
How to Change Battery on Apple AirTags (Battery Replacement)! - YouTube
If there are screws, this is where your trusty screwdriver comes into play. Give those tiny screws a gentle turn, and pop! The compartment door swings open, revealing the sleepy, old batteries ready for retirement.
Step Two: The Mighty Polarity Puzzle (The Art of Plus and Minus)
Before you just yank out the old batteries like you're pulling weeds, take a moment. Pause. Observe. See those little symbols inside the compartment? A plus sign (+) and a minus sign (-)? These are your guiding stars! They tell you exactly which way the batteries should go. It’s like a secret code, but super easy to decipher. The old batteries are already showing you the way, so pay attention!
How To Remove Laptop Battery 🔋|| How To Change Laptop Battery || HP
Step Three: Eviction and Installation (Out with the Old, In with the New!)
Alright, time for some action! Gently remove the old batteries. Sometimes they pop right out, other times you might need a tiny nudge. Think of it as a respectful farewell to your device's past power providers. Now, for the exciting part: installing the new ones!
Remember those plus (+) and minus (-) signs? This is where they become your superpower. Line up the positive end of your new battery (it usually has a little bump) with the positive (+) symbol in the compartment. Then, let the negative end (the flat one) settle into its proper home with the negative (-) symbol. It’s like slotting puzzle pieces together, but with a satisfying click that promises glorious reanimation!
If you have multiple batteries, repeat this magical alignment for each one. Get it right, and your device will thank you with instant gratification!
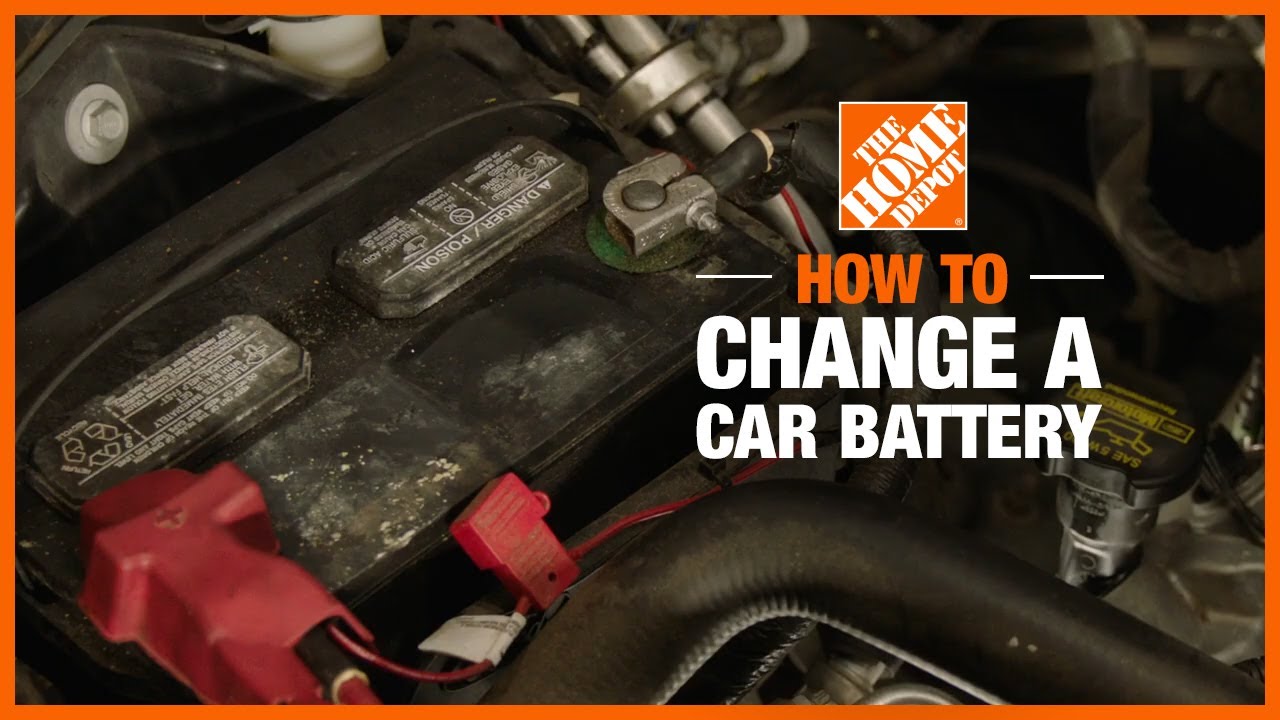
How to Change a Car Battery | DIY Car Repairs | The Home Depot - YouTube
Step Four: The Grand Finale (Sealing the Deal & Testing Your Triumph!)
Once your new batteries are nestled perfectly in their electrical embrace, it's time to close that compartment door. Slide it back, snap it shut, or screw those tiny screws back into place. Give it a gentle wiggle to make sure it's secure. You've just completed the ritual!
Now, for the moment of truth! Point that remote, press that button, flip that switch! Did it work? Did the light flicker on? Did the whirring begin? Did the device spring back to life with renewed vigor? YES! That surge of power, that triumphant beep, that glorious glow – that's the sound and sight of your undeniable success! Feel that rush? You just saved the day!
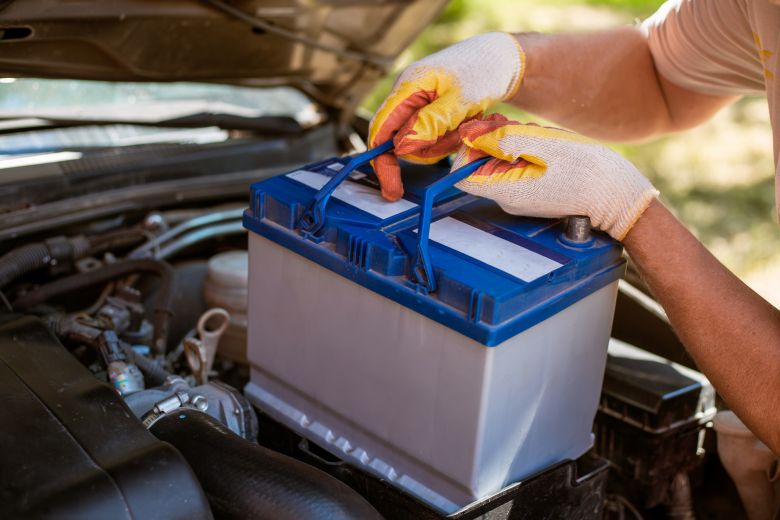
How to change a car battery – complete guide | RAC Drive
A Few Friendly Reminders for Your Battery Brilliance!
The Right Size Matters (Like a Superhero's Costume)!
Just like you wouldn’t wear a cape meant for a squirrel, you can’t put a AA battery where a AAA battery belongs. Always check the device or the old batteries to know what size you need: AA, AAA, C, D, or the chunky little 9-Volt. They're all unique, all important!
Safety First (But Keep it Fun)!
A couple of quick tips to keep your battery-changing journey smooth sailing: Don't mix old batteries with new ones; it’s like trying to run a race with one fast shoe and one slow shoe. And please, please, please, don't just toss old batteries in the regular trash. Many places have special recycling spots for them. It’s a small effort for a big win for our planet!
So there you have it! You are now officially a master of the battery change, a wizard of wattage, a champion of charge! You’ve unlocked a fundamental life skill that will save you from countless moments of electronic despair. Go forth, dear hero, and keep those devices humming! You’ve got the power!