First Alert Fire Alarm Replace Battery
Okay, confession time. We've all been there, right? That tiny, insistent chirp. It starts subtly, a ghost in the machine, almost. You wonder, "Was that... my phone? A bird outside? My sanity?" Then it grows. And grows. Until it's basically screaming, "FEED ME!" right into your soul from some indeterminate location in your ceiling.
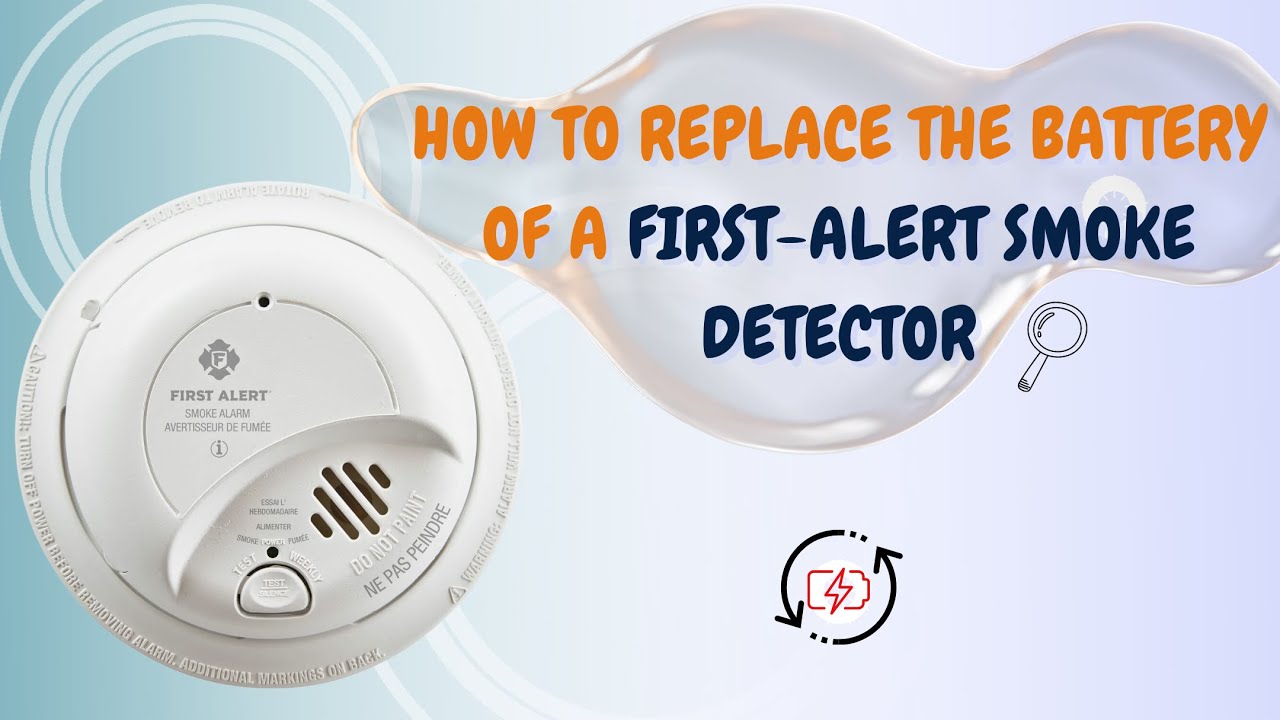
Yes, my friend, we're talking about the dreaded low battery warning chirp from your fire alarm. And if you're like me, half your house is likely equipped with those trusty First Alert units. They're great, honestly, when they're not impersonating a tiny, dying bird.
The Chirp Heard 'Round the House
That chirp isn't just an annoyance, though. It’s actually a super important signal. It’s your First Alert alarm politely (or not-so-politely) telling you, "Hey, my power source is getting a bit weak in the knees. Help a brother out!" And while we all try to ignore it for a day... or three... or five... the truth is, a dead battery means a dead alarm. And that’s a big no-no for safety.
Must Read
So, let's stop procrastinating! Let's conquer that chirp and restore peace (and safety!) to your humble abode. It's shockingly easy, I promise. No fancy tools required. Just a smidgen of courage and, well, a new battery!
Gear Up, Buttercup!
First things first: what kind of battery does your First Alert fire alarm need? Most modern ones, especially the standard models you've probably got, take a 9-volt battery. You know, the rectangular one with two little nubs on one end. If you’re unsure, give your specific model a quick peek – it usually says right on the back or inside the battery compartment. Better yet, grab a couple! You probably have more than one alarm. And once you replace one, another will inevitably start chirping a week later, just to test your resolve.
You'll also need a step stool or a sturdy ladder. Safety first, right? We don't want any impromptu flying lessons. A little screwdriver might be helpful for some older models that have a tiny screw holding the battery compartment cover, but honestly, most First Alert alarms are gloriously tool-free.
The Big Reveal: How to Swap That Battery
Alright, armed with your 9-volt and your elevated platform, you're ready for action!
Step 1: Locate the Culprit. Find the chirping alarm. If you have multiple and you're playing "fire alarm Marco Polo," good luck. It's usually the one directly above your head when you finally pinpoint it.

Step 2: Twist and Shout (or just Twist). Most First Alert alarms are designed to twist off their mounting bracket. Look for arrows or labels on the side. You'll usually twist it counter-clockwise a quarter turn or so, and it should slide right off. Don't yank it! Be gentle, it's been a good little alarm.
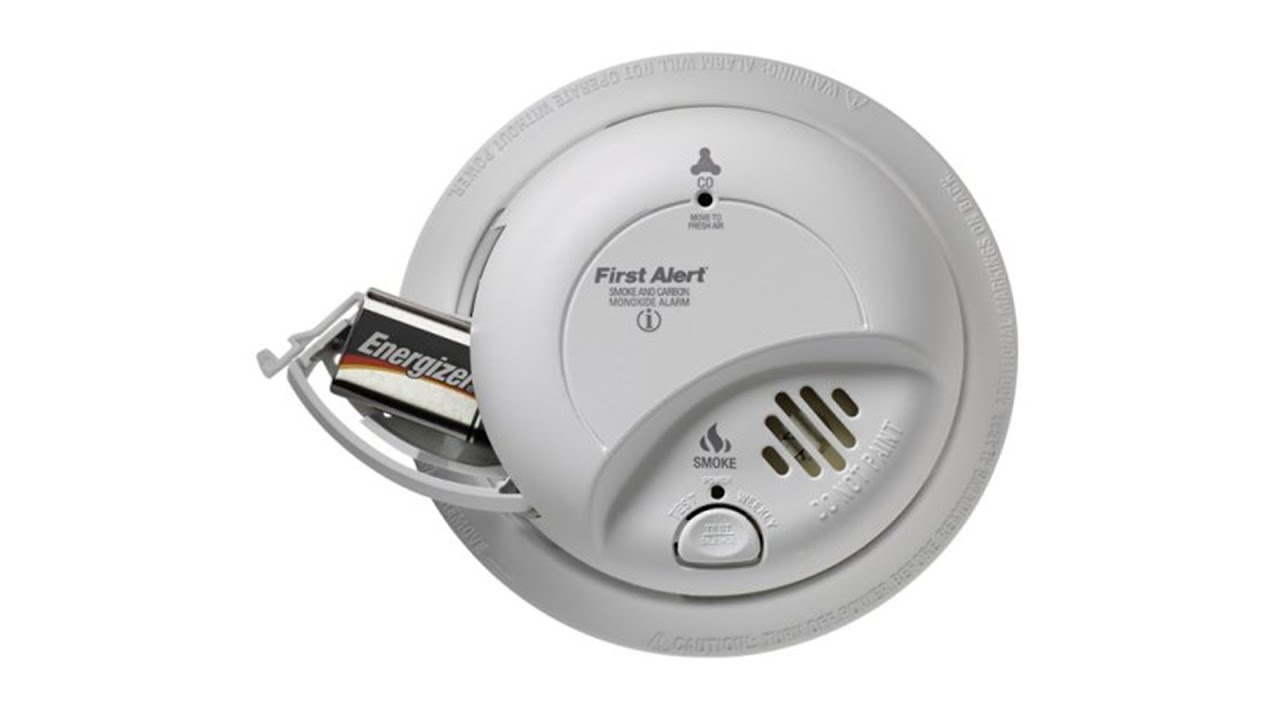
Step 3: Open 'Er Up. Once it's in your hands, you'll see the battery compartment. This is usually a small cover on the back or side. Many have a little tab you push or squeeze to pop it open. Again, no tools needed for most. If yours has a screw, that's where your tiny screwdriver comes in handy.
Step 4: The Old Switcheroo. You'll see the old 9-volt battery nestled in there. Simply unclip it from its terminals. They can be a bit snug, but a gentle wiggle should do the trick. Pop that old, dead battery out. Give it a proper send-off. Recycle it if you can!

Step 5: New Power, New Life! Take your fresh 9-volt battery. Line up the positive (+) and negative (-) terminals with the clips in the alarm. It only goes in one way, so don't force it. Clip it firmly into place.
Step 6: Close and Test. Snap the battery compartment cover back on. Make sure it's secure. Now, for the moment of truth! Most fire alarms have a "Test" button. Push and hold it for a few seconds. You should hear a loud, piercing alarm sound. Don't worry, that's a good sign! It means your alarm is working perfectly with its new battery. Release the button, and the sound should stop.
Step 7: Re-mount. Align the alarm back onto its ceiling bracket. Twist it clockwise until it locks securely into place. You'll often feel or hear a little click. Give it a gentle tug to make sure it's not going to fall on your head.

Sweet, Sweet Silence (and Safety!)
And there you have it! The chirp is gone. Your home is safe. You've officially conquered a minor household task that probably felt like a monumental chore for longer than you'd care to admit. Take a bow, you superstar!
A little tip from your friendly neighbor: make it a habit to change your fire alarm batteries at least once a year. A common and easy-to-remember trick is to do it when you change your clocks for Daylight Saving Time. That way, you'll never have to play "Where's That Chirp Coming From?" again. Or at least, not for a whole year!
You got this. Go forth and enjoy the sound of... nothing. Pure bliss.