Ever look at those perfectly smooth, shiny welds and wonder how they're made? Most likely, you're admiring a TIG weld – the superhero of precision and beauty in the metalworking world. If you already own a stick welder, you might think getting into TIG means buying a whole new, expensive machine. But here's a fun secret: you can often convert your existing stick welder to TIG! It’s a bit like giving your trusty old workhorse a fancy new accessory that unlocks a whole new set of skills. It’s popular because it’s a smart, budget-friendly way to expand your welding capabilities and tackle projects with a finesse you might not have thought possible.
So, why would you want to do this? For beginners and hobbyists, it's an incredible gateway. Instead of dropping a huge sum on a dedicated TIG unit, you can get your feet wet using equipment you already understand. It’s perfect for learning the delicate dance of TIG welding – controlling the arc, adding filler metal, and mastering torch angle – without the pressure of a massive investment. For those who enjoy tinkering, making metal art, or doing home repairs, converting to TIG offers unparalleled versatility. Imagine being able to create cleaner, stronger, and more aesthetically pleasing welds on thinner materials, stainless steel, or even delicate repairs around the house that a stick welder might blow right through. It opens up a world of possibilities for custom fabrication, automotive work, or even just building that perfect metal shelf you’ve been dreaming of.
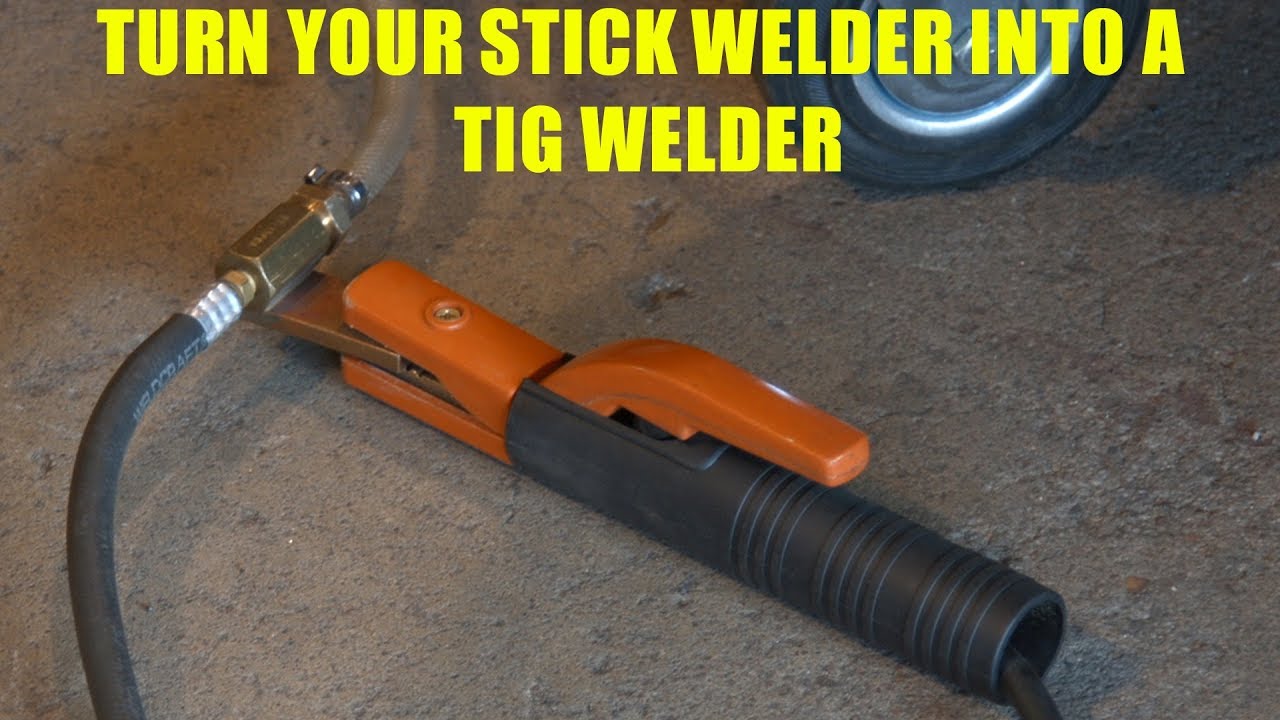
The conversion process usually focuses on what’s called DC TIG (Direct Current TIG), which is fantastic for welding steel and stainless steel. It’s important to note that most stick welders won't convert to AC TIG, which is what you need for aluminum. But for everything else, DC TIG is a game-changer! The simplest form of conversion is often called scratch start TIG. This involves adding a special TIG torch (with a gas valve built-in), an argon gas cylinder, and a regulator to your stick welder. You connect the TIG torch to the negative terminal (for steel and stainless), and your ground clamp to the positive. To start the arc, you gently touch the tungsten electrode to the workpiece and quickly lift it away, much like striking a match. Some modern stick welders even have a "lift arc" feature that makes for a cleaner start, but scratch start is perfectly effective for getting going.
Ready to try? Here are some simple, practical tips. First, you'll need the essentials: an argon gas cylinder, a gas regulator, a TIG torch with a manual gas valve, and some tungsten electrodes (usually 2% lanthanated is a good all-rounder). You’ll also need appropriate filler rod for the metal you’re welding. Second, safety first! Always wear a proper welding helmet (auto-darkening is great), gloves, and protective clothing. Ensure you have good ventilation. Third, when you set up, make sure your TIG torch is connected to the negative terminal of your DC stick welder, and your ground clamp to the positive. Cleanliness is king in TIG welding; thoroughly clean your base metal of any rust, paint, or contaminants. Finally, practice, practice, practice! Start on scrap metal, getting a feel for the arc, the puddle, and feeding the filler rod. It takes patience, but it’s incredibly rewarding.
Converting your stick welder to TIG isn't just about adding new equipment; it's about unlocking new potential in yourself and your existing tools. The satisfaction of laying down a perfect TIG weld is immense, a testament to skill and patience. It’s a journey of learning that offers both practical benefits and immense personal enjoyment. So, why not give your trusty stick welder a new lease on life and dive into the beautiful world of TIG welding?