Changing Battery On Liftmaster Keypad
Ever noticed your trusty LiftMaster keypad giving you the digital cold shoulder? Maybe its numbers are looking a little dim, or it’s just not responding with its usual cheerful click-clack? Fear not, fellow home hero, because you’re about to embark on a mini-quest to restore its zesty, full-powered glory!
This isn't rocket science; it's more like a cozy Sunday afternoon craft project, but with the added bonus of making your life a tiny bit smoother. Think of yourself as a master mechanic, but instead of greasy wrenches, you might just need a tiny screwdriver and a can-do attitude. Get ready to feel like a superstar!
The Great Keypad Awakening: Finding the Power Source!
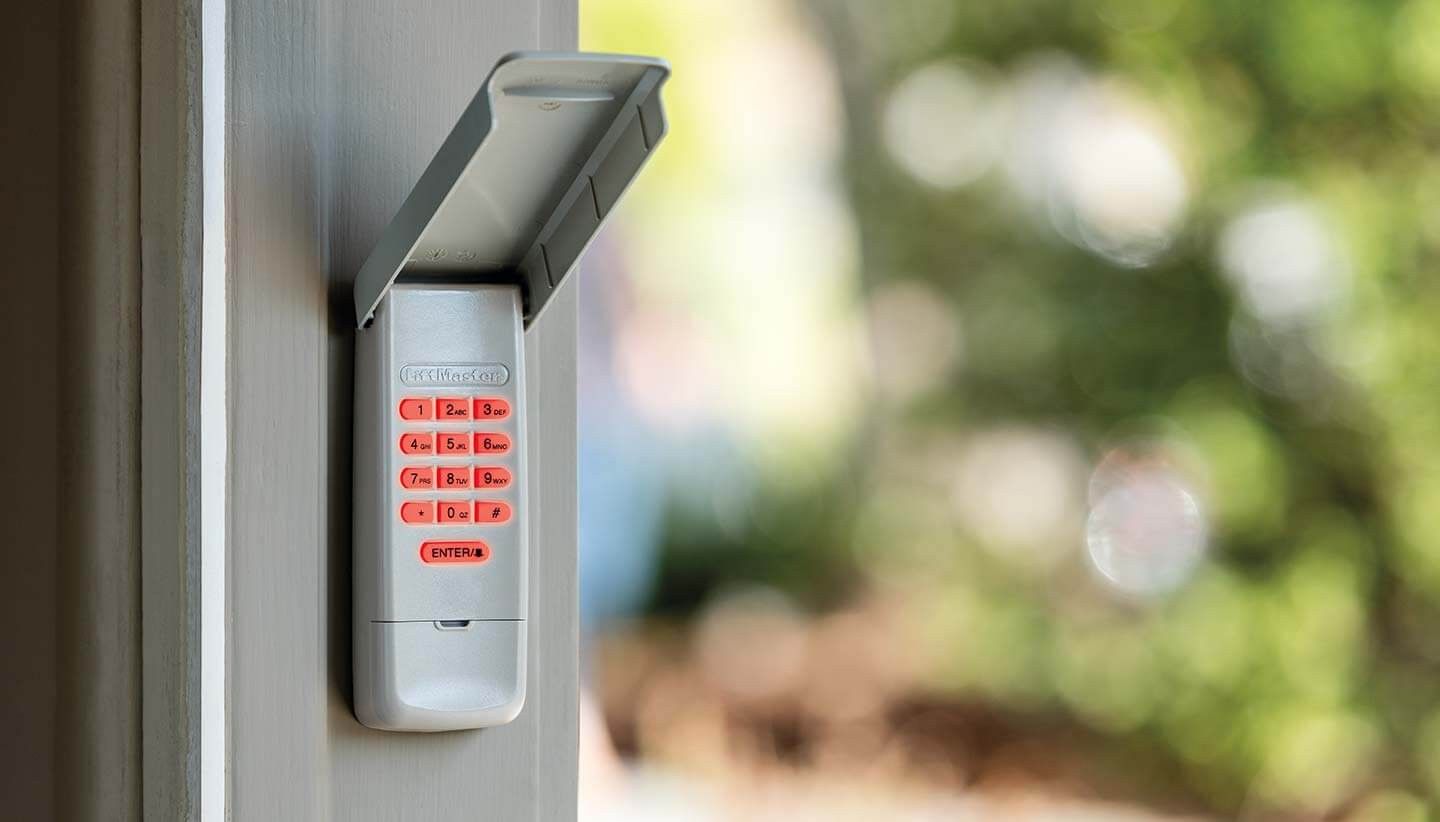
First things first, let’s get acquainted with your keypad. It’s probably attached to the wall, looking all official and important, but we know its secret: it runs on a battery, just like your favorite TV remote or that squeaky toy your pet adores. We’re going to find that battery and give it a much-needed spa day (i.e., replace it!).
Must Read
Gently coax your LiftMaster keypad from its wall mount. Some keypads slide up and off, while others might have a tiny latch at the bottom that you push in. Be brave, but gentle; we’re not performing surgery, just a friendly lift-off.
Remember, no need for Herculean strength here! Your keypad is a friend, not a foe. A little wiggle usually does the trick.
Once it's in your hands, flip it over like you're inspecting a delicious gourmet pancake. You're looking for the battery compartment, which often has a small screw or a clip, patiently guarding its precious cargo. It’s like a tiny treasure chest!
Unlocking the Power Chamber: The Grand Reveal
The Tiny Guardian Screw
See that little screw? It's probably a Phillips head, so grab a screwdriver that fits perfectly, like a glove on a super-spy's hand. This is your moment to shine, screwdriver ninja!
Carefully unscrew it – righty tighty, lefty loosey, as the old saying goes. Don't let that screw make a daring escape; put it somewhere safe, like a tiny bowl or even your pocket, so it doesn't wander off on its own adventure. We don't want any missing puzzle pieces later!
The Sneaky Clip Mechanism
If there's no screw, you might have a clever clip! Look closely for a small tab or indentation that you can press or slide. It's designed to be easily opened, almost like a secret handshake between you and your keypad.
A gentle push or slide should unlatch the cover, revealing the inner workings. Consider yourself a master code-breaker now, accessing the heart of the operation! You're doing absolutely fantastic.
The Heart of the Matter: Battery Identification!
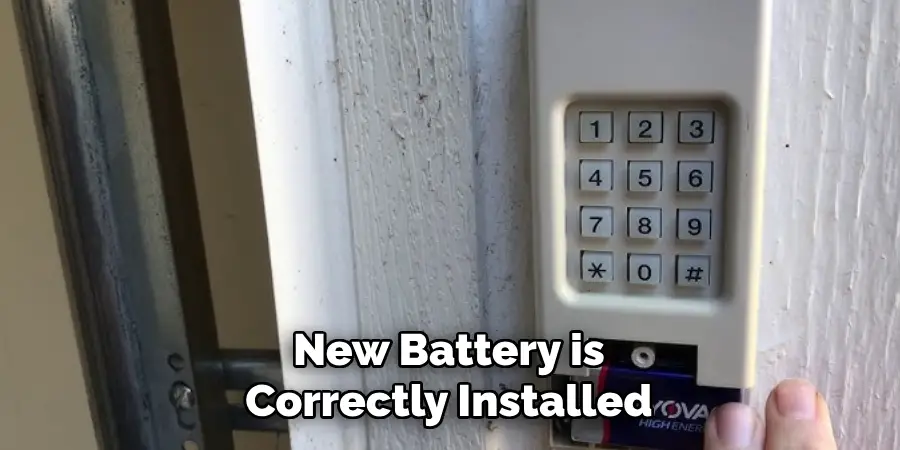
With the cover off, you'll see the old battery nestled inside, looking a bit tired, perhaps. It’s done its duty, powered countless comings and goings, and now it’s ready for a well-deserved retirement. You might find a single 9-volt battery, looking like a little rectangular block with two snaps on top.

Or, perhaps, you'll uncover a delightful duo (or trio!) of AAA batteries, lined up like tiny, energetic soldiers. Whatever the type, make a mental note, or even better, snap a quick photo with your phone. This way, you’ll know exactly what kind of fresh power cell to grab.
Pro-tip: Always match the battery type! A 9-volt cannot magically transform into a AAA, no matter how much you wish it to.
The Gentle Eviction and the Royal Installation
Out with the Old, In with the New!
Carefully unclip or pop out the old battery. For a 9-volt, gently pull on the clips until it detaches, like saying goodbye to an old friend. If they are AAAs, they usually just lift right out.
Now, for the exciting part: grab your brand-spanking-new, fully charged battery! This is the fresh blood, the surge of life, the pure energy your keypad has been craving. Feel the power!
Insert the new battery, making sure to match the positive (+) and negative (-) terminals. This is crucial, like putting your shoes on the correct feet! The 9-volt snaps into place, while the AAAs usually have little diagrams to guide you.

Take a moment to admire your handiwork. The fresh battery looks so vibrant, ready to get to work!
The Grand Reassembly: Button Up!
With the new battery gleaming proudly in its spot, it’s time to close up shop. Carefully replace the battery compartment cover, making sure it aligns perfectly. It should fit snugly, like a lid on a well-made box.
If you had a screw, retrieve that tiny wanderer and gently screw it back into place. Don't overtighten; a gentle snugness is all that’s needed to secure the cover. If it was a clip, simply press or slide it back until you hear that satisfying click.
Reattach your LiftMaster keypad to the wall mount. Give it a little pat. You've just performed a minor miracle!
The Moment of Truth: A Symphony of Digits!
Alright, deep breath! This is where you witness the fruits of your labor. Press a few buttons on your keypad. Do the numbers light up brightly, with a newfound vigor? Does it feel responsive and alive?

Go ahead, punch in your code! Listen for that familiar, reassuring sound of your garage door obeying your command. Success! Your LiftMaster keypad is back in business, brighter and more responsive than ever, all thanks to YOU.
Feel that surge of triumph? That's the power of DIY, my friend!
You’re a Tech Wizard!
Look at you, conquering technology one battery change at a time! You tackled a common household hiccup with grace, skill, and perhaps a tiny bit of playful exaggeration, and you emerged victorious. No more dim numbers or unresponsive buttons for you!
You didn’t just change a battery; you restored harmony to your daily routine, ensured seamless access, and proved that you are perfectly capable of handling those little techy tasks. Go ahead, give yourself a pat on the back, because you absolutely deserve it.
Your LiftMaster keypad is smiling, your garage door is happy, and most importantly, you're radiating competence. Keep that adventurous spirit alive, because who knows what other tiny household quests await your heroic touch!