Changing Battery On Garage Door Keypad

Ever had that moment where you’re standing at your garage door, hands full, and your trusty remote is nowhere to be found? Or perhaps you're out for a walk, enjoying the fresh air, and realized you left your house keys inside? That’s where the unsung hero, the garage door keypad, steps in. This little device offers a surprising amount of convenience and security, and learning a tiny bit about it – specifically, how to change its battery – isn't just a practical skill; it's a fun little peek into the everyday tech that makes our lives smoother. Think of it as a mini-adventure into home maintenance, a small victory you can claim without needing a single special tool beyond a screwdriver!
The core purpose of your garage door keypad is wonderfully simple: to give you keyless entry to your garage. No fumbling for a remote, no worrying about lost keys. It works by sending a secure radio signal to your garage door opener when you input your personalized code, telling it to open or close. The benefits are numerous: imagine your kids coming home from school and being able to let themselves in, or needing to grant access to a pet-sitter or delivery person without giving them a physical key. It's also an incredible backup plan. If your power goes out (and your opener has a battery backup), or your primary remote decides to take a permanent vacation, your keypad is often still your reliable friend, ensuring you're never truly locked out. A fresh battery means this reliability is always there when you need it most, making life just that much more stress-free.
The everyday utility of a well-maintained keypad is truly impressive. Picture a crisp autumn morning: you decide to go for a jog, leaving your bulky keys and phone behind. With a keypad, you can simply punch in your code to get back into your garage, no fuss. Or consider a more practical scenario: you’re expecting a package delivery that needs to be secured, and you can provide the courier with a temporary code. In educational settings, understanding simple electronic devices like this can even spark curiosity about basic circuits and signals. In daily life, it empowers you to manage access to your home with flexibility and control, whether it's for family, trusted friends, or essential services. It’s more than just a button; it’s a tiny hub of convenience that silently serves you, day in and day out, provided it has a little juice.
Must Read
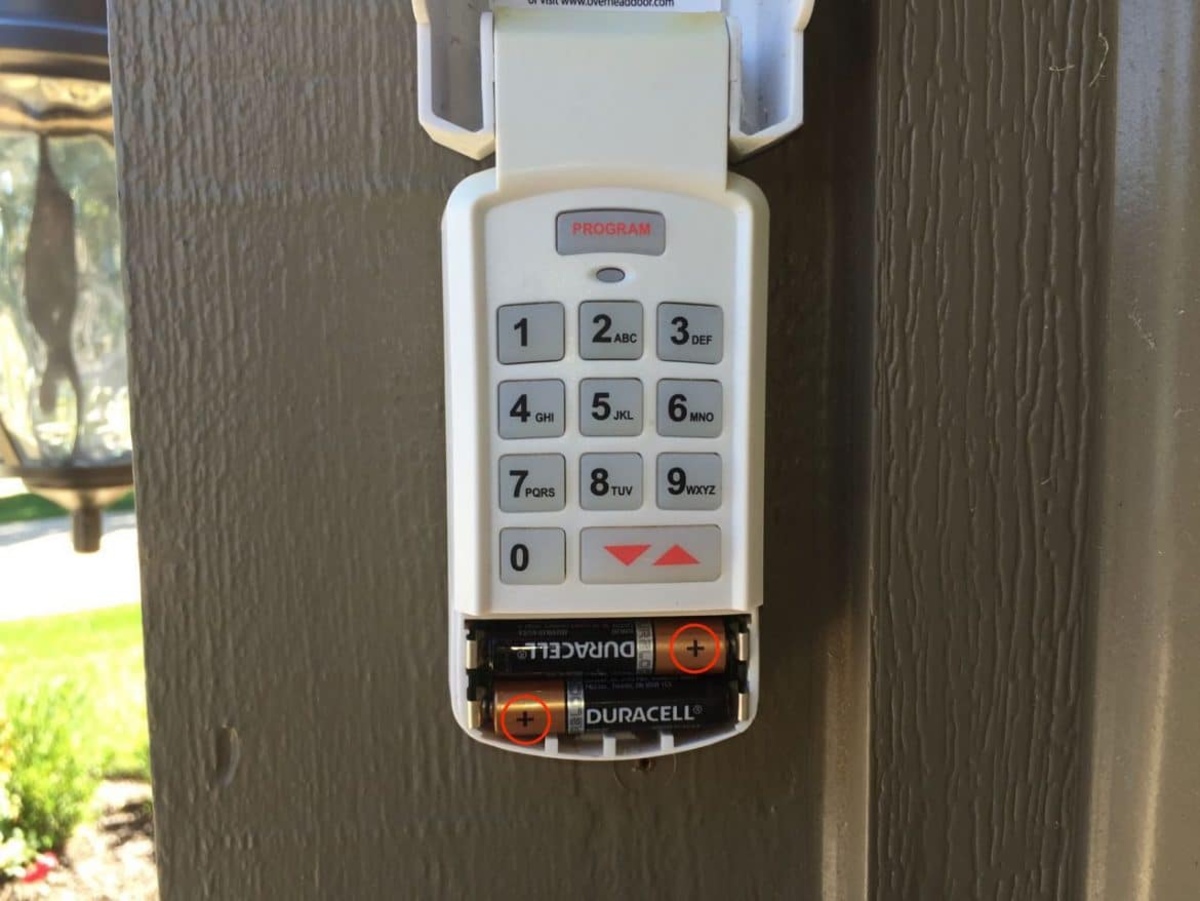
So, how can you explore this little piece of tech and ensure it’s always ready for action? It's remarkably simple! First, identify your keypad’s model – often, the brand name is visible. Next, gather your tools: usually, just a small Phillips-head or flathead screwdriver will do, though some might require a Torx bit. You’ll also need new batteries; common types are AA, AAA, or 9V, and often the battery compartment itself will tell you what you need. To change them, look for a small screw or latch on the bottom or back of the keypad. Unscrew or unlatch it, gently remove the cover, and note the orientation of the old batteries before popping them out. Insert the fresh ones, making sure the positive and negative terminals match, replace the cover, screw it back on, and then – the crucial step – test it out! If it doesn't work, double-check the battery orientation or try a different set of new batteries. Don't be afraid to consult your keypad’s manual or even a quick YouTube search for your specific model; it's a tiny task that brings a big sense of accomplishment and ensures your garage door access is always at your fingertips.