Changing Batteries In Smoke Detectors Hard Wired

Ah, the sweet symphony of home! The gentle hum of the refrigerator, the distant rumble of traffic, the occasional squirrel tap-dancing on the roof... and then, the high-pitched, insistent, ear-splitting chirp that instantly shatters your peace. Welcome, my friends, to the glorious world of smoke detector battery changes! While few would claim this particular domestic chore brings forth unbridled joy, there's a profound, almost primal satisfaction that comes with silencing that incessant beeping and knowing you've restored your home's vigilant guardian. It's less about enjoying the act itself, and more about enjoying the serene silence that follows, coupled with the warm glow of responsible adulting.
The core benefit of our hardwired smoke detector is simple: it saves lives. These silent sentinels provide crucial early warning during a fire, giving you and your loved ones precious minutes to escape. While hardwired units draw primary power from your home's electrical system, that little battery inside isn't just for show. It's your lifeline during a power outage, ensuring your detector remains vigilant even when the lights go out. For everyday life, this means consistent, reliable protection, offering an invaluable layer of safety and, perhaps more importantly, immense peace of mind. You sleep sounder knowing your home is guarded, even in the dead of night.
You'll find these crucial devices scattered throughout your home – hallways, bedrooms, and sometimes even the kitchen. The most common "application" of changing their batteries, unfortunately, is often reactive: the 3 AM chirp that announces, with piercing regularity, that a battery is nearing its end. Another common scenario is during routine home maintenance or when you simply can't ignore the little red light blinking a warning. Most homeowners experience the mild panic of trying to locate the offending chirper among a ceiling full of white disks. It's a rite of passage, a true test of one's patience and ladder-climbing skills, leading to that ultimate goal: blissful quiet.
Must Read
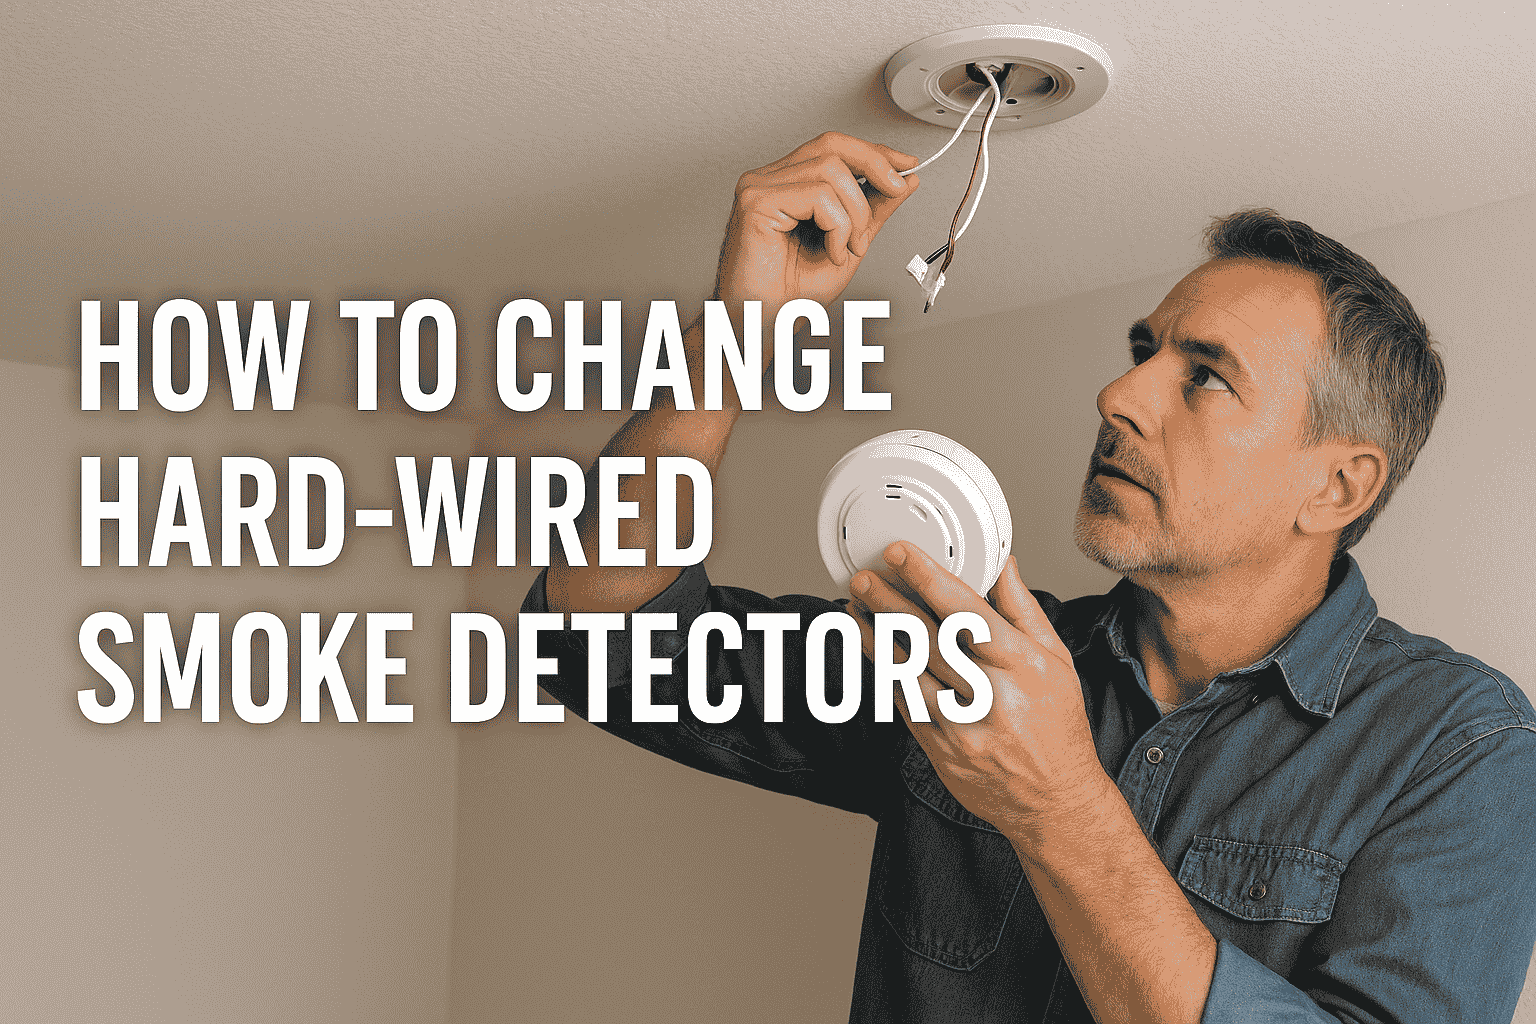
So, how can you "enjoy" this essential task more effectively? First, be proactive, not reactive. Mark your calendar for a twice-yearly battery change, perhaps with Daylight Saving Time. This way, you swap them out before they start their maddening chorus. Second, always have the right tools: a sturdy step ladder or stool, and the correct battery (usually a 9-volt, but some might take AA or AAA – check your manual!). Before you climb, give the detector a quick twist to detach it from its base. Once down, pry open the battery compartment, often with a small screwdriver, and swap out the old for the new. While you're up there, give the vents a quick dusting with a soft brush or vacuum attachment; dust can impede sensor function.
After installing the fresh battery, carefully reattach the detector to its base. Here's a crucial tip for hardwired units: once the new battery is in, press and hold the test button for 15-20 seconds. This often performs a hard reset, clearing any residual "low battery" memory and ensuring the detector fully recognizes its new power source. Once you hear that satisfying loud chirp (the one you want to hear), you know it's working. Don't forget to test all your detectors every month with a quick button press! Embracing these simple steps transforms the dreaded chirp into a predictable, manageable task, allowing you to quickly return to the things you truly enjoy, all while resting easy knowing your home is safely protected.