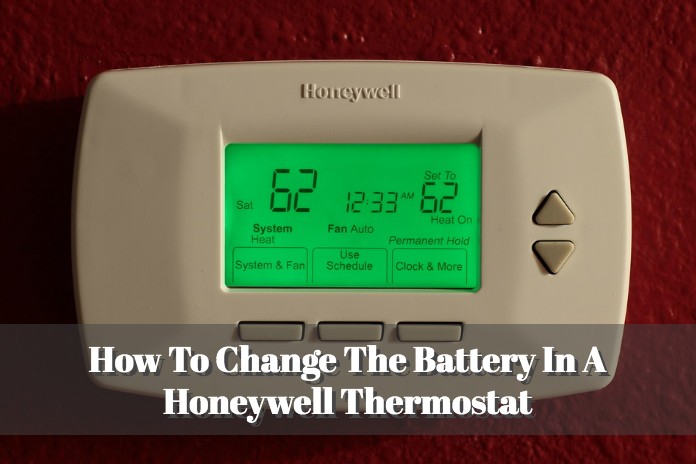
Change Battery Honeywell Home Thermostat

You know that feeling, right? It’s the dead of winter (or the scorching summer, pick your poison), and you wake up to find your beloved home feeling… off. A little too chilly, maybe, or suddenly resembling a sauna. You stumble out of bed, still half-asleep, and make a beeline for your thermostat, hoping to nudge it back into submission. But wait. The screen is dim. Or worse, it’s completely blank. Panic starts to set in. "Oh no," you think, "the furnace is dead! The AC has kicked the bucket! This is going to cost a fortune!"
Been there, felt that lump in my throat, pictured dollar signs flying out the window. More than once, actually. And then, a little voice (usually my own, after a moment of irrational dread) pipes up: "Hey, genius. Did you try the batteries?" And just like that, the impending doom dissipates, replaced by a slight flush of embarrassment and a healthy dose of relief. Because, more often than not, for your trusty Honeywell Home Thermostat, that blank screen or erratic behavior is just a cry for some fresh juice.
Why Your Thermostat Needs a Snack (aka New Batteries)
Your Honeywell Home Thermostat, especially the non-hardwired models, relies on batteries to function. These little powerhouses keep the display lit, the sensors running, and allow it to communicate with your heating and cooling system. When they start to fade, things get weird. It's like trying to run a marathon on an empty stomach; you just can't perform at your best, can you? And your thermostat is no different.
Must Read
Keeping those batteries fresh isn't just about avoiding a meltdown during extreme weather. It also ensures your system runs efficiently, saving you money in the long run. Plus, it’s arguably one of the easiest DIY fixes you’ll ever tackle around the house. Seriously, if you can open a remote control, you can do this!
Signs Your Thermostat Is Running on Fumes
Before it goes completely dark on you, your Honeywell thermostat will often give you a heads-up. Look out for:

- A low battery indicator on the display (usually a little battery icon).
- The screen becoming dim or hard to read.
- The thermostat becoming unresponsive or showing incorrect temperatures.
- Your heating or cooling system not kicking on when it should, or running erratically.
If you see any of these, consider it your cue. Don't procrastinate, or you might just end up shivering with regret. Trust me on this one.
Okay, Let's Get Down to Business: The Battery Swap!
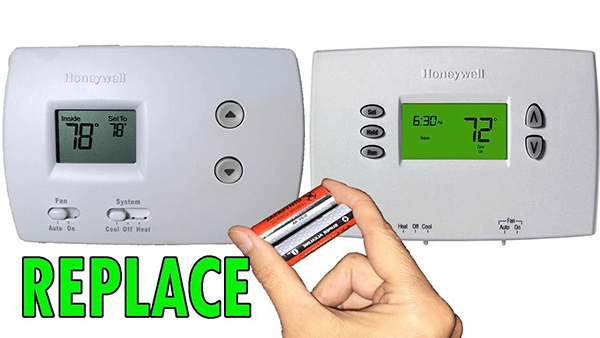
Alright, no more dilly-dallying. Here’s how you give your Honeywell Home Thermostat the energy boost it needs. Gather your supplies – usually two AA or AAA alkaline batteries. Check your thermostat's manual if you're unsure, but these are the most common culprits.
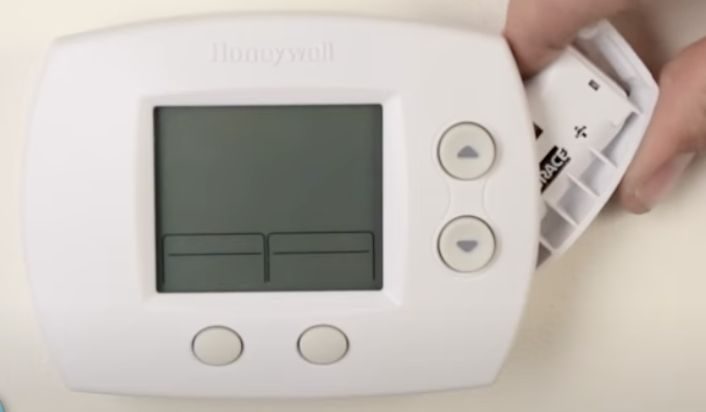
Step 1: The Gentle Pull
Most Honeywell Home Thermostats have a faceplate that detaches from the wall unit. You'll typically need to pull the faceplate gently straight out from the wall. Some might have small tabs on the top or bottom that you press first. Don't be afraid to apply a little steady pressure, but don't yank it like you're trying to win a tug-of-war. You're aiming for finesse, not brute force, here.
Step 2: Locate the Battery Compartment
Once the faceplate is off, flip it over. You should see the battery compartment right there, often clearly labeled. It’s usually a rectangular slot or a small door.
Step 3: Out with the Old, In with the New
Remove the old, drained batteries. Then, pop in your fresh AA or AAA alkaline batteries. Pay close attention to the polarity (the + and - symbols). This is crucial! Putting them in backward is like trying to drive a car in reverse to go forward – it just won't work.
Step 4: Reattach the Faceplate
Line up the faceplate with the wall unit and gently push it back into place. You should hear a satisfying click or feel it snap securely. If it doesn't go on easily, double-check that nothing is misaligned. Don't force it.
Step 5: Test It Out!
Once the faceplate is back on, the display should light up immediately. Take a moment to verify that it's working properly. Try adjusting the temperature up or down. Your thermostat might go through a brief setup or reconnection phase, which is totally normal. Within a minute or two, it should be back to its old self, but with a renewed vigor!
Pro-Tips & What If It Still Acts Up?
- Annual Ritual: Make battery changing an annual tradition. Perhaps when you change your smoke detector batteries, or at the start of heating/cooling season. Mark it on your calendar!
- Quality Matters: Use good quality alkaline batteries. They last longer and perform more reliably.
- Still Wonky? If your thermostat still isn't working after a battery change, double-check the battery orientation. If that's not it, and it's a newer smart thermostat, sometimes a quick reset (check your specific model's manual for instructions) or even flipping the circuit breaker for your furnace/AC for a minute can help. If all else fails, then it might be time to call in a professional. But seriously, the battery thing solves like 90% of these issues!
See? I told you it was simple. No need for expensive service calls or panicked searches for a new system. Just a couple of batteries and a few minutes of your time can save you a whole lot of headache (and discomfort). Go forth, confident homeowner, and keep your indoor climate perfectly regulated!