Hey there, fancy seeing you! Grab a coffee, let's chat. So, you're thinking about wiring up a 30 amp outlet, huh? Maybe for an RV, a spiffy new electric range, or even a super cool welder for your latest metal masterpiece? Whatever your reason, it’s a totally doable DIY project, but one that demands a healthy dose of respect. We’re talking about serious power here, not just plugging in your phone charger. Think of it as a grown-up project, with grown-up safety rules.
First Things First: Safety is Your New Best Friend!
Before we even *think* about touching a wire, let’s get this absolutely crystal clear: power off! I mean it. Head to your electrical panel, find the main breaker for the circuit you’ll be working on (or the main breaker for the whole house if you’re unsure, better safe than sorry, right?), and flip that baby to the OFF position. Don't just trust the label; use a non-contact voltage tester (your new second best friend) to confirm there’s no juice flowing to those wires. You don't want to become a human fuse box, trust me, it's not a good look. Seriously, double-check, then triple-check. This isn’t a game of 'shock roulette'!
Gathering Your Arsenal (aka Tools & Materials)
Okay, power's off, you've confirmed it, now let's talk shopping list! You'll need:
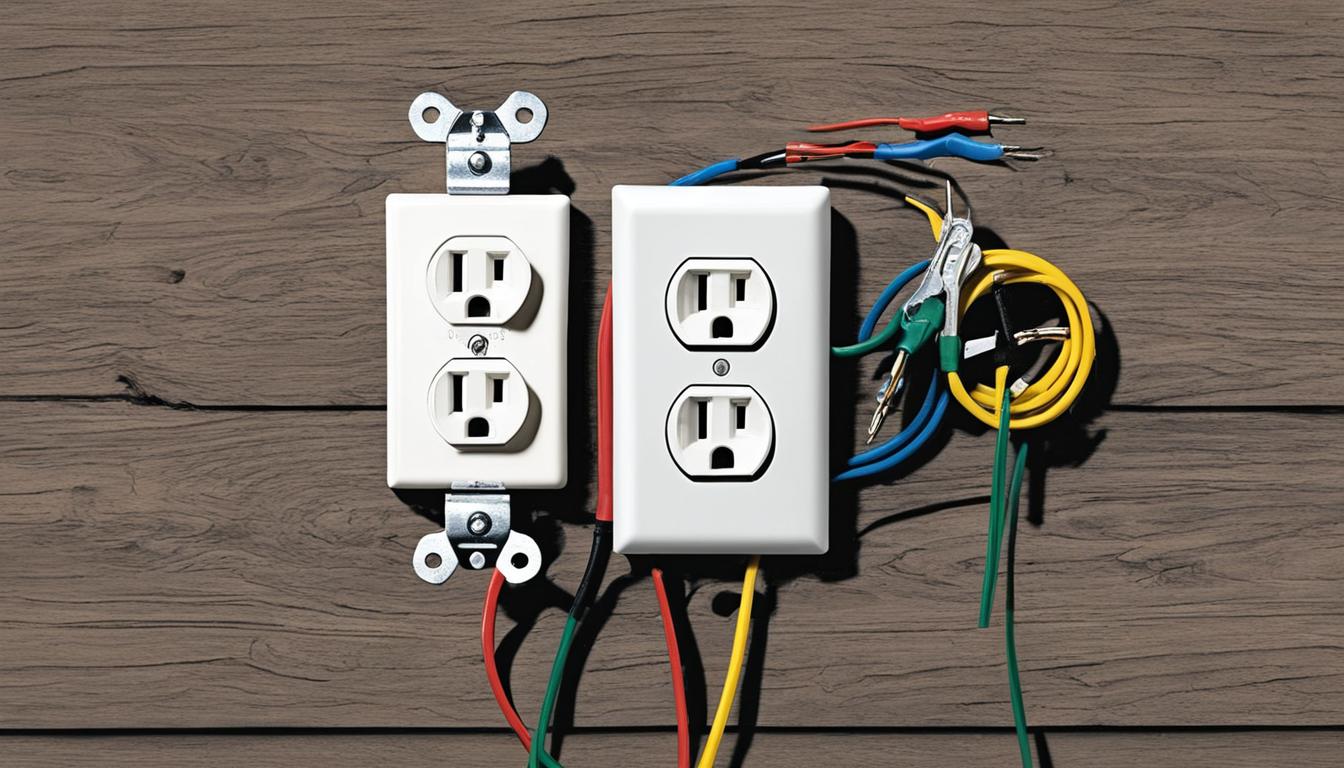
- A 30 amp outlet/receptacle (make sure it matches your appliance's plug!).
- Appropriate 10 AWG electrical wire (that's American Wire Gauge, folks, and it's essential for 30 amps). This cable will have four wires inside: black, red, white, and bare/green.
- A suitable electrical box (metal or plastic, depending on your local codes and preference, but often metal for these heavier-duty applications).
- A snazzy cover plate for the outlet.
- Your trusty wire strippers.
- A set of screwdrivers (Phillips and flathead).
- That fabulous non-contact voltage tester (you already have one, right? Good!).
- Maybe some electrical tape, just in case.
Got all that? Excellent! You're practically a pro already, just kidding (mostly!).
Understanding Your Outlet: The Four-Prong Friend
For most modern 30 amp applications, especially for something like an RV or a new oven, you'll be using a NEMA 14-30R outlet. This bad boy has four slots, and each one has a specific job. Think of it like a tiny, powerful quartet:
- The "L" shaped slot? That's your neutral (for the white wire).
- The two straight slots on either side? Those are your hot wires (for the black and red wires).
- And the round hole at the bottom? That's your super important ground (for the bare copper or green wire).
Understanding which wire goes where is key. Messing this up isn't just a minor inconvenience; it's a safety hazard. So pay attention, future electrician!
Let's Get Wiring! (Carefully, Of Course)
Alright, deep breaths! Here’s the play-by-play:
Step 1: Mount the Box
First, secure your electrical box where you want your outlet to live. Make sure it's sturdy. You don't want your new power source wobbling around like a jelly on a plate!
Step 2: Run the Wire
Now, feed your 10/3 with ground (that’s the four-wire cable: black, red, white, ground) into the electrical box. Leave a good 6-8 inches of wire sticking out – you'll thank yourself for the extra wiggle room when you're making connections. Always make sure your cable is properly secured to the studs and protected, usually with clamps inside the box itself, so it doesn't get yanked accidentally.
Step 3: Strip 'Em Down
Carefully use your wire strippers to remove the outer sheathing from your cable, exposing those colorful inner wires. Then, strip about half an inch of insulation from the end of each individual wire (black, red, white). Leave the bare/green wire as is.
Step 4: The Moment of Truth – Connecting the Wires
This is where it all comes together! Look at the back of your outlet. You'll see screws with different colors, usually:
- The green screw: This is for your bare copper or green ground wire. Wrap it clockwise around the screw and tighten it down nice and snug. This is your safety net, so make sure it's secure!
- The silver screw: This is for your white (neutral) wire. Again, wrap it clockwise and tighten.
- The two brass (or gold) screws: These are for your black and red (hot) wires. It doesn't usually matter which brass screw gets the black and which gets the red, as long as they each get one. Wrap them clockwise and tighten them securely.
Make sure there are no stray copper strands escaping the screws that could touch another terminal. That’s a big no-no! Think tidy, think safe.
Step 5: Tuck and Mount
Gently fold the wires into the electrical box, making sure not to pinch them or create too much tension. Then, screw the outlet into the electrical box. It should sit flush and steady.
Step 6: The Final Touch
Screw on your cover plate. It's like the cherry on top of your electrical sundae! Makes everything look neat and finished.
The Grand Finale: Power On and Test!
Head back to your electrical panel. Take a deep breath. Flip the breaker back on! Now, carefully plug in your appliance (or use that voltage tester again, very carefully, to confirm power is flowing correctly to the slots). If all goes well, you’ve successfully wired a 30 amp outlet! Give yourself a pat on the back, you’ve earned it!
A Little Disclaimer, Just Because I Care!
While this guide aims to be super helpful and friendly, remember that electricity can be unforgiving. If you ever feel overwhelmed, unsure, or if anything seems off, please, please, please, call a licensed electrician. There’s absolutely no shame in getting professional help. Your safety, and the safety of your home, is always the top priority. Think of this as a DIY adventure, but one where knowing your limits is part of the fun. Happy wiring, my friend!