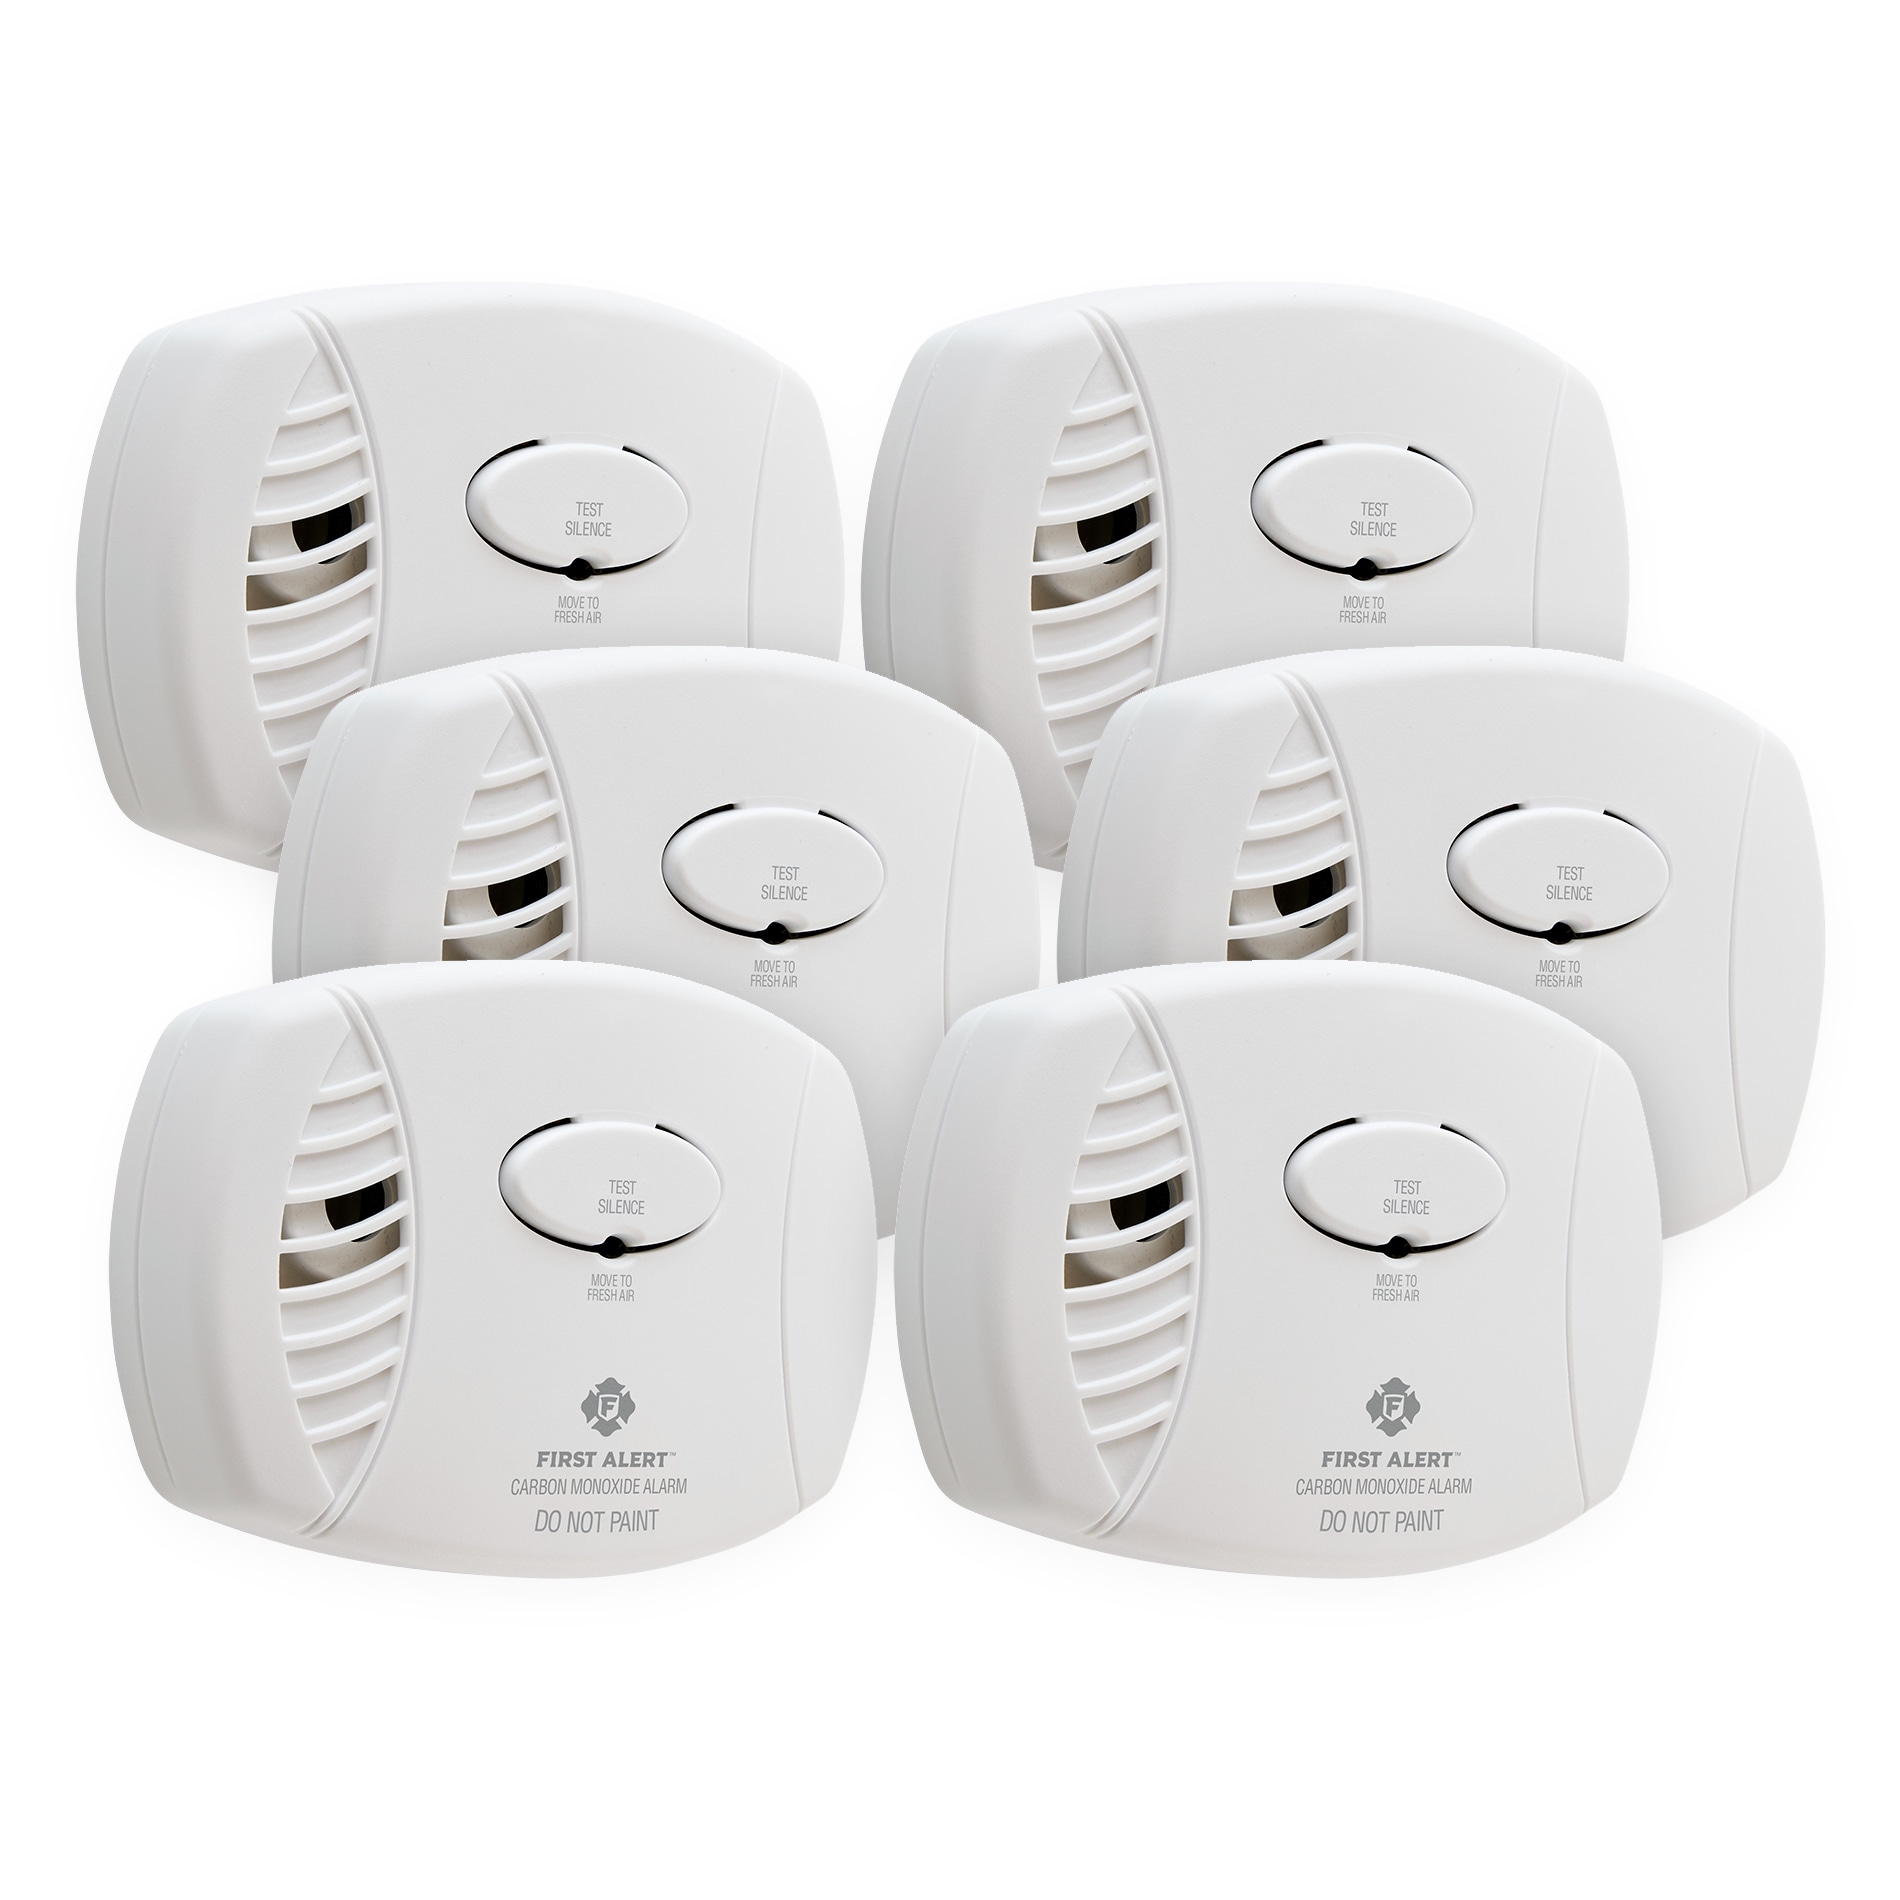
Let's face it, the First Alert carbon monoxide detector isn't exactly winning any design awards. It's more function over form, the silent guardian hanging on our walls. But its ubiquity – chances are you have one, or five – makes knowing how to swap out its battery a seriously valuable life skill. Think of it as adulting 101, but with the potential to, you know, save lives.
Now, you might be thinking, "What's so inspiring about changing a battery?" Well, consider this: a properly functioning CO detector is the invisible artist's assistant, the silent collaborator ensuring you can pursue your passions without a potentially deadly, odorless interruption. For artists working with volatile materials, like oil paints or solvents, a working detector is non-negotiable. For hobbyists tinkering in the garage with power tools or running generators, it's your unseen studio mate, keeping you safe and sound. And even for the casual learner, someone just enjoying a cozy night in, knowing you're protected allows for true relaxation.
Imagine the peace of mind while painting a vibrant landscape, knowing your creations are born in a safe environment. Picture yourself engrossed in rebuilding a vintage motorcycle, the satisfying clink of metal on metal, all while breathing easy thanks to your trusty detector. Envision a quiet evening reading by the fireplace, a sense of tranquility washing over you, knowing your home is a sanctuary. These are the benefits of a working CO detector, and it all starts with a simple battery change.
So, how do you actually do it? It's easier than you think! Here's a step-by-step guide for most First Alert models:
- Locate your detector: They're usually mounted on walls or ceilings.
- Gently twist or slide it off the mounting bracket: This might require a slight nudge.
- Open the battery compartment: It's typically a small door on the side or back of the detector.
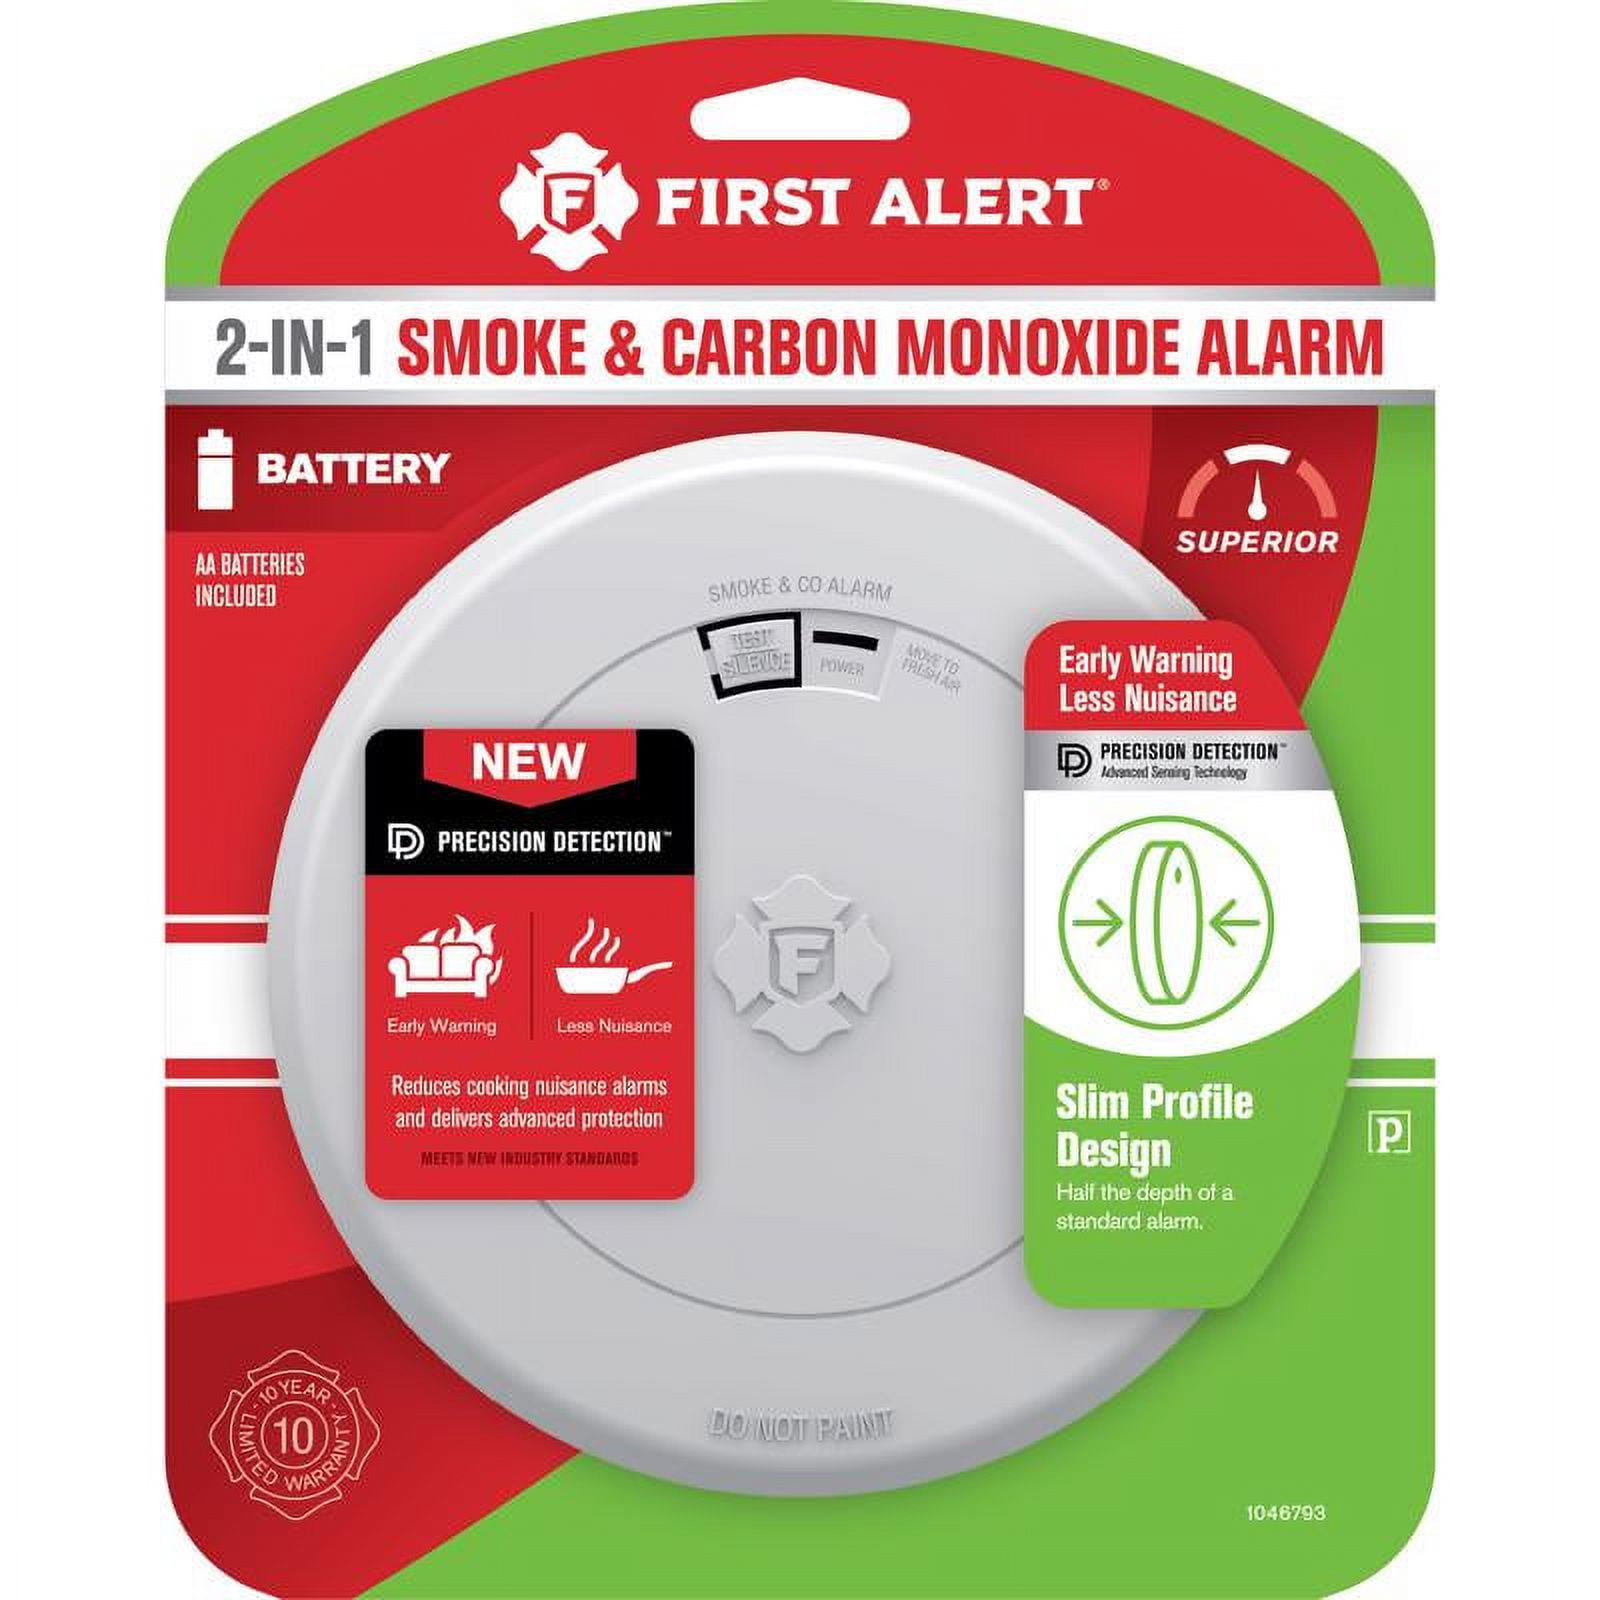
- Remove the old battery: Take note of the battery type (usually a 9V).
- Install the new battery: Ensure it's properly connected, matching the positive (+) and negative (-) terminals.
- Close the battery compartment: Listen for a click to confirm it's secure.
- Test the detector: Press the test button. You should hear a loud beep.
- Remount the detector on the bracket: Twist or slide it back into place.
Pro Tip: Keep a spare 9V battery on hand. Better yet, replace the battery every six months – maybe when you change your clocks for daylight saving time – to be extra safe. And remember to check the expiration date on your CO detector itself; they usually need replacing every 5-10 years.
Replacing a CO detector battery isn't glamorous, but it's undeniably empowering. It's a small act of self-care and a proactive step towards ensuring your well-being and the safety of those around you. There's a quiet satisfaction in knowing you've taken care of something important, allowing you to pursue your passions, learn new things, and simply enjoy life with a greater sense of security. And honestly, that feeling is pretty darn enjoyable.