Ever gazed at a beautifully designed poster or a snazzy logo and thought, "Wow, how do they get those perfect shapes? My circles always end up looking like lopsided potatoes!" Well, my friend, you're not alone. The good news is, getting those crisp, clean shapes in GIMP – your trusty free photo editor – is actually way easier than trying to draw a perfect circle freehand with a mouse. Think of it as your secret superpower for making your digital creations look polished and professional.
So, why should you even bother learning this magical skill? Imagine you're making a birthday invitation and need a neat little star or a heart. Or maybe you're cropping a photo for your social media, and a plain old square just feels… boring. What if you want to highlight a crucial bit of text on a screenshot, but a wonky hand-drawn circle just adds to the confusion? That's where GIMP's shape-making prowess swoops in like a superhero. It's not just for graphic designers; it's for *you* to add that extra sparkle to everyday projects, make your ideas clearer, or simply have fun flexing your creative muscles!
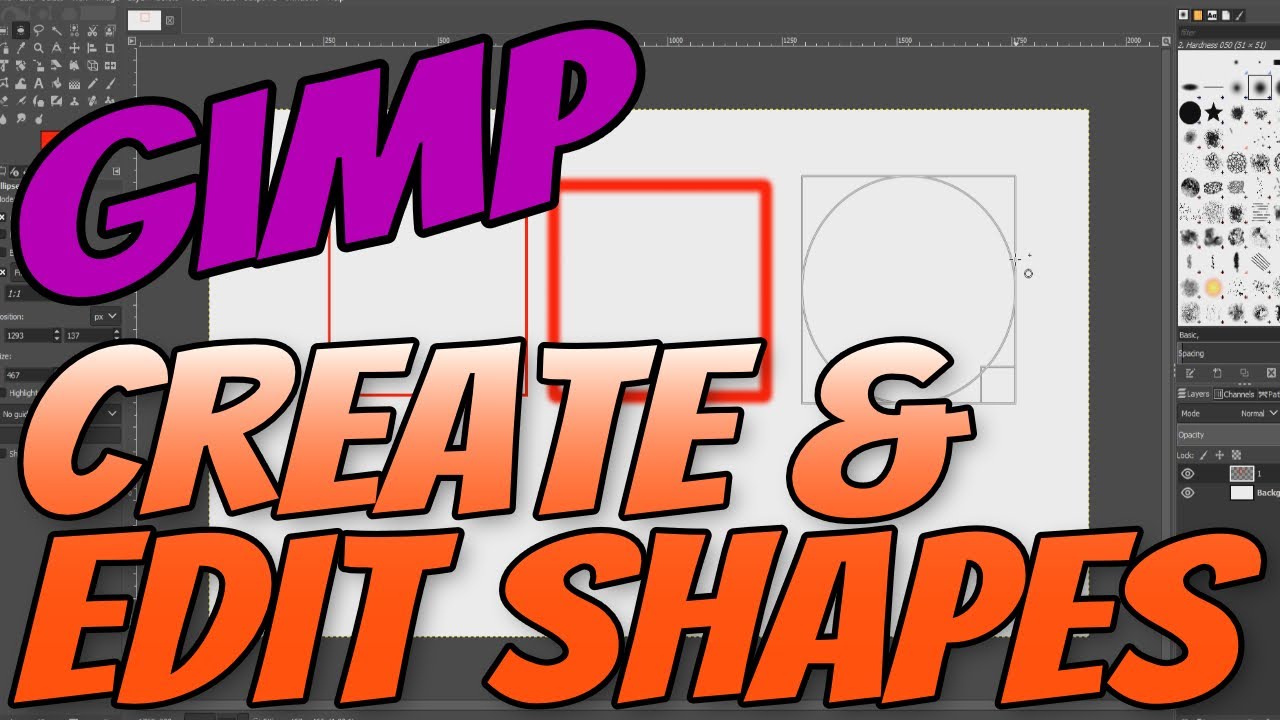
The Super Simple Way: Basic Shapes (Our Digital Cookie Cutters!)
Let's start with the easiest, most common shapes: rectangles and ellipses (aka circles and ovals). Think of these tools like digital cookie cutters, ready to stamp out perfect forms.
Step 1: The Golden Rule – New Layer, Please!
Before you do *anything*, go to your Layers panel (usually on the right) and click the "Create a new layer" button (it looks like a blank page icon). Give it a sensible name like "My Shape." Why? Because making shapes on a new, transparent layer is like drawing on a clear sheet of plastic over your main artwork. If you mess up, you just toss the plastic sheet, not the whole drawing! It's super non-destructive and will save you headaches.
Step 2: Grab Your Cookie Cutter!
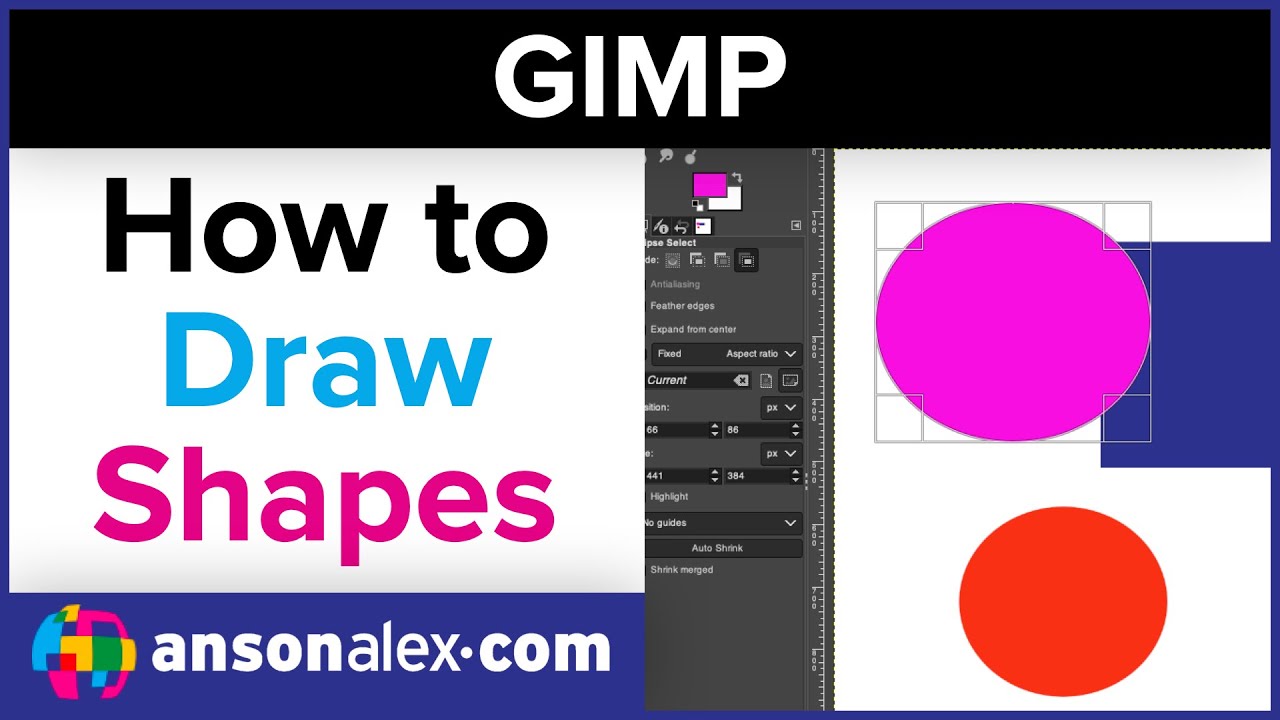
Head to your Toolbox (usually on the left). You'll find two buddies here: the Rectangle Select Tool (looks like a dotted square) and the Ellipse Select Tool (looks like a dotted oval). Pick the one you need.
Step 3: Draw Your Selection.
Click and drag on your canvas to draw out the shape. Want a perfect square or circle? Hold down the Shift key while you drag. It's like magic! GIMP will snap your selection into a perfectly symmetrical form. Release the mouse button, and you'll see a blinking, dashed outline – this is your "selection."
Step 4: Make It a Real Shape – Fill or Stroke?
Now for the fun part! You have two main choices:
-
Fill it Up! (Like coloring in a coloring book)
Go to your Toolbox and pick your desired Foreground Color (the top square). Click on it and choose any color you like. Then, go to the menu bar at the top: Edit > Fill with FG Color. Voila! Your selection is now a solid shape. -
Give it an Outline! (Like drawing a border)
This is called "stroking." With your selection still active, go to Edit > Stroke Selection. A little window will pop up. You can choose the line width (how thick it is), the color (it defaults to your foreground color), and whether it's a solid line or dashed. Click Stroke, and just like that, you have a beautiful outline!
Step 5: Ditch the Dashes!
Once your shape is made, you'll still see those annoying blinking dashes. To make them disappear, go to Select > None (or just hit Shift + Ctrl + A). Phew! Now you have a clean, solid shape on its own layer.
Beyond the Basics: Custom Shapes with Paths (The "Connect-the-Dots" Method)
What if you need something a bit more unique than a rectangle or circle? Think triangles, stars, or even a whimsical blob! That's where the Paths Tool comes in. It's GIMP's answer to "connect the dots," letting you draw custom outlines.
Step 1: New Layer Again!
Seriously, always a good idea. Create a new transparent layer for your custom shape.
Step 2: Unleash the Paths Tool!
Find the Paths Tool in your Toolbox (it looks like a little pen nib). Click on it.
Step 3: Draw Your Dots.
Click around on your canvas to place "nodes" (little dots). Each click creates a point. To make curved lines, click and drag a node to pull out "handles" that bend the line. To close your shape (very important for filling!), hold down Ctrl and click on your very first node.
Step 4: Path to Selection!
Once your path is beautifully closed, right-click anywhere on the canvas or go to the Paths tab (usually next to Layers). Select Path to Selection. See those blinking dashes again? You're almost there!
Step 5: Fill or Stroke, Just Like Before!
Now that your custom path is a selection, you can go back to Edit > Fill with FG Color or Edit > Stroke Selection, just as you did with the basic shapes. Don't forget to Select > None when you're done!
A Few More Handy Tips for Your Shape-Making Journey:
- Moving Your Masterpiece: Use the Move Tool (the four-headed arrow in the Toolbox) to drag your shape around its layer.
- Resizing Fun: The Scale Tool (looks like two overlapping squares) lets you resize your shape. Hold Shift while scaling to keep it proportional, so your perfect circle doesn't turn into a squished oval!
- Eraser Buddy: If you drew something on a separate layer, you can always use the Eraser Tool to refine edges or cut out parts of your shape without harming anything else.
See? No more lopsided potatoes! With a few clicks and a little practice, you'll be cranking out perfect squares, elegant circles, and unique custom shapes like a seasoned pro. It's a fundamental skill that opens up a whole world of creative possibilities, from simple highlights to complex designs. So go ahead, open GIMP, pick a tool, and start shaping your digital dreams. Happy creating!