Ever dreamt of tackling a home project that feels a little more... electrifying? Well, you're in for a treat! Learning how to install a 220 outlet might sound intimidating, but it's a wonderfully empowering DIY skill that can open up a world of possibilities right in your own home. Forget expensive electrician call-outs for simple additions; with a bit of knowledge and caution, you can safely power up those energy-hungry appliances yourself. It’s a project that delivers a huge sense of accomplishment, saves you money, and makes your home more functional.
So, who benefits from this electrifying knowledge? Practically everyone! For beginners, it's a fantastic way to demystify household electricity, building confidence in tackling more complex home improvements. Imagine being able to install a new electric dryer or oven without a hitch! For families, it means greater convenience – perhaps a dedicated outlet for a new EV charger in the garage, or upgrading kitchen appliances to more powerful models. No more waiting ages for clothes to dry, or being limited by outdated electrical setups. And for hobbyists or garage gurus, a 220 outlet is a game-changer. Think about powering a heavy-duty air compressor, a welding machine, or serious woodworking equipment. Your workshop just got a whole lot more capable!
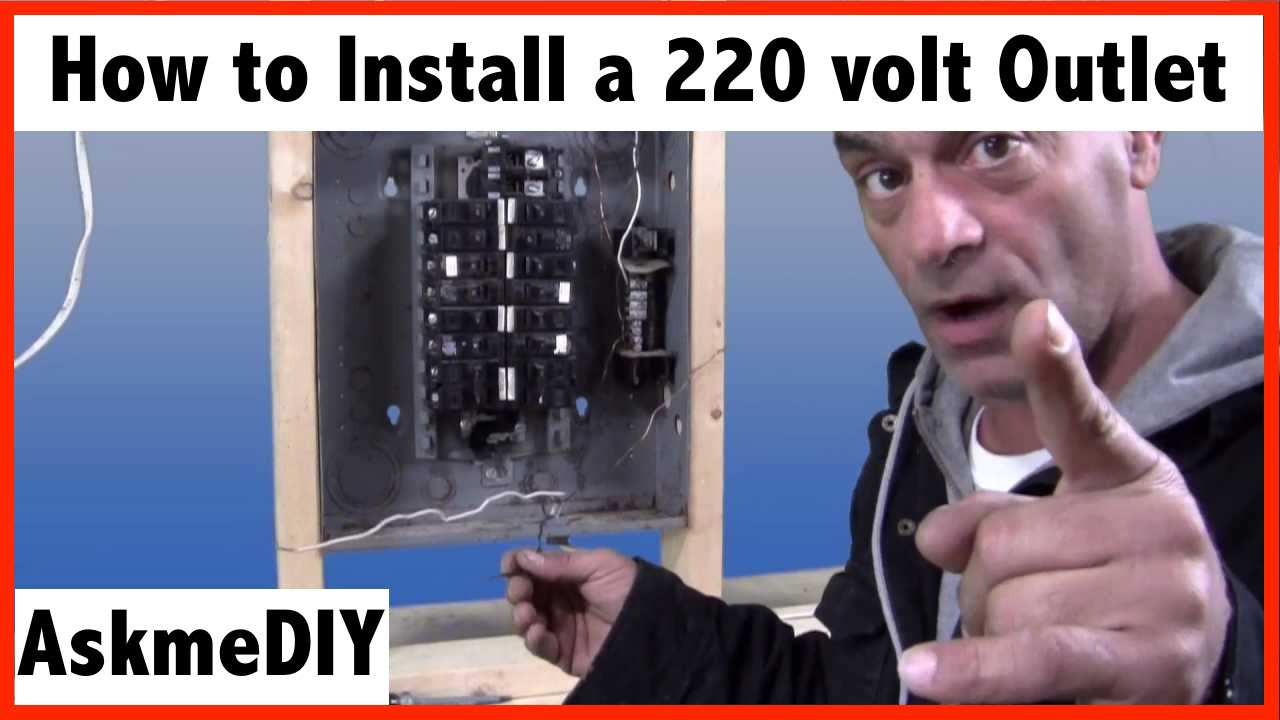
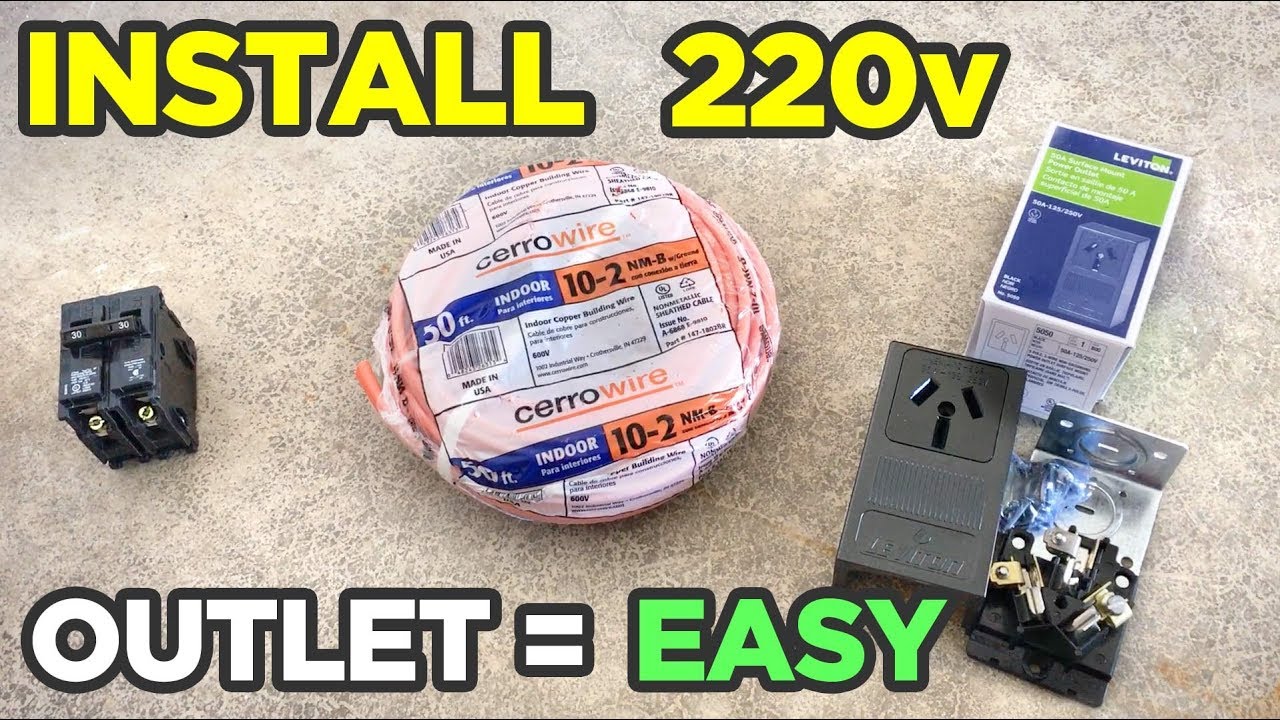
The world of 220-volt outlets isn't one-size-fits-all, which adds to the fun of understanding them. You'll encounter different types, like the NEMA 14-30 for modern electric dryers, the NEMA 14-50 often used for RVs or electric vehicle chargers, or the NEMA 6-50 for welders. Each has a unique prong configuration, ensuring you plug in the correct appliance. The core idea, however, remains the same: a dedicated circuit from your main electrical panel, typically using thicker wires (a lower gauge number means thicker wire) to safely handle the higher amperage required by these powerful devices. It’s about matching the outlet and circuit breaker to the specific needs of your appliance.
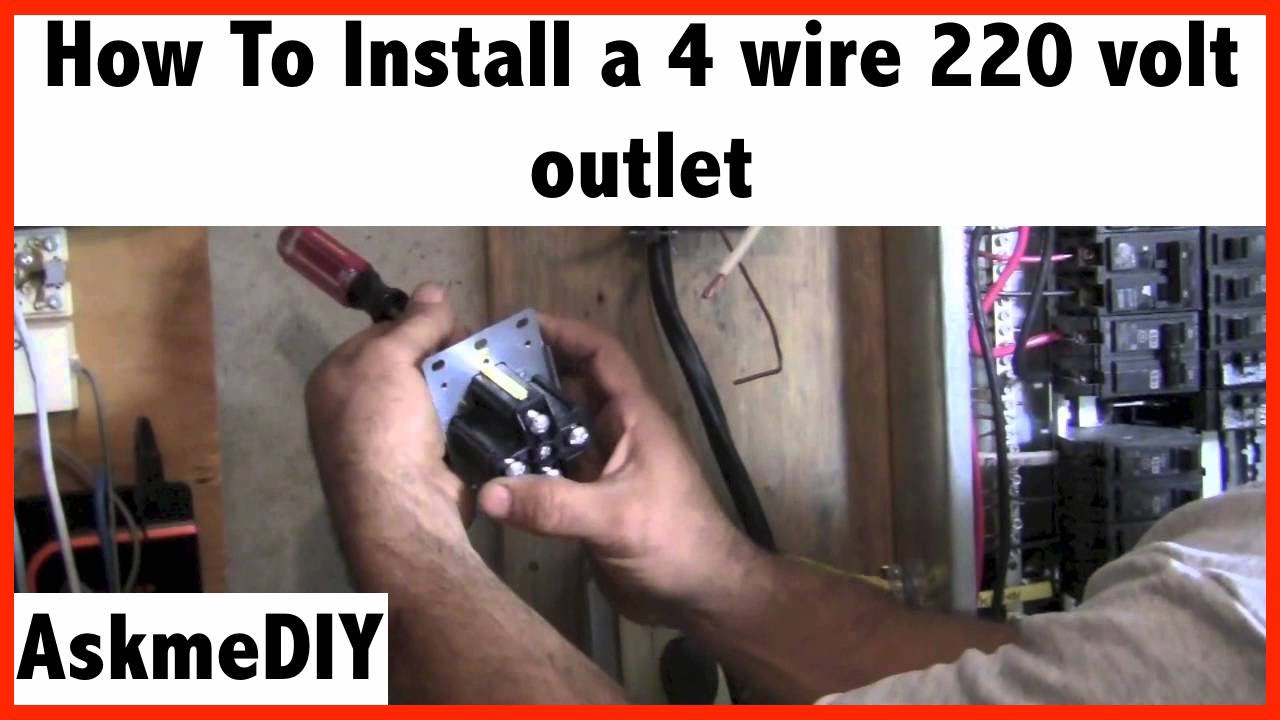
Ready to get started? Here are some simple, practical tips. First and foremost: safety is paramount! Always, always, always turn off the power to the circuit at your main breaker panel before you touch any wires. Then, use a non-contact voltage tester to double-check that the power is indeed off. Gather your tools: screwdrivers, wire strippers, a multi-meter, and of course, the correct outlet, outlet box, and appropriate gauge wire. Don't be afraid to watch a few reputable YouTube tutorials or consult a DIY electrical guide. They can provide visual step-by-step instructions. Also, be mindful of your local electrical codes – a quick search or call to your municipal building department can save you headaches down the line. Take your time, double-check your connections, and don't rush the process.
Installing a 220 outlet is more than just a functional upgrade; it's a testament to your growing DIY prowess. There’s a real satisfaction in flipping that breaker back on and seeing your new appliance hum to life, knowing you made it happen. So, go ahead, embrace the challenge, and enjoy the lasting value and convenience this powerful new skill brings to your home!