Okay, confession time. For what felt like an eternity, my towels were performing a slow, agonizing dance of dampness in the dryer. Thirty minutes? Nope. Sixty? Still basically wet. Ninety minutes? Maybe, *just maybe*, they'd be vaguely dry. I was convinced my dryer was on its last legs, whispering sweet nothings about needing a replacement. My laundry room felt like a portal to a never-ending cycle of slightly-less-wet clothes.
I mean, who hasn't been there, right? You just shrug, assume your machine is old, and crank up the drying time, blissfully unaware of the silent saboteur lurking just behind it. And that, my friends, is where our story truly begins: with the humble, yet mighty, dryer vent.
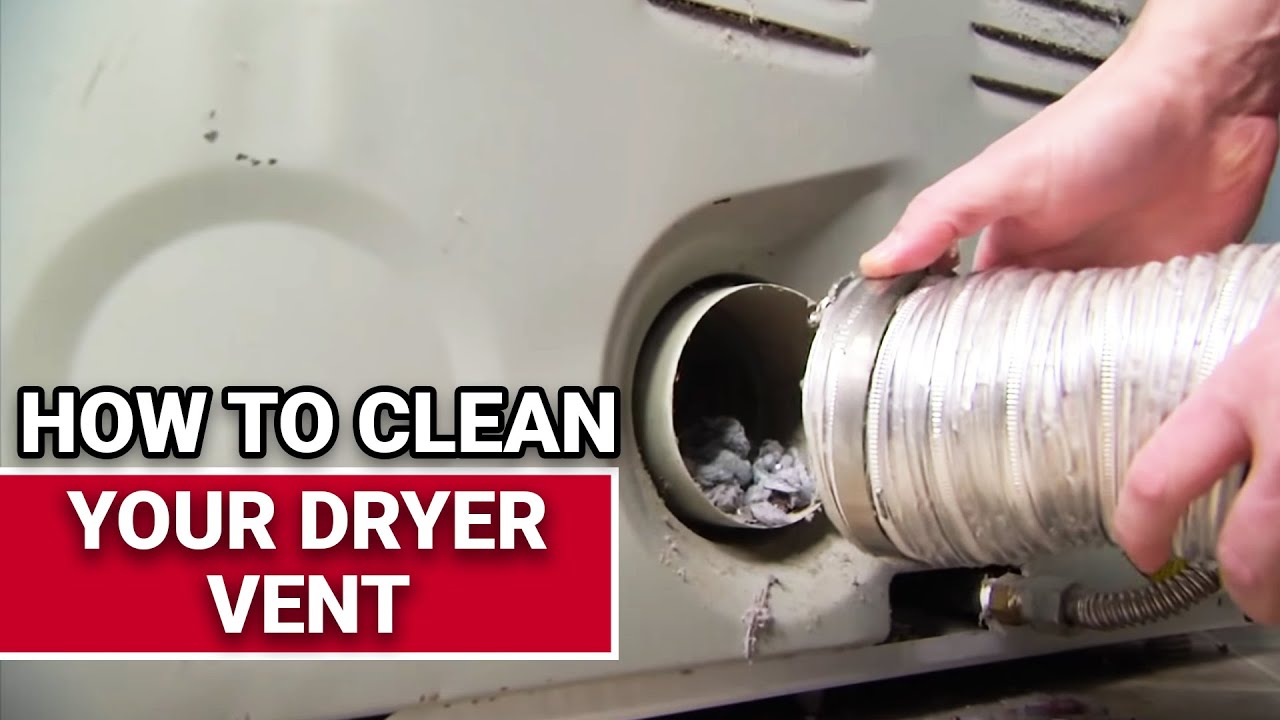
One fateful weekend, armed with a newfound surge of "maybe I should actually *look* at this thing," I pulled the dryer away from the wall. What I found was... well, it was a horror show of lint. Not just a little bit, but a solid, compacted, felt-like tube of flammable fluff. It looked like a giant, mummified lint sausage. And that, my curious companions, is why we need to talk about cleaning out your dryer vent.
Why Bother? (Beyond Just Dry Towels)
Alright, so my damp towel saga was annoying, but there's a much bigger reason to give your dryer vent some love. It's not just about efficiency (though hello, lower electricity bills!). It's about safety.
That lint monster I found? That's basically kindling. Dryer fires are a real thing, and they're often caused by clogged vents. So, think of this less as a chore and more as a heroic act of fire prevention. You're basically a household superhero, cape optional.
Plus, a clean vent means your dryer works better and lasts longer. It's not struggling, overheating, and generally feeling sorry for itself. It's a win-win-win!
How Often Should You Tackle This Lint Lair?
General consensus? Aim for at least once a year. If you do a ton of laundry (hello, big families!), or if you notice your clothes are taking forever to dry, or if your dryer feels super hot to the touch, then it's time to bump that up. Maybe twice a year. Your dryer will thank you, probably with a little less static cling.
Gather Your Arsenal (The Fun Part!)
You won't need a whole toolkit, but a few things will make this much easier:
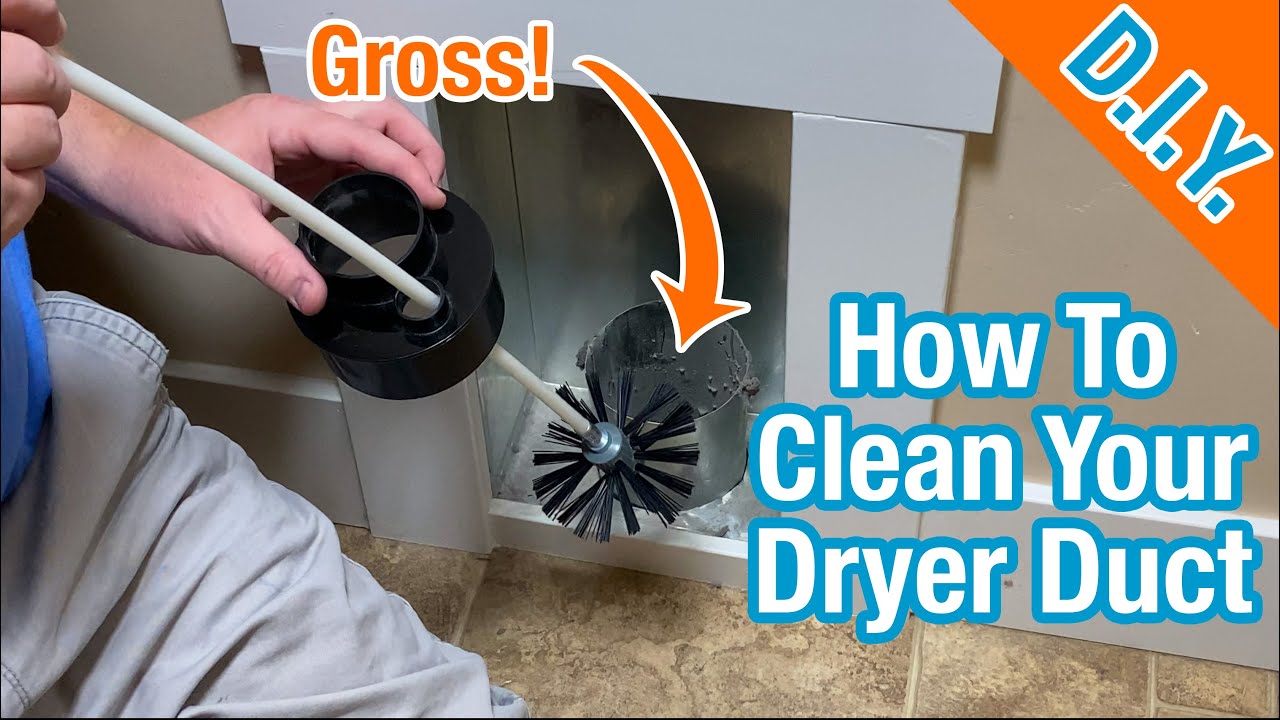
- A dryer vent brush kit: Seriously, invest in one. They come with flexible rods you can screw together and a brush head. Game changer.
- A vacuum cleaner (with attachments): Your trusty sidekick for sucking up the loose stuff.
- Screwdriver: Possibly for clamps or the external vent cover.
- Duct tape or foil tape: For re-securing the vent hose.
- Work gloves: Because lint can be surprisingly prickly.
- A flashlight: To peer into the dark abyss.
- A little patience: You got this.
Let's Get Dirty: Your Step-by-Step Guide
Step 1: Unplug and Disconnect (Safety First!)
This is non-negotiable. Unplug your dryer. If it's a gas dryer, turn off the gas supply. Then, gently pull your dryer away from the wall. You'll see the flexible duct hose connecting it to the wall. Disconnect that bad boy – usually, it's held on by clamps you can loosen with a screwdriver or just twist off.
Step 2: Attack the Dryer's Port and Duct
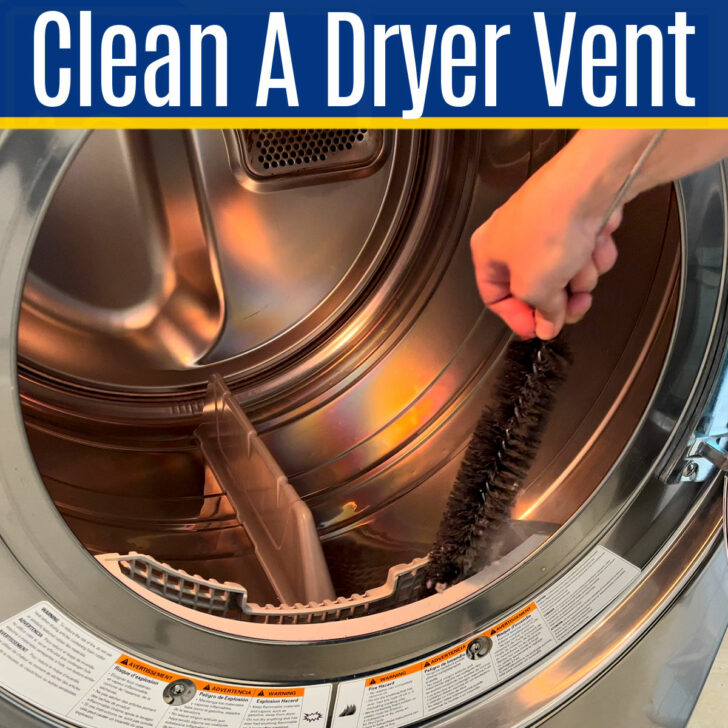
First, look at the back of your dryer where the duct was attached. You'll likely see some lint build-up there. Use your vacuum's crevice tool to suck it all out. Then, turn your attention to the duct itself. If it's flexible foil, give it a good shake outside to dislodge loose lint. If it's sturdy, run your vent brush through it.
Pro tip: If your duct is super crinkled or damaged, consider replacing it with a smooth metal one. Much more efficient and safer!
Step 3: The Wall Vent – The Mother Lode!
This is where the magic (or horror) truly happens. Take your vent brush kit. Assemble the rods and start feeding the brush end into the vent opening in your wall. Push it in, twist it, pull it out. You'll be amazed at the amount of compressed lint that comes out. Keep going until the brush comes out relatively clean.
Remember that flashlight? Use it to peer in and make sure you've gotten everything. Your vacuum can help suck out any stragglers.
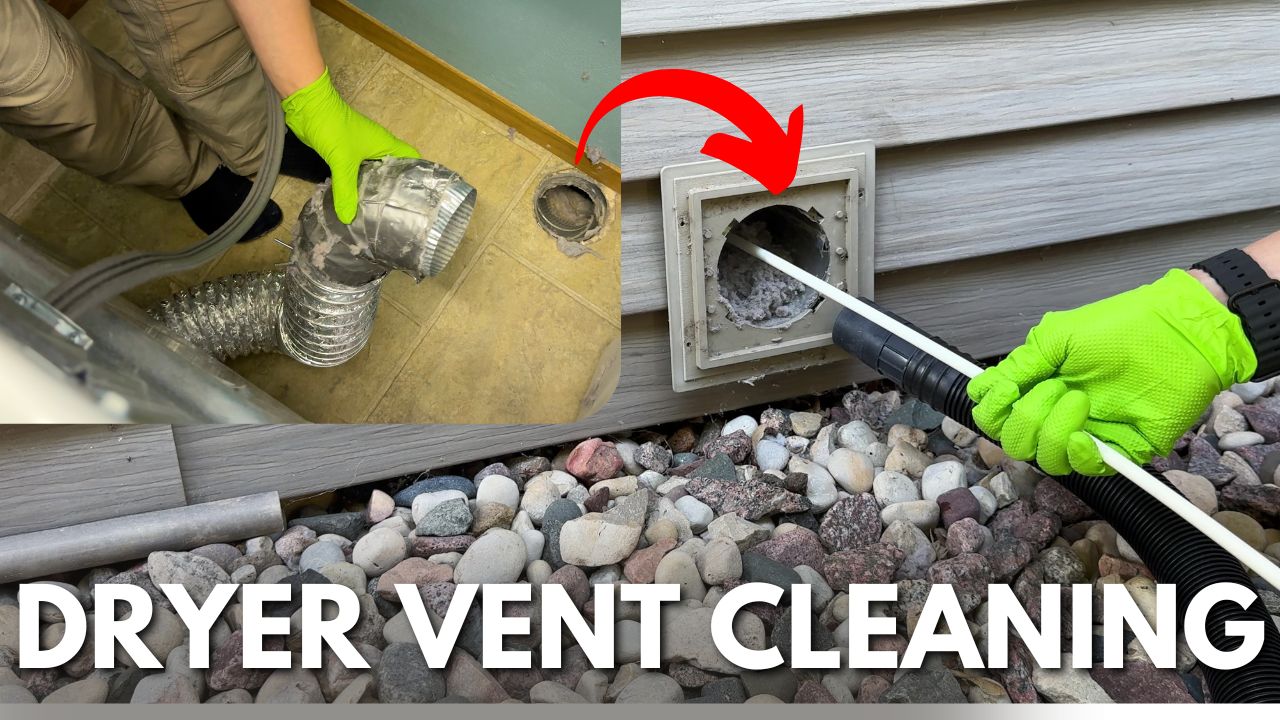
Step 4: Don't Forget the Outside!
Yep, you heard me. Head outside to where your dryer vent exits your house. There's usually a cap or louvered cover. Remove any screws or clamps holding it on. You'll probably find another mini lint monster clinging to the inside of this cover, blocking air flow. Clean it thoroughly, then clean out the last few inches of the actual vent from the outside in. Reattach the cover securely.
This external cap is often forgotten, but it's a huge bottleneck for air circulation! So important!
Step 5: Reassemble and Test
Now, put everything back together. Reconnect the duct hose to both the dryer and the wall vent, securing it tightly with those clamps or tape. Push your dryer back into place (carefully!). Plug it back in (and turn on the gas, if applicable).
Run your dryer on an air-fluff or low-heat cycle for about 15 minutes. Go outside and check the external vent. You should feel strong airflow coming out. If it's weak, you might still have a blockage, or something isn't connected properly. But chances are, you'll be feeling like a champion!
And there you have it! You've successfully battled the lint monster and made your home safer, your dryer happier, and your towels... gloriously dry. Now go forth and enjoy your efficient laundry day, you domestic rockstar!