Okay, let's talk about something *super* glamorous: cleaning aluminum welds! I know, I know, your eyes might be glazing over already. But hear me out! This seemingly mundane task is actually a tiny peek into the amazing world of metallurgy, craftsmanship, and getting things *just right*. Plus, it's weirdly satisfying. Like popping bubble wrap, but for metal. Who knew?
Aluminum, our star player, is a fantastic metal. It's light, it's strong, and it's practically everywhere, from your bike frame to actual rockets! But here's its little secret: it's a bit of a diva. Especially when you weld it. Those beautiful, intricate bead lines? They often come with a bit of a crusty, discolored halo. And that, my friends, is where our cleaning adventure begins!
The Nasty Culprit: Oxidation!
So, what causes this post-weld mess? It’s mostly oxidation. Aluminum is super reactive with oxygen. It loves to form a protective oxide layer almost instantly. That's usually a good thing – it stops corrosion! But when you crank up the heat with a welder, things get a little wild. The intense heat causes rapid oxidation around the weld. You get that tell-tale grey, dull, or sometimes even blackish discoloration. It’s like a really bad tan line, but for metal. Not pretty, and it can even mess with future protective coatings or paint jobs. Nobody wants that!
Method 1: The Brute Force (But Gentle!) Approach
Sometimes, you just need a good scrub. This is where mechanical cleaning comes in. Think elbow grease, but with specialized tools. It's surprisingly therapeutic!
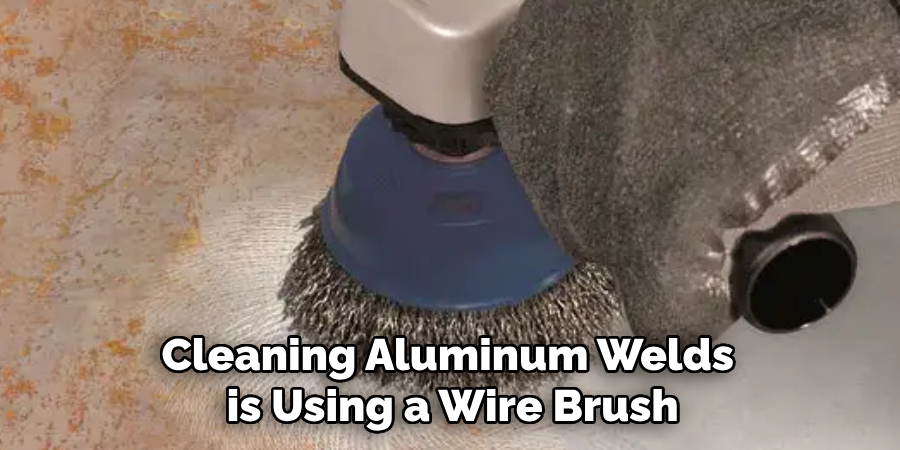
The Wire Brush Workout
Your first go-to is often a wire brush. But here's the *quirky, super important fact*: for aluminum, you MUST use a stainless steel wire brush. Not just any old wire brush you found lurking in the garage! Why? Because if you use a carbon steel brush, tiny bits of steel can transfer to the aluminum. This is called cross-contamination. And what happens then? Those tiny steel bits will rust, making your beautiful aluminum look terrible and potentially weakening it. Talk about a metal faux pas! So, dedicated stainless steel brush for aluminum only, please. It's like having a special toothbrush for your welds.
Scrub away! Get into those nooks and crannies. You'll literally see the dullness lift away, revealing the brighter aluminum underneath. It’s like a tiny magic trick happening right before your eyes.
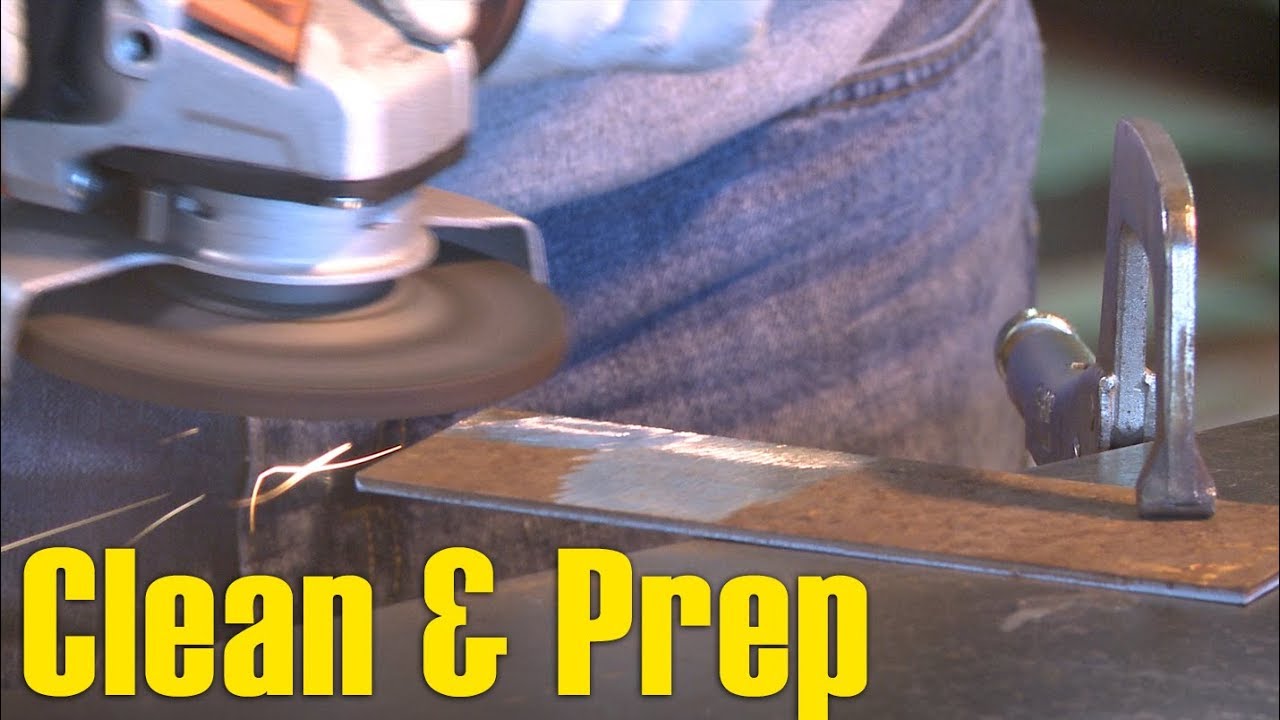
Flap Discs and Grinders: The Power Tools
For more stubborn oxidation or if you need to smooth things out, power tools are your friend. We're talking about flap discs or grinding wheels on an angle grinder. But here's the crucial caveat: be gentle! Aluminum is much softer than steel. You don't want to accidentally remove too much material or create deep gouges. Think of it as giving your weld a very careful, precise manicure, not a demolition job. Use a fine grit, keep it moving, and let the tool do the work. The goal is to clean, not to redesign your weld!
Method 2: The Chemical Spa Day
Sometimes, scrubbing isn't enough, or the area is too delicate. That's when we bring in the "magic potions" – chemical cleaners. These are typically acidic solutions designed to dissolve that pesky oxide layer without harming the underlying aluminum. It's like a facial peel for your metal.
Choosing Your Potion
There are various aluminum weld cleaners on the market, often containing phosphoric acid or similar compounds. Always, *always* read the label! Different products have different strengths and instructions. Think of it as choosing the right shampoo for your hair type; you wouldn't use degreaser on a silk scarf, right?
Safety First, Superheroes!
When you're dealing with chemicals, safety is paramount. This isn't just "good advice," it's "don't-want-to-spend-the-afternoon-at-the-ER" advice. Grab those gloves (chemical-resistant ones!), put on your safety glasses (your superhero mask!), and ensure you're in a well-ventilated area. Fumes are no fun. Treat these chemicals with respect, and they'll treat your welds with sparkling results.
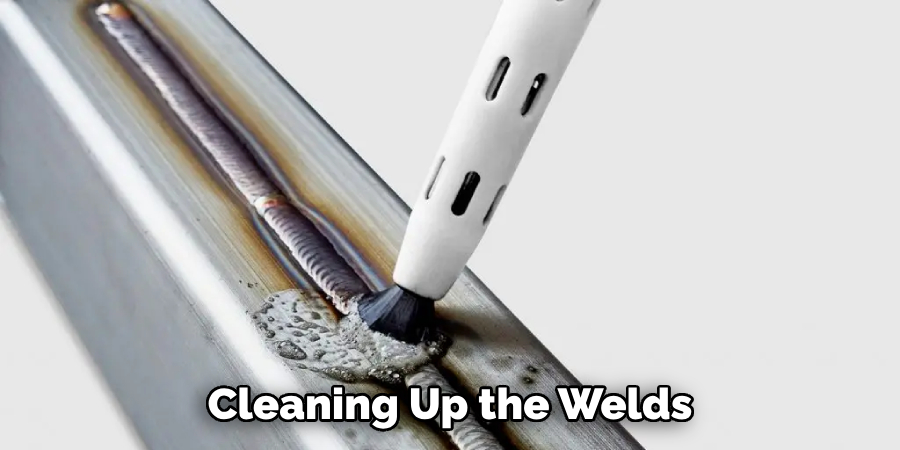
Application and Rinse Cycle
Typically, you apply the chemical cleaner to the oxidized area, let it sit for the recommended time (don't rush it, don't overdo it!), and then rinse thoroughly with water. This rinsing step is *critical*. You don't want any chemical residue hanging around, potentially causing future issues. Think of it as washing your hair; you wouldn't leave conditioner in, would you?
Why Bother? The Glorious Payoff!
So, after all this talk about brushes, acids, and dedicated tools, why go through the trouble? Well, my curious friend, there are some pretty solid reasons:
- Aesthetics: A clean weld just *looks* better. It shows off your craftsmanship. It's the difference between a rough sketch and a polished piece of art.
- Future Protection: If you're going to paint or anodize your aluminum, a clean surface is non-negotiable. Coatings stick better and last longer on pristine metal.
- Corrosion Resistance: While aluminum forms its own protective oxide layer, a heavily oxidized weld can be a weak point, potentially leading to more corrosion down the line. Cleaning it helps ensure uniform protection.
- Pride in Your Work: Honestly, there's a huge sense of satisfaction in taking something dull and discolored and making it shine. It’s a tiny victory, a testament to your attention to detail. It shows you care!
So, there you have it! Cleaning aluminum welds isn't just some boring chore. It's a journey into materials science, a practice in patience, and a celebration of bringing out the best in your metal creations. It's a small step, but one that makes a huge difference. Go forth and make those welds sparkle!