I remember my very first attempts at TIG welding. Oh, the glory and the utter, soul-crushing frustration! I’d watched all the YouTube videos, felt totally pumped, and then... poof. My welds looked like chewed gum, full of holes, and basically just two pieces of metal staring angrily at each other, refusing to truly fuse. I kept trying to just melt the edges together, thinking, "Hey, it's metal, it'll just stick!" (Oh, my sweet summer child, I was so wrong). My buddy, a grizzled old-timer who’d seen it all, walked over, peered at my pathetic excuse for a weld, and just grunted, "Where's your filler, kid?"
That's when the lightbulb clicked. 💡 All those videos, all that focus on arc control and foot pedal finesse... I'd completely overlooked one of the most fundamental, utterly crucial elements of TIG welding: the filler wire. It's like trying to bake a cake without flour, or build a house without bricks. You can try, but the end result is gonna be pretty crumbly and sad. And trust me, your welds will be too!
So, What Is Filler Wire Anyway?
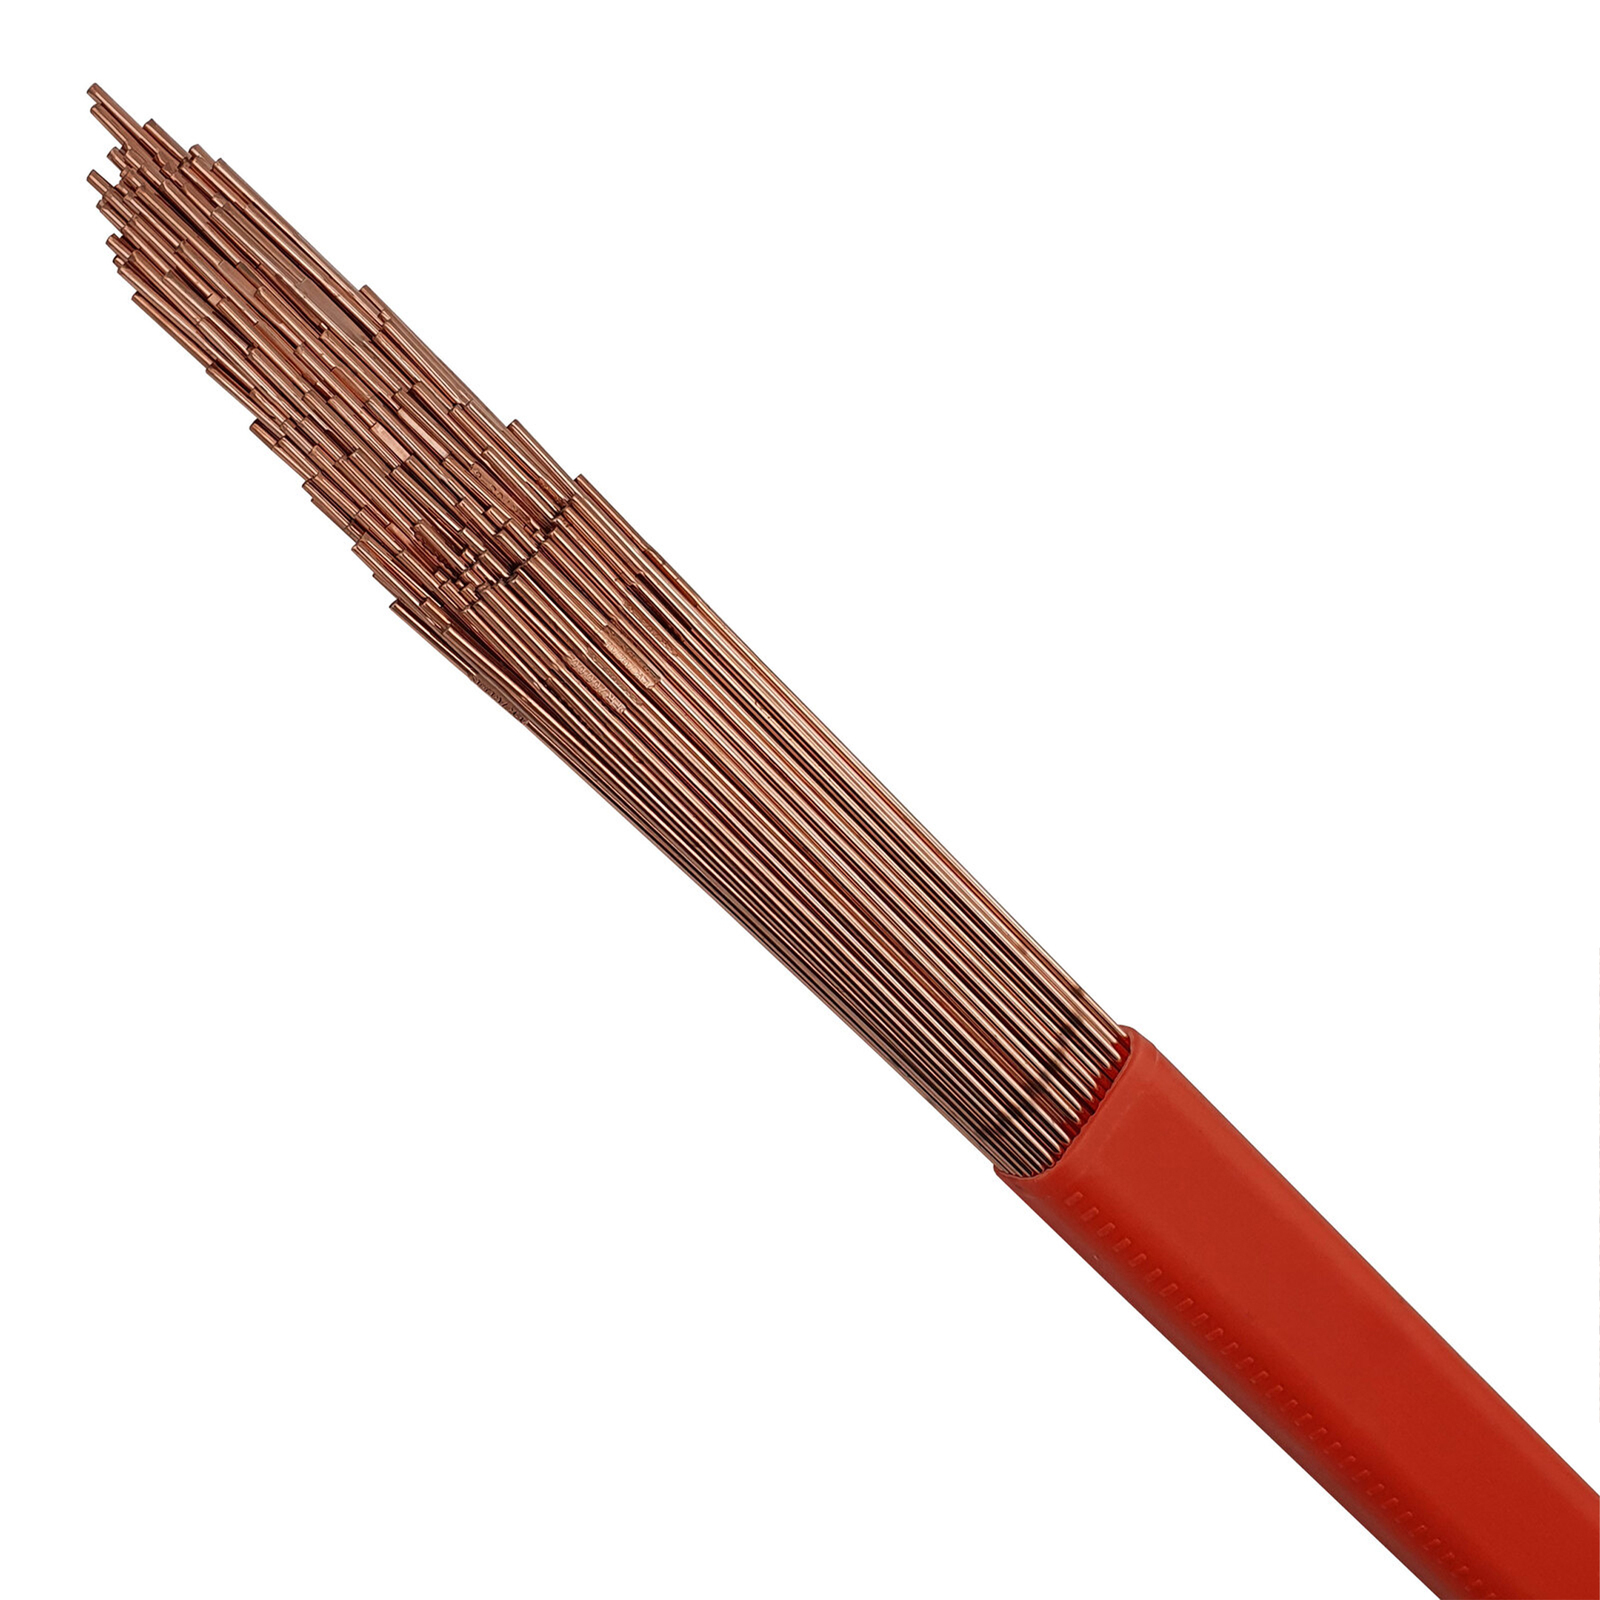
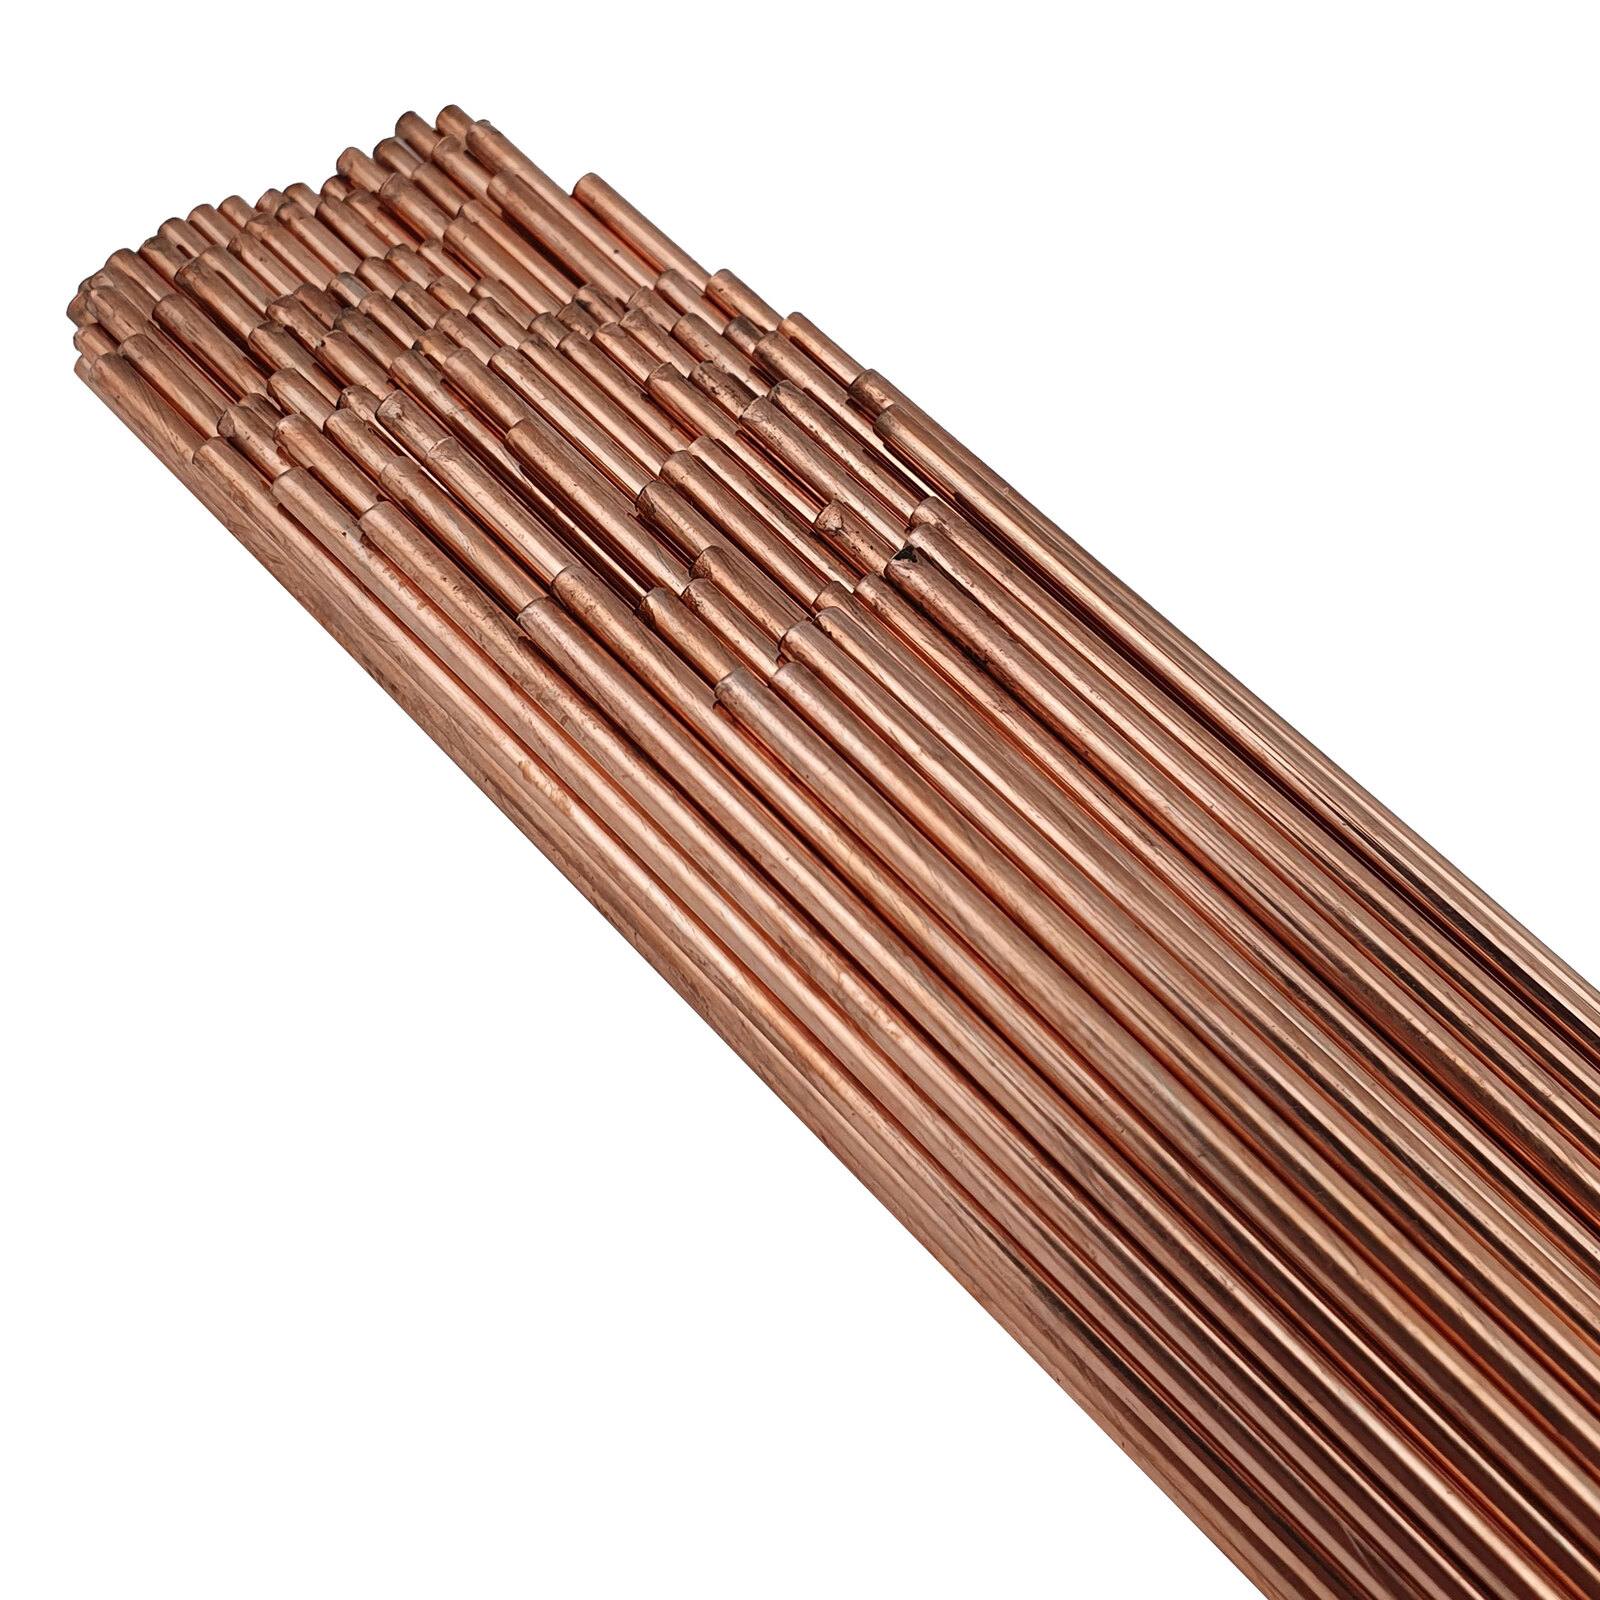
Simply put, filler wire is the extra metal you introduce into the weld puddle. Think of it as the glue, the reinforcement, the bodybuilder's protein shake for your joint. When you're TIG welding, you're not just melting the base metals together; you're building a new, stronger connection, and that's where the filler comes in. Without it, you’re basically just stirring a shallow puddle of molten metal that might look okay on the surface but has all the structural integrity of a wet napkin.
It’s usually a long, straight rod (or sometimes coiled, depending on the application), and you feed it by hand into the super-hot weld puddle. This isn’t like MIG where the machine feeds the wire for you; TIG is all about that delicate, rhythmic dance between your torch hand and your filler hand. It's an art, really.
Why Can’t I Just Melt My Parts Together?
Good question! And one I certainly asked myself. While you *can* do what’s called "autogenous" welding (meaning welding without filler) in some very specific, thin-material situations, it's generally not recommended for anything that needs significant strength or where you're trying to bridge a gap.
Here’s why filler is your best friend:
- Strength: It adds bulk and often, alloys that make the weld stronger than the base metal. You want that joint to hold, right?
- Gap Filling: Let's be real, our fit-up isn't always absolutely perfect. Filler wire allows you to bridge those tiny gaps and inconsistencies, giving you a smooth, full bead.
- Aesthetics: A well-stacked TIG bead, shimmering like a row of dimes, usually has plenty of filler. It just looks good.
- Metallurgical Properties: Sometimes, you need to introduce specific elements into the weld pool to prevent cracking, improve corrosion resistance, or achieve other desired characteristics. Filler wire is how you do it!
Choosing Your Weapon: Types of Filler Wire
This is where things get a little bit science-y, but don't worry, it's mostly common sense once you get the hang of it. The golden rule? Match your filler wire to your base metal!
Aluminum Filler Wire
Ah, aluminum. Tricky to weld, but oh-so-satisfying when you nail it.
- 4043: This is the go-to for most general-purpose aluminum welding. It flows beautifully, creates nice, clean welds, and has silicon in it which helps prevent cracking. It's often used with alloys like 6061, 3003, and 5052.
- 5356: If you need more strength, better ductility, or want to anodize your finished piece, 5356 is your buddy. It has magnesium, which gives it more oomph but can be a bit fussier to weld than 4043.
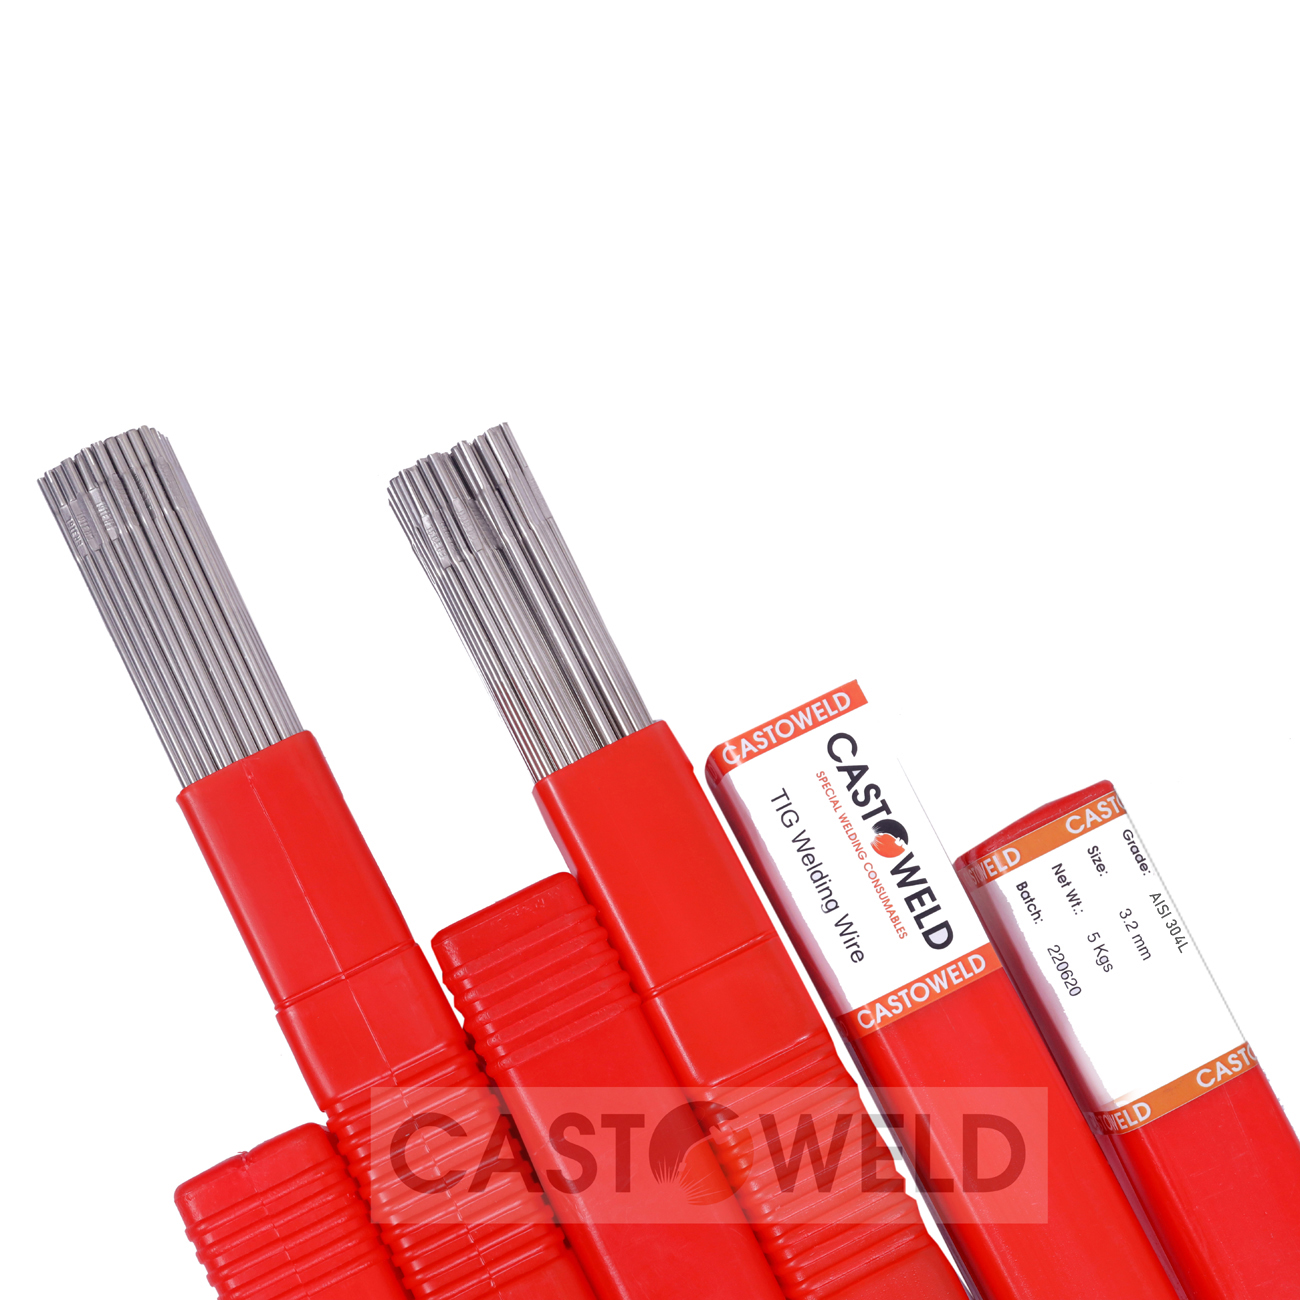
Stainless Steel Filler Wire
Stainless steel is a whole other beast, with different series for different needs.
- 308L: This is your workhorse for common stainless steels like 304 and 304L. The "L" stands for low carbon, which helps prevent sensitization (a bad thing where the chromium gets depleted at the grain boundaries, making it susceptible to corrosion).
- 316L: If you're working on something that needs extra corrosion resistance, especially in marine environments or chemical processing, 316L (often used with 316 and 316L base metals) is your choice. It's got molybdenum, which is the magic ingredient for corrosion protection.
- 309L: Welding two *dissimilar* metals, like stainless steel to mild steel? 309L is often the bridge. It's got higher alloy content to dilute into both base metals without compromising the weld's integrity.
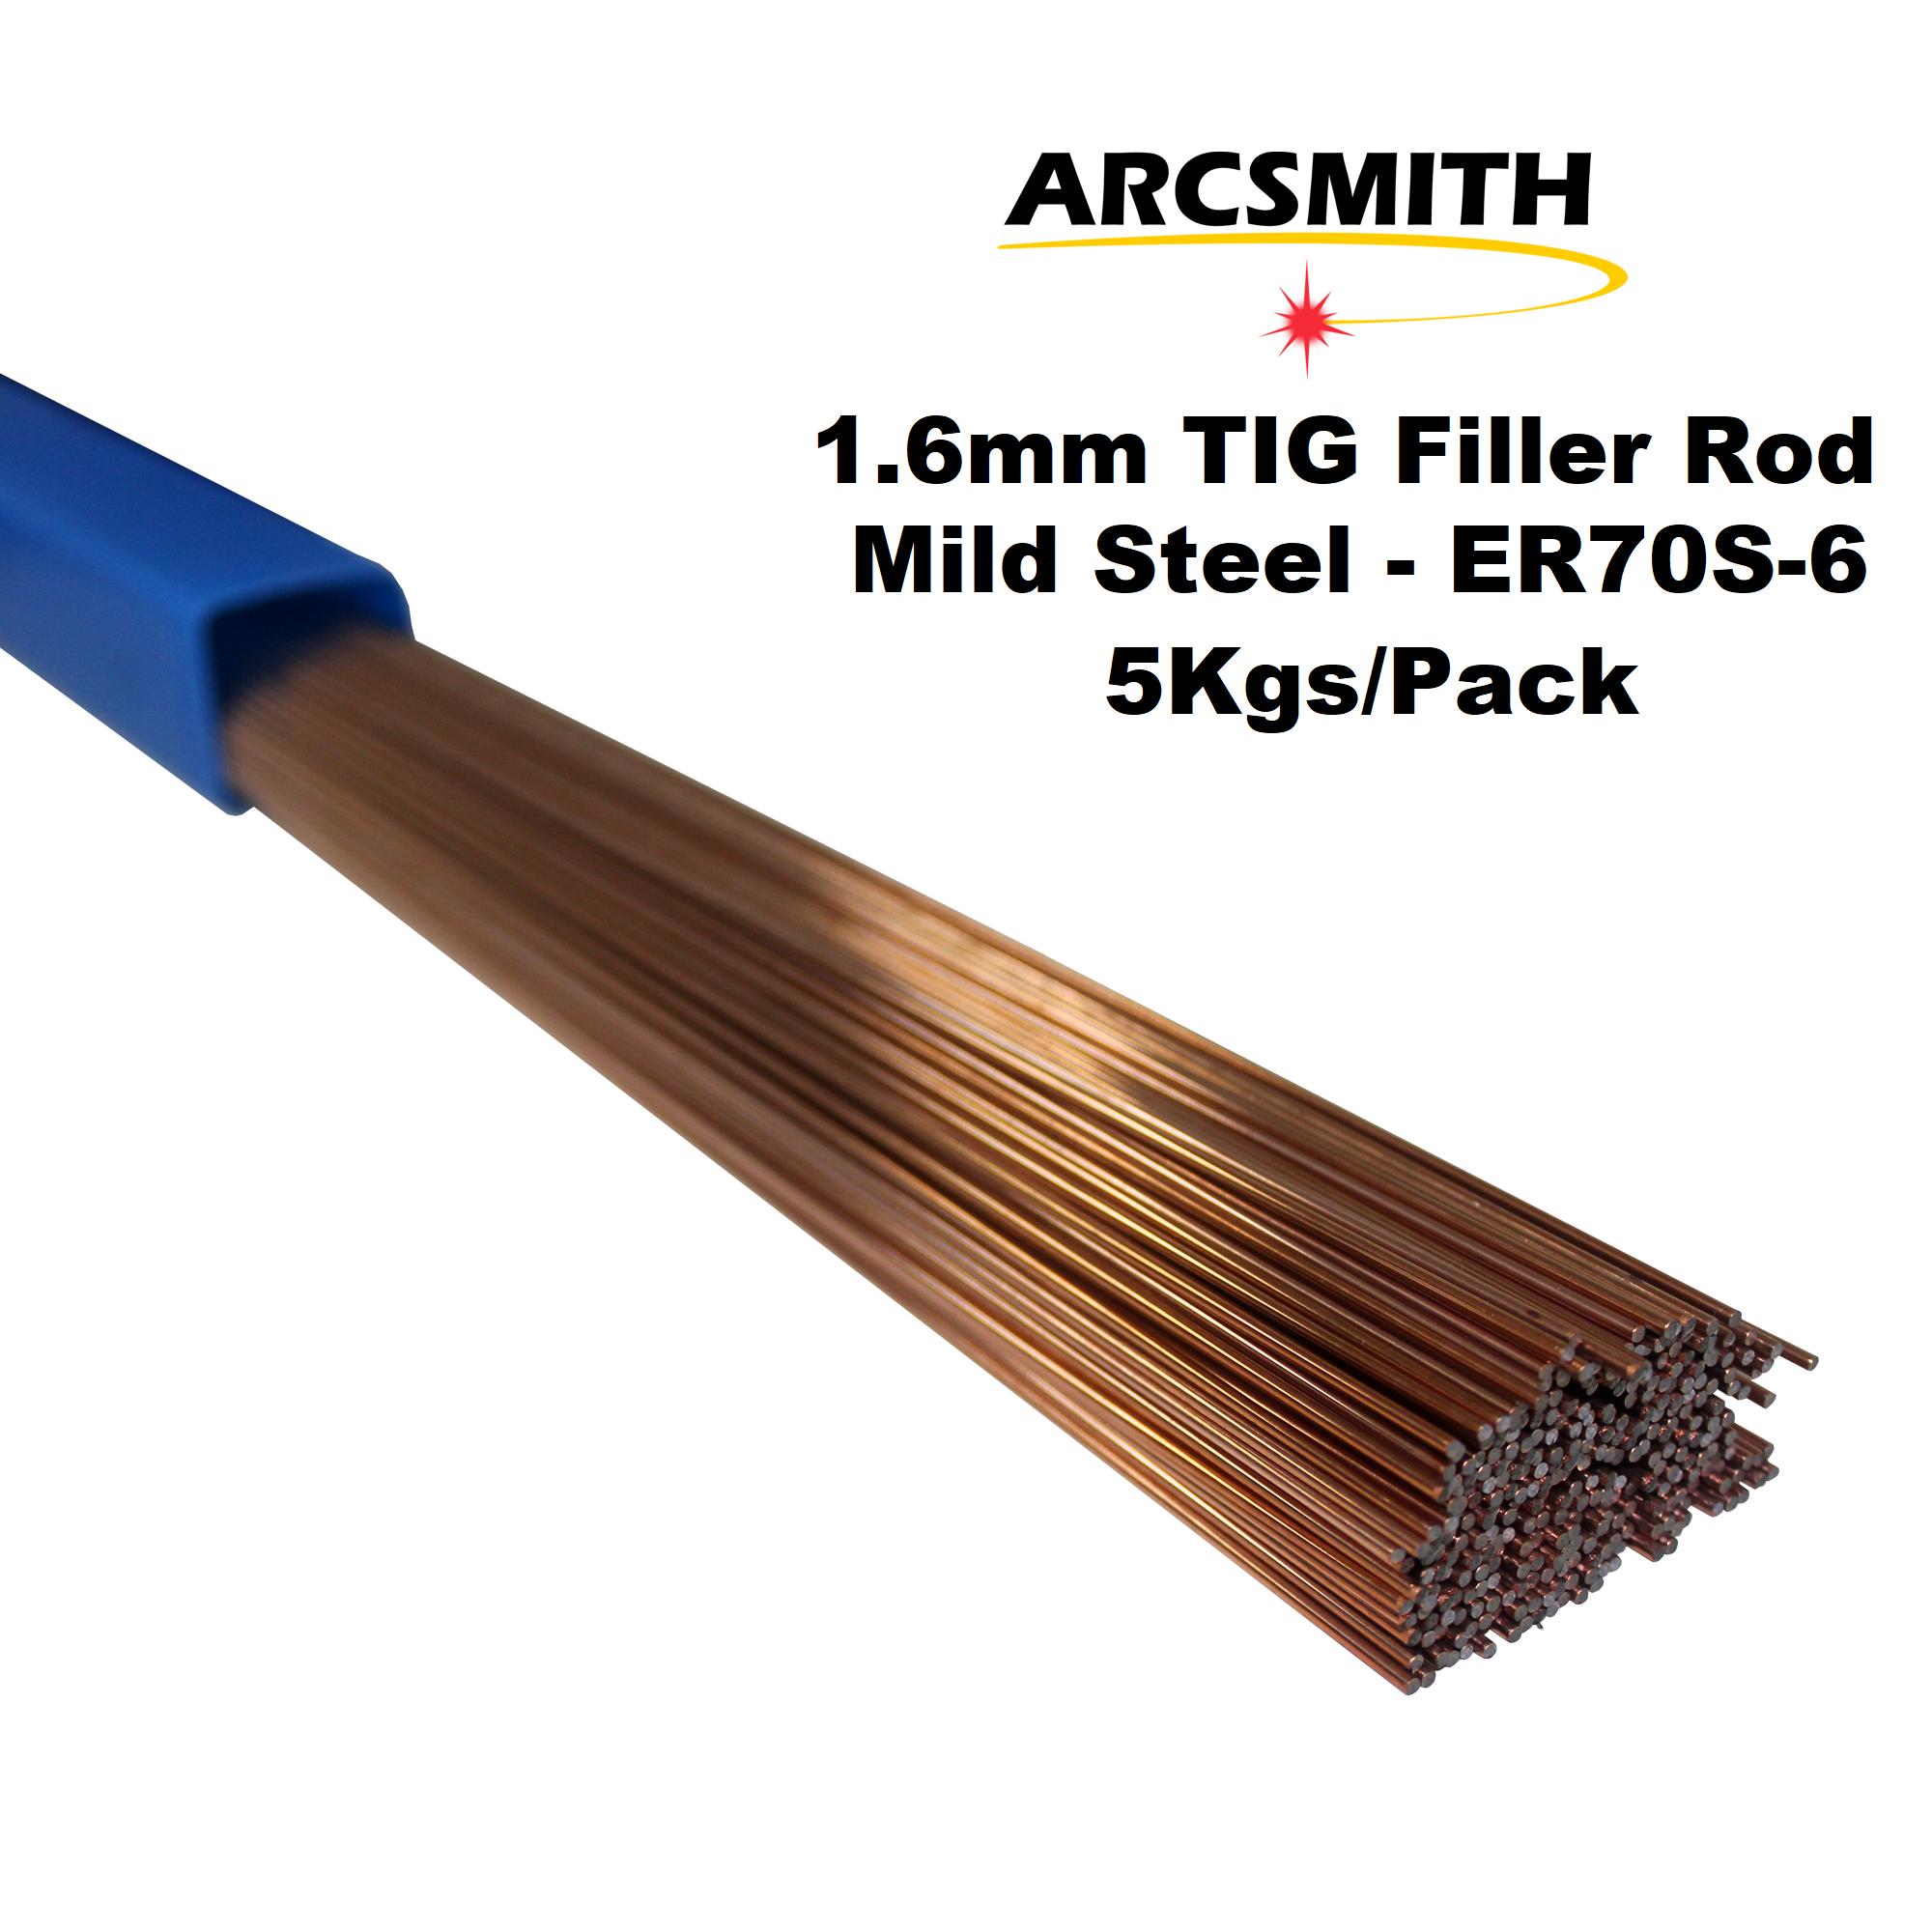
Mild Steel Filler Wire
For carbon steel, things are a bit simpler.
- ER70S-2: This is a very popular choice for TIG welding mild steel. It has deoxidizers (like silicon and manganese) that help clean up any impurities in the weld puddle, giving you a clean, strong weld.
- ER70S-6: Similar to ER70S-2, but with even more deoxidizers. Great for dirtier material or when you need extra puddle fluidity.
A Few Parting Thoughts on Technique (and Avoiding Facepalms)
Once you've got the right filler, the next step is learning how to feed it smoothly. It's a rhythm thing. You'll dab, you'll melt, you'll move, you'll dab again. Here are some quick pointers:
- Keep it Clean: Always keep your filler wire clean. Grease, dirt, or even fingerprints can contaminate your weld.
- Angle Matters: Keep your filler wire at a low angle to the base metal, just barely above the puddle. Don't ram it straight down!
- Don't Dip Your Tungsten: This is the cardinal sin of TIG. Accidentally touching your tungsten electrode to the filler wire (or the puddle) will contaminate it, and you’ll have to stop and re-grind. Annoying, but a rite of passage!
So there you have it. Filler wire isn't just an afterthought; it's the backbone of a strong, beautiful TIG weld. My initial ignorance about it cost me a lot of head-scratching and mediocre results, but once I started treating it with the respect it deserved, my welding game changed dramatically. Go forth, experiment, and remember: a little extra metal goes a long, strong way! Happy welding, folks!