
Why Is My Gel Top Coat Pitting
Okay, so your gel mani looks like the surface of the moon. Crater city! We're talking about pitting, those annoying little divots that ruin your perfect, glossy finish. What gives? Don't freak out! It's usually a simple fix. Let's dive in!
What IS Pitting, Anyway?
Imagine tiny air bubbles, plotting against your nail dreams. They rise to the surface of your top coat during curing. Pop! Leaving behind a little hole. That's pitting in a nutshell. It’s like your nails are auditioning for a role in a sci-fi movie… as a meteorite.
Did you know some people call them “fish eyes”? Sounds way less dramatic, right? More like a cute cartoon than a nail disaster.
Must Read
The Culprits: Why Your Top Coat Is Acting Out
So, who's to blame for this miniature moonscape? Several suspects are at play!
1. Prep Work Gone Wrong: Your nail bed needs to be squeaky clean. Any lingering oils or lotions? They're throwing a party under your gel and causing havoc. Think of it as trying to paint on a greasy pizza. Not ideal.
Quick fix: Scrub-a-dub-dub! Use a good nail cleanser (or even rubbing alcohol) before you start. Dehydration is your friend here!
2. Base Coat Blues: Is your base coat fully cured? An under-cured base can release gases, leading to pitting in the top coat. It’s like a tiny nail time bomb, ticking away until pop!

Quick fix: Cure that base coat like you mean it! Follow the manufacturer’s instructions religiously. Don't skimp on the curing time!
3. Top Coat Troubles: Not all top coats are created equal. Some are more prone to pitting than others. Also, are you shaking your top coat like a maraca? Stop! This creates air bubbles. Gently roll the bottle instead. Imagine you're soothing a tiny, fragile egg.
Quick fix: Try a different top coat. Read reviews! Look for ones that are specifically formulated to be bubble-free. And remember: roll, don't shake!
4. Application Issues: Are you applying your top coat too thickly? Thick layers trap air. It’s like suffocating your nails with gloss. Thin, even coats are the way to go. Think layers, not globs!
Quick fix: Practice makes perfect! Apply thin, even coats. Two thin coats are better than one thick one. Think of it as building a nail empire, brick by brick (or coat by coat!).

5. Lamp Logistics: Is your lamp up to snuff? An old or weak lamp might not be curing your gel properly. Also, are you holding your hand correctly in the lamp? Make sure all your nails are getting equal exposure to the light. Nobody wants a half-cured mani!
Quick fix: Invest in a good quality lamp. Replace the bulbs regularly. Position your hand carefully. Spread those fingers! Make sure every nail is getting its UV/LED tan.
But Wait, There's More! Quirky Causes
Sometimes, the cause is just plain weird.
Maybe your room is too humid. Humidity can affect the curing process. It's like your nails are staging a tiny protest against the weather.
Or, maybe you have some random dust particles floating around your room. They land on your wet nails and… pit! It’s like a tiny nail gremlin is throwing dust bunnies at your manicure.
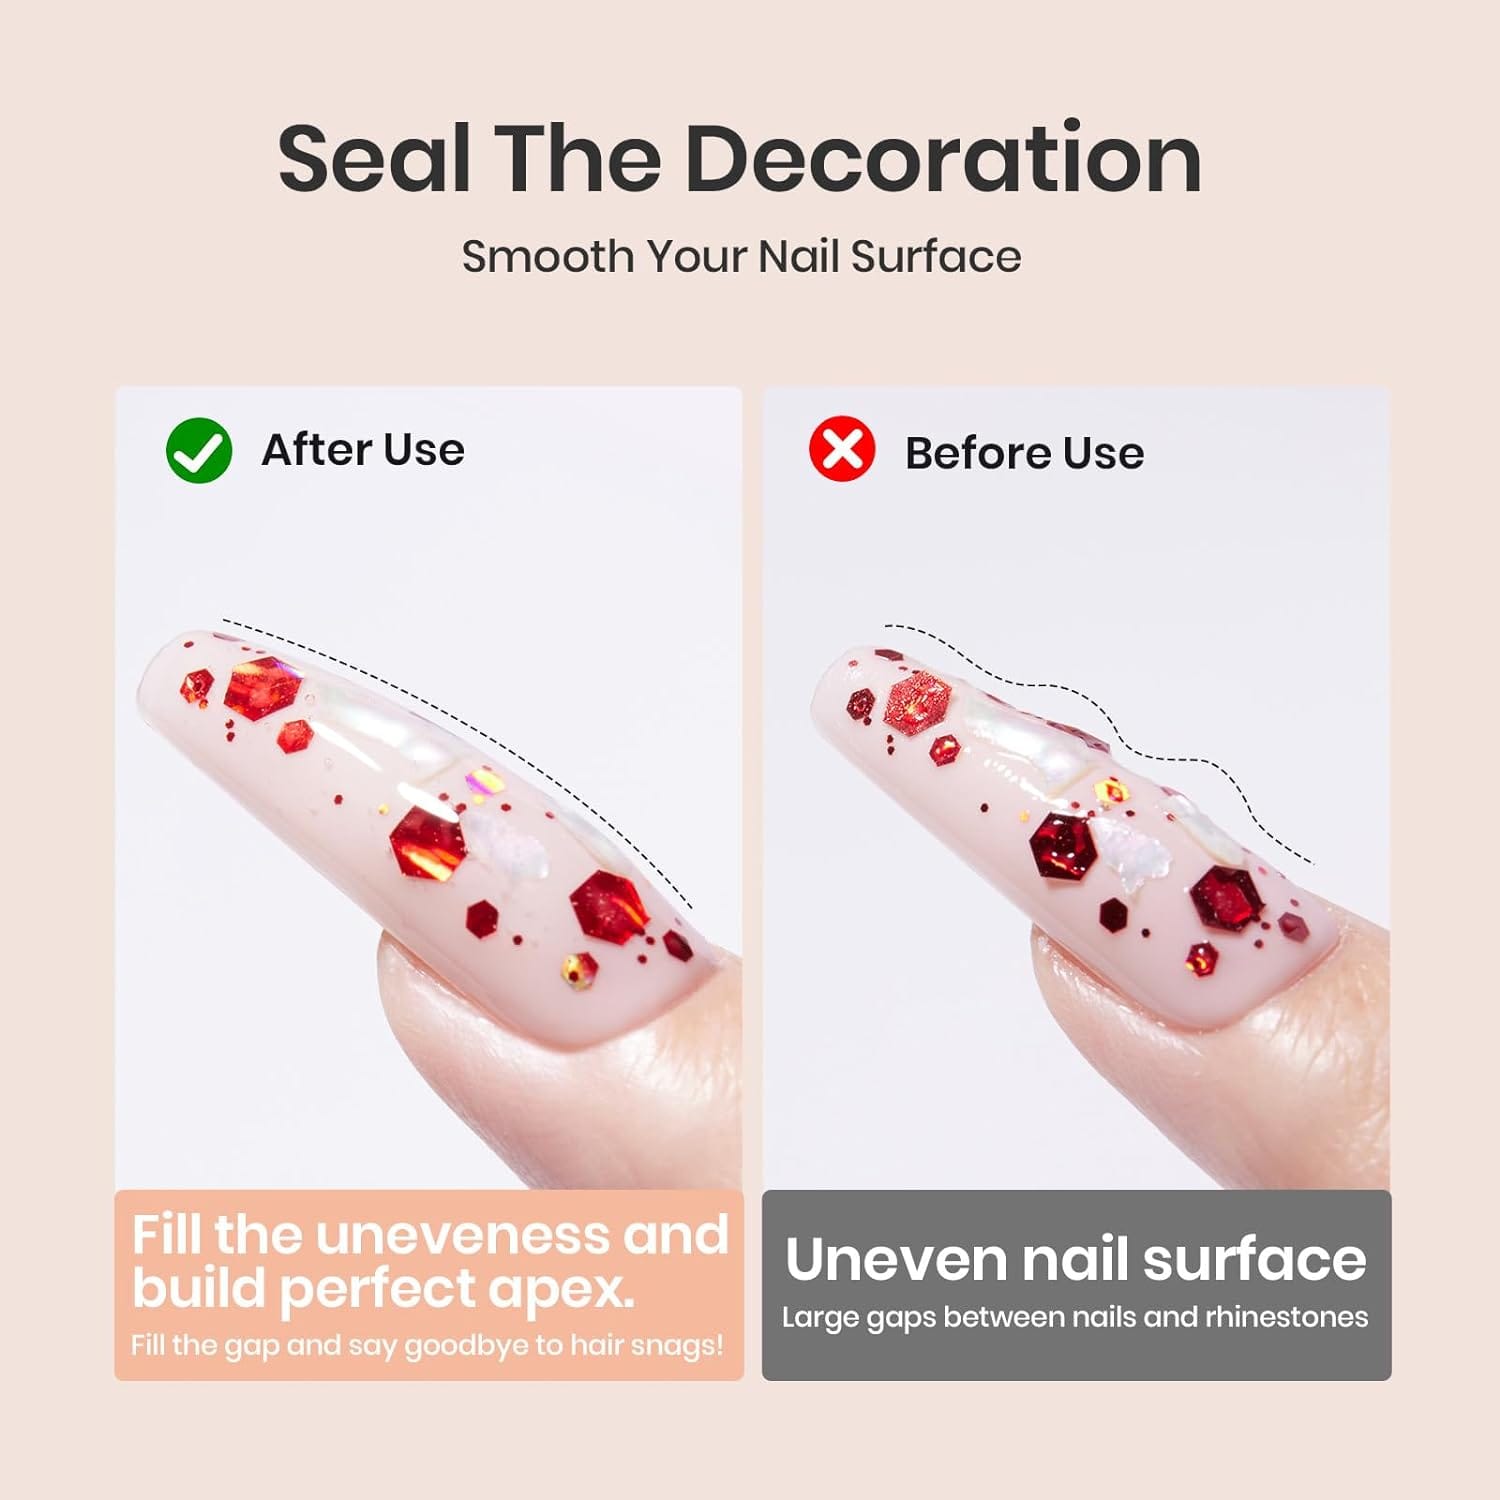
And, yes, even the temperature of your top coat can matter. If it's too cold, it might not apply smoothly, leading to air bubbles. Your top coat is basically a Goldilocks – it needs to be just right!
Don't Despair! Pitting Prevention is Possible!
So, how do you banish the pits forever? A combination of the above fixes should do the trick.
Double-check your prep work.
Cure each layer thoroughly.
Apply thin, even coats.

Use a quality top coat.
Make sure your lamp is in tip-top shape.
And maybe, just maybe, perform a little nail-curing ritual under a full moon. (Just kidding… mostly.)
Nail perfection takes practice. Don't get discouraged if you see a few pits here and there. You'll get there! And hey, even a slightly pitted mani is still better than naked nails, right?
Happy polishing! Now go forth and create a flawless, crater-free masterpiece!