What Is A Raft In 3d Printing
Hey there, fellow printing enthusiast! Or maybe you're just dipping your toes into the wild and wonderful world of 3D printing. Either way, welcome! You might have stumbled across some funky terms – like "brim," "skirt," or today's star, the mysterious "raft." Sounds like something you'd build to escape a deserted island, right? Well, in 3D printing, it's pretty much a tiny lifesaver for your print!
So, let's pull up a virtual chair and chat about what in the filament-filled world is a raft in 3D printing. No tech jargon headaches, I promise. Just good ol' friendly banter.
What Exactly Is This Raft Thingy?
Imagine you're about to bake a magnificent cake, but instead of putting it on a nice, flat baking sheet, you try to bake it directly on a wobbly jelly mountain. Sounds like a recipe for disaster, right? That's kinda where a raft comes in for your 3D print.
Must Read
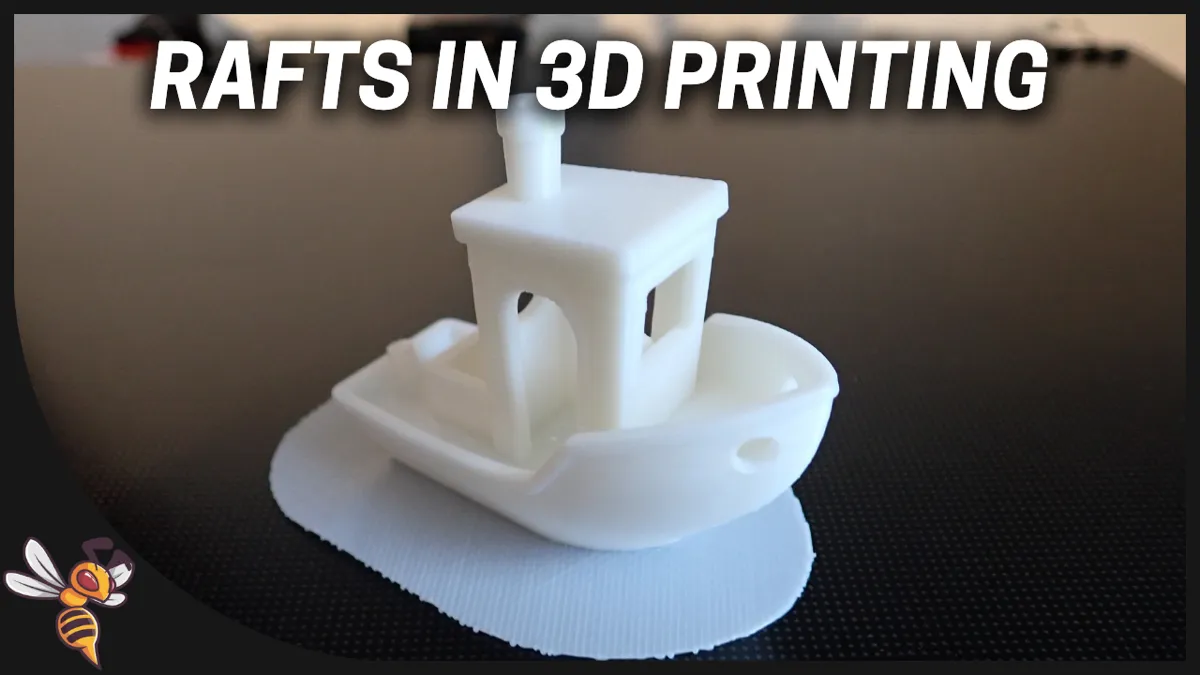
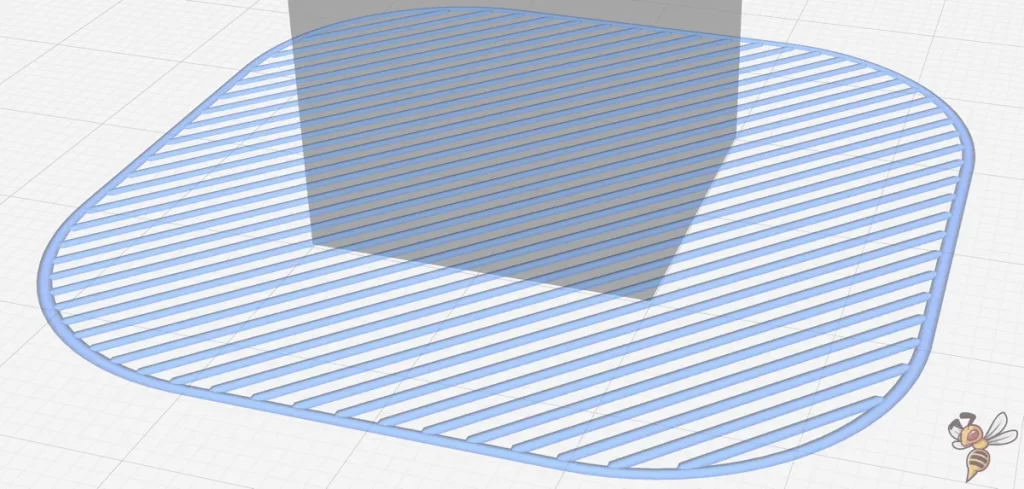
In the simplest terms, a raft is a disposable, flat layer of material that your 3D printer prints under your actual model. Think of it as a temporary, sturdy foundation that your incredible design sits on. It's like giving your model its own little personal island to stand on before it ventures into the real world.
And why, you might ask, would we go through such an elaborate setup?
The Superpowers of a Raft: Why We Use Them
Rafts aren't just for show; they've got some serious superpowers. Let's break down their main missions:
1. The Bed Adhesion MVP
This is probably the raft's most famous trick. Sometimes, despite our best efforts, a print just doesn't want to stick to the build plate. It's like trying to get a toddler to sit still – a real challenge! This is especially true for materials prone to warping, like ABS, or if your first layer isn't quite perfectly dialed in.
A raft creates a larger surface area that makes contact with the print bed, giving your model a much better grip. It's like applying superglue (but not really) between your model and the plate. No more prints doing the "salmon leap" off the bed halfway through! Phew!
2. The Stable Foundation Architect
Ever tried to print a model with a really tiny base? Like a delicate figurine on one foot, or a tall, slender tower? These little guys can be notoriously wobbly and prone to falling over or just not adhering well because there's so little surface touching the plate. A raft provides a significantly larger, more stable platform for these precarious prints to grow upon.
It's like building a skyscraper on a huge, solid concrete slab instead of directly on a single brick. Much safer, much more successful!

3. The Warp Whisperer
Warping is the bane of many a 3D printer's existence. It's when the edges of your print curl up, detaching from the build plate. It's caused by uneven cooling and shrinkage, and it can turn a perfect print into a sad, banana-shaped mess. A raft acts as a sacrificial layer that absorbs much of this stress.
It's the brave stunt double for your actual print! The raft might warp a tiny bit, but it protects your precious model from bending out of shape, ensuring its bottom remains nice and flat.
4. The Rough Surface Smoother
If your build plate is a little worn, scratched, or just not perfectly level, that first layer of your print can look a bit rough. A raft can help here too! It lays down a clean, consistent surface, creating a fresh canvas for your actual model to be printed on. It's like putting down a smooth tablecloth before setting your fancy dinner.

When Should You Use This Handy Helper?
You'll often want to consider a raft for:
- Models with small contact points: Think tiny feet, pointy bases, or intricate designs that just don't have much surface area.
- Materials prone to warping: ABS is a classic example.
- Troublesome print beds: If you're struggling with adhesion, a raft can be your best friend.
- Just for peace of mind: Sometimes, you just want to hit print and walk away knowing it's got the best chance of success. No shame in that!
Are There Any Downsides to This Rafting Adventure?
Like any good adventure, there are a few trade-offs:
- More Material: You're printing extra stuff, so it uses a tiny bit more filament.
- Longer Print Time: Yep, extra layers mean a little extra time on the printer.
- Bottom Surface Finish: When you remove the raft, the bottom of your model might have a slightly textured or less smooth finish compared to printing directly on a pristine build plate. It's usually easy to clean up, but something to note!
- Removal: You'll have to detach the raft from your model once it's done. Most of the time, it snaps right off like a champ, but occasionally, it can be a bit stubborn.
But honestly, for the success rate it provides, these are often minor inconveniences.
So, How Do I Get My Print to Use a Raft?
It's super easy! In your slicing software (like Cura, PrusaSlicer, Simplify3D), there will be an option under "Build Plate Adhesion" or similar. You simply select "Raft," and the software does all the magic for you. Then, you print as usual, and once it's done, gently peel or scrape the raft away from your masterpiece.

The Takeaway: Your New Raft Expertise!
Congratulations, my friend! You are now officially a raft expert. You know what it is, why it's awesome, and when to deploy this handy tool. Rafts aren't always necessary, especially with well-calibrated printers and common materials like PLA, but when you need them, they are truly print savers.
So next time you're facing a tricky print, or just want that extra bit of insurance, remember the humble raft. It's there to provide a solid start, prevent those dreaded print fails, and help you create amazing things. Keep experimenting, keep learning, and most importantly, keep having fun in this incredible world of 3D printing!
Happy printing, my friend! May your first layers always be perfect and your rafts always peel off with ease!