What Is A Brim In 3d Printing
Ever marveled at the magic of a 3D printer bringing a digital design to life? It's like having a miniature factory on your desk! But if you've ever tried it, you might have experienced that heartbreaking moment when your print decides to pop off the build plate mid-way, or its corners curl up like a sad slice of bacon. Don't fret! There's a simple, clever trick called a brim, and it's one of the unsung heroes of successful 3D printing. Understanding it can seriously elevate your printing game, making it more fun and less frustrating for everyone from curious beginners to seasoned hobbyists.
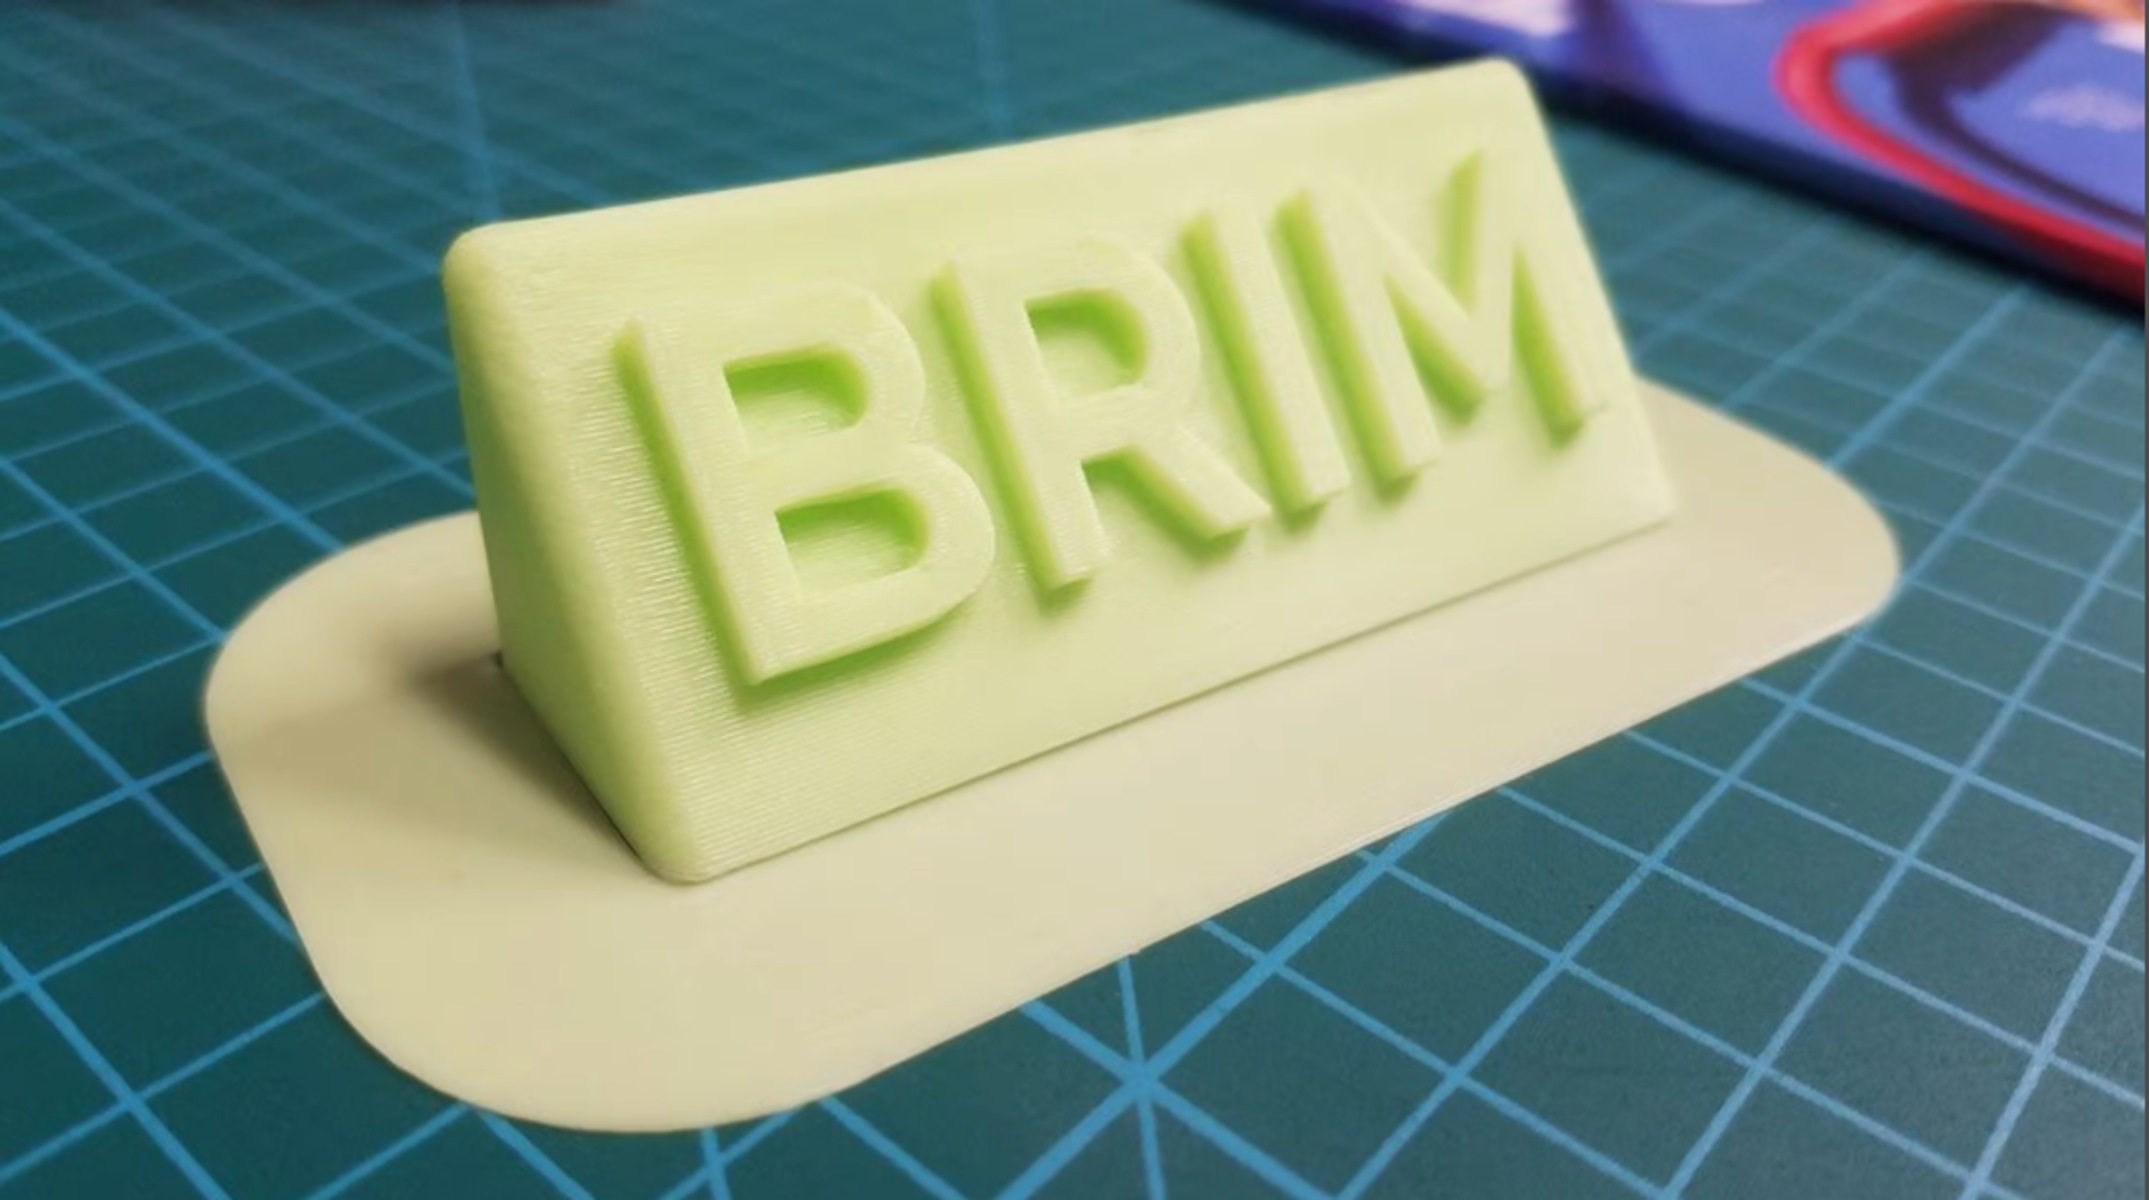
So, what exactly is a brim? Imagine your 3D print as a delicious cake you're baking. A brim is like adding a thin, flat ring of extra batter around the very bottom edge of your cake before it bakes. In 3D printing terms, it's a single layer of plastic that prints directly onto your build plate, extending outwards from the base of your model, but crucially, not actually part of the model itself. Its primary purpose is simple yet incredibly effective: adhesion and stability.
For beginners, a brim is a godsend. It dramatically reduces the chance of your print lifting or detaching from the print bed, which is one of the most common causes of failed prints. Less failure means more successful prints, which means more enjoyment and less wasted filament. For families printing toys or functional parts, it ensures those character figures or custom hooks come out perfectly the first time. Hobbyists tackling complex, tall, or slender models will find brims indispensable for maintaining print integrity and preventing warping, especially with materials like ABS.
Must Read
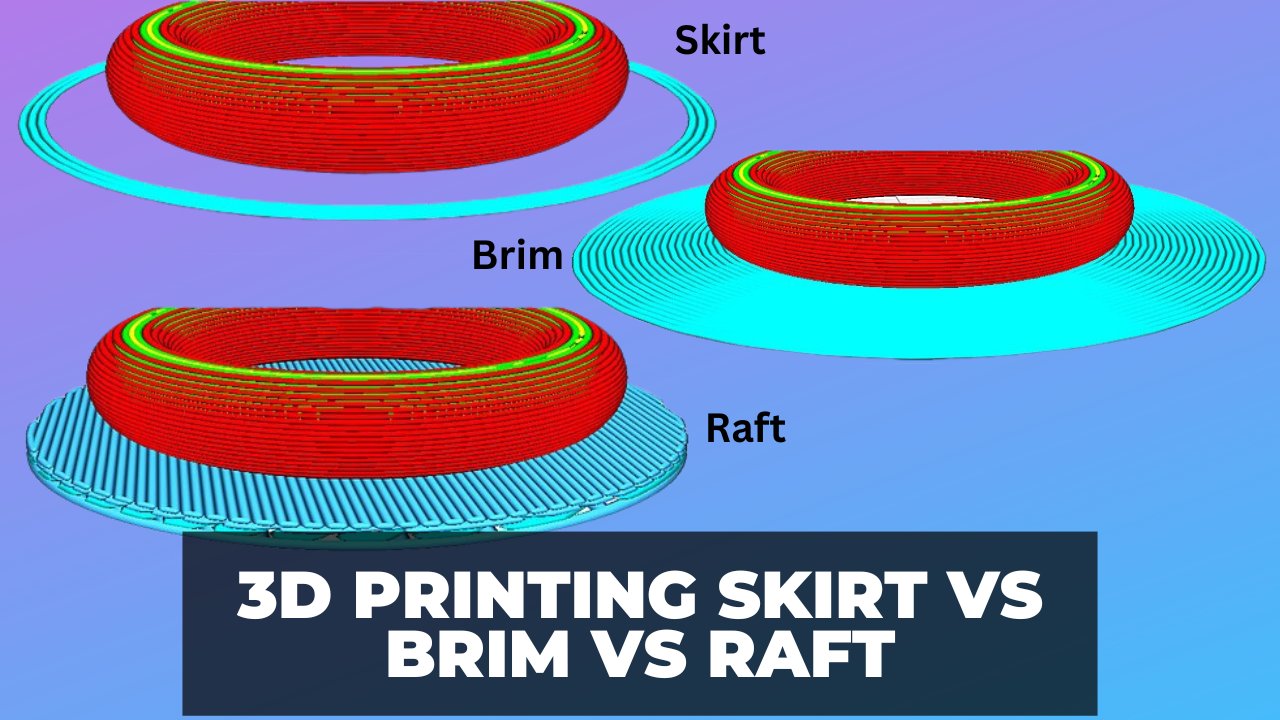
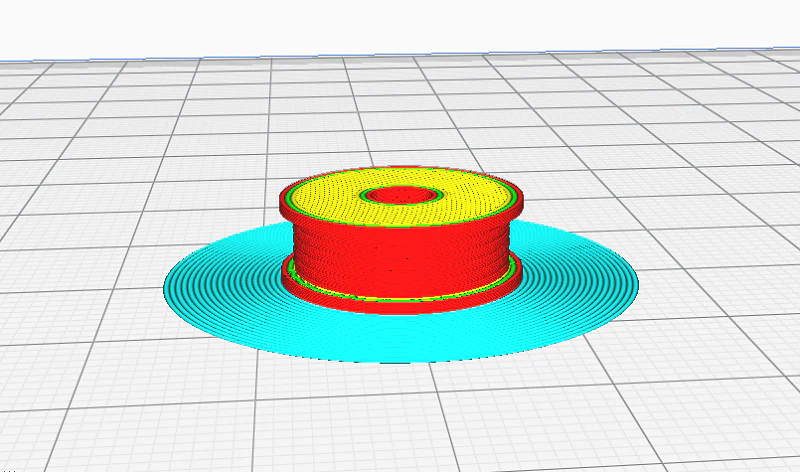
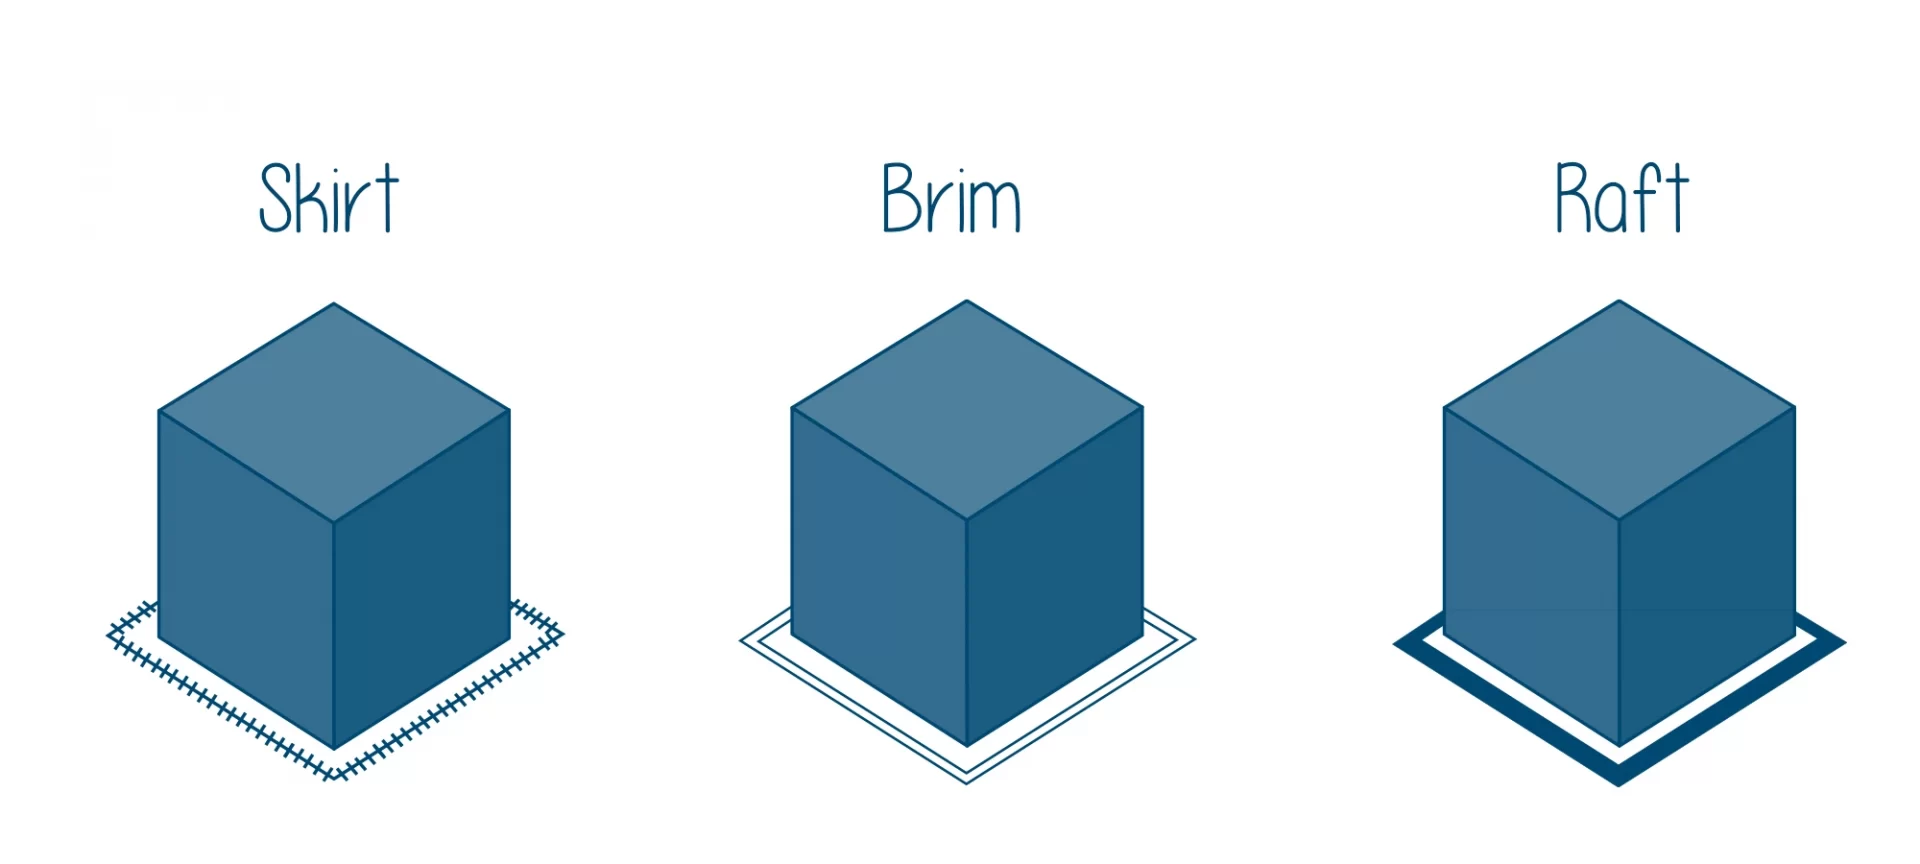
While the standard brim is an "outer brim" creating a wider base, there are subtle variations and related concepts. You might hear about a skirt, which is similar but doesn't actually touch your print – it just draws an outline around it to prime the nozzle. Then there's a raft, which creates an entire disposable base under your print, often used for very tricky models or uneven beds, though it uses more material and can leave a rougher finish. The beauty of a brim is its balance: excellent adhesion without excessive material usage or post-processing difficulty. You'll especially want to use a brim for objects with small footprints, sharp corners, or those that are particularly tall and thin, which are prone to wobbling or peeling.
Ready to give it a whirl? Using a brim is super easy! In your slicing software (like Cura, PrusaSlicer, or Simplify3D), you'll typically find an option under the "Build Plate Adhesion" settings. Simply select "Brim" instead of "Skirt" or "None." You can usually specify the brim width or the number of brim lines. Start with around 5-10 lines (or 3-5mm width) and adjust based on your model and material. After the print is finished and cooled, gently remove the brim. A craft knife, deburring tool, or flush cutters work wonders, just be careful not to nick your beautiful print! Practice makes perfect, and you'll soon get a feel for when a brim is your best friend and when it's not strictly necessary.
Embracing the brim is a small tweak that yields huge results. It’s a simple solution to a common problem, transforming potentially frustrating failures into satisfying successes. So go ahead, give the brim a try on your next 3D printing adventure. You’ll be amazed at how this tiny plastic ring can make such a massive difference, helping you consistently achieve those perfect prints you envisioned and making your 3D printing journey even more enjoyable.