What Are Rafts In 3d Printing
Ever marvel at the incredible things people create with 3D printers? From custom board game pieces to handy home organizers, the possibilities are virtually endless! But if you’ve ever dabbled in 3D printing, or even just watched a few videos, you might have noticed a tiny hurdle that sometimes pops up: getting that very first layer to stick perfectly. This is where a clever little trick called a raft comes into play, and it’s one of those unsung heroes that makes 3D printing much more accessible and a whole lot less frustrating for everyone. It’s like having a trusty helping hand for your print, ensuring a smooth takeoff every time!
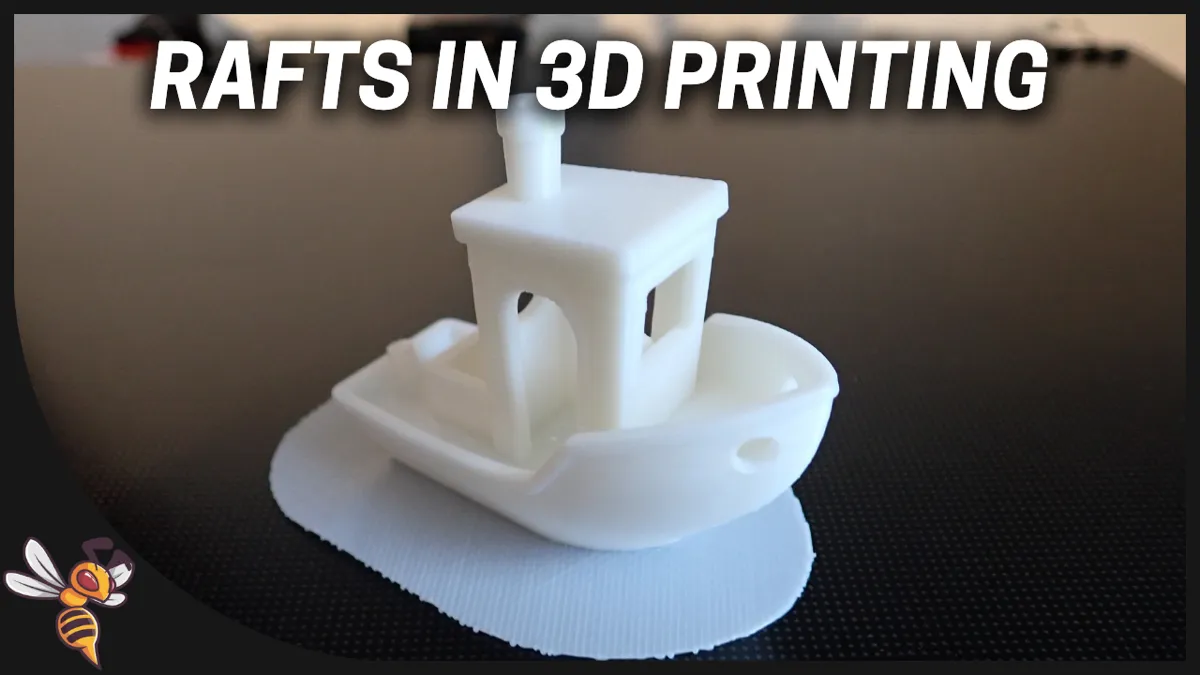
So, what exactly are rafts in 3D printing? Imagine a sturdy, disposable platform that your actual 3D print sits on. That’s essentially a raft! Its primary purpose is to create a stronger foundation for your print, making sure it grips securely to the print bed. For beginners, this means fewer failed prints and more immediate success, which is incredibly encouraging when you’re just starting out. No more watching your exciting new model detach and turn into a spaghetti monster halfway through!
For families and hobbyists, rafts translate to more reliable outcomes for those fun projects. Printing a delicate action figure with tiny feet? A raft ensures those small contact points adhere beautifully. Working with materials that are prone to warping, like ABS? The raft provides a larger surface area, distributing heat more evenly and reducing the chances of edges lifting off the bed. It’s particularly useful for models with very small bases or intricate first layers, giving them the best possible start. It basically creates its own perfect, flat printing surface, even if your print bed isn’t absolutely pristine.
Must Read
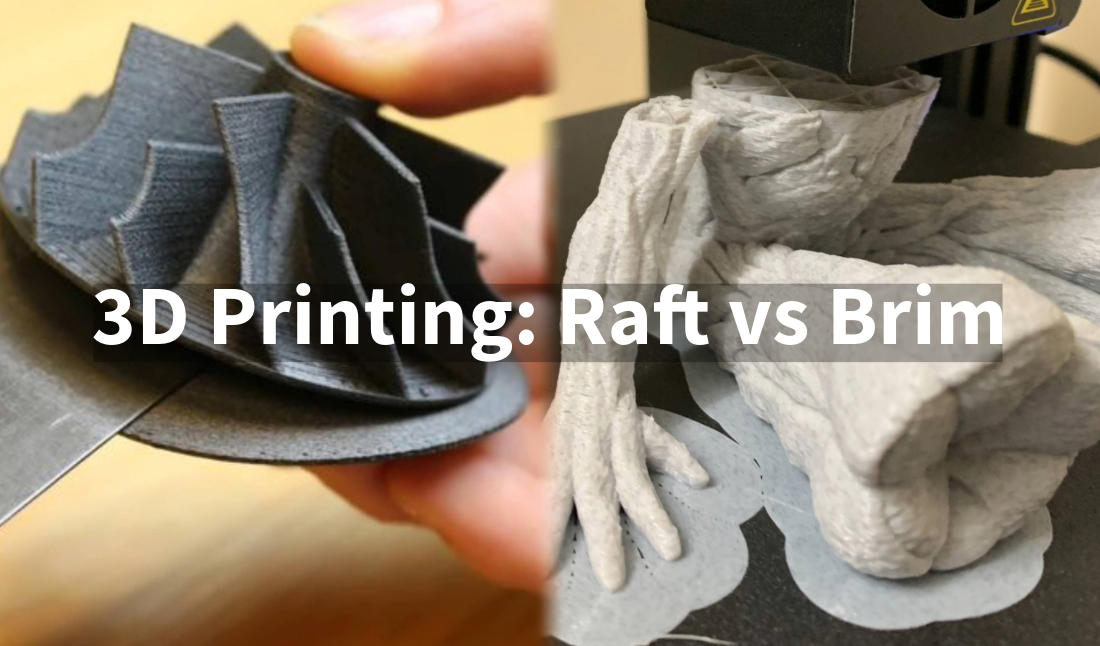
While rafts are fantastic, they're part of a family of "build plate adhesion" techniques, which also include skirts (a line drawn around the print) and brims (a few lines directly attached to the print's base). Rafts, however, offer the most robust adhesion by creating a full, multi-layer base underneath your entire model. Think of it as a small, removable foundation that your main print is built upon. Once your print is finished, you simply peel the raft away, often with surprising ease, leaving your perfectly printed object ready to go.

Ready to give rafts a try? It’s super simple! Most 3D slicing software (like Cura or PrusaSlicer) will have an option in the "Build Plate Adhesion" or "Support" settings to enable a raft. Start by enabling it for any print where you've had adhesion issues, or for models with a very small footprint. You might notice your print takes a little longer and uses a tiny bit more filament, but the saved frustration is often well worth it! Once your print is complete and cooled, gently separate the raft from your model. You’ll find that a good raft will detach cleanly, leaving your print’s base looking great. Don't be afraid to experiment – sometimes a raft is just what you need for that perfect print!
Rafts are truly a testament to how small, smart adjustments can make a huge difference in 3D printing. They're a simple tool that drastically improves reliability and enjoyment, letting you focus more on the creative process and less on troubleshooting. So go ahead, enable that raft, and dive into the satisfying world of successful 3D prints!