Welding Helmet Auto Darkening Lens Replacement
Hey there, fellow metal maestro! Ever stared into the blinding light of an arc, only to realize… your auto-darkening lens is, well, not darkening? Ugh, the worst, right? It's like showing up to a sword fight with a butter knife. Time for a replacement, my friend. Don't worry, it's easier than threading a needle while wearing welding gloves (which is, admittedly, not very easy).
So, why bother replacing the lens instead of just buying a whole new helmet? Good question! Think of it like this: you wouldn’t toss your car just because a tire blew, would you? (Unless, maybe, it was time for a new car anyway… we've all been there!). Replacing the lens is way more budget-friendly and less wasteful. Plus, you probably already love your helmet, right? It fits your head just perfectly.
First things first: Finding the Right Lens
This is crucial, folks. You can't just slap any old piece of plastic in there and hope for the best. It’s gotta be compatible! Think Cinderella and her glass slipper, but with less dancing and more sparks.
Must Read
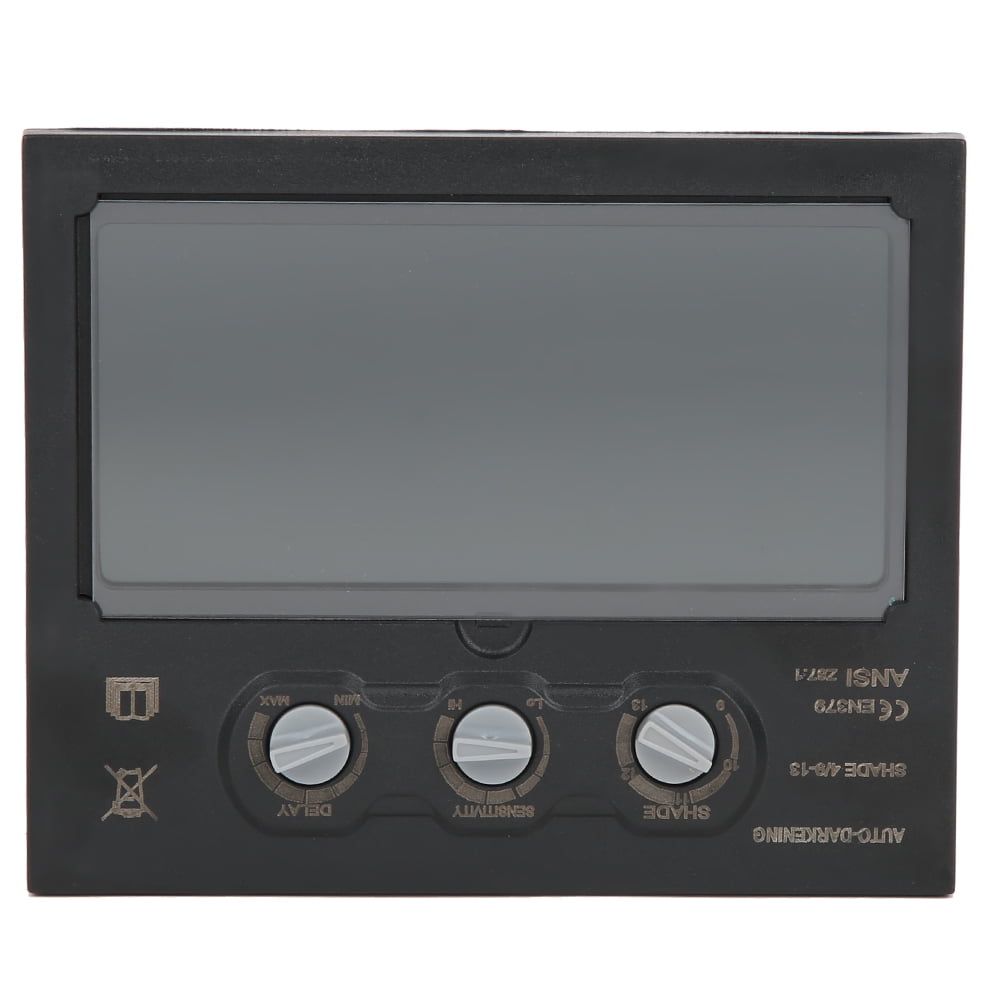
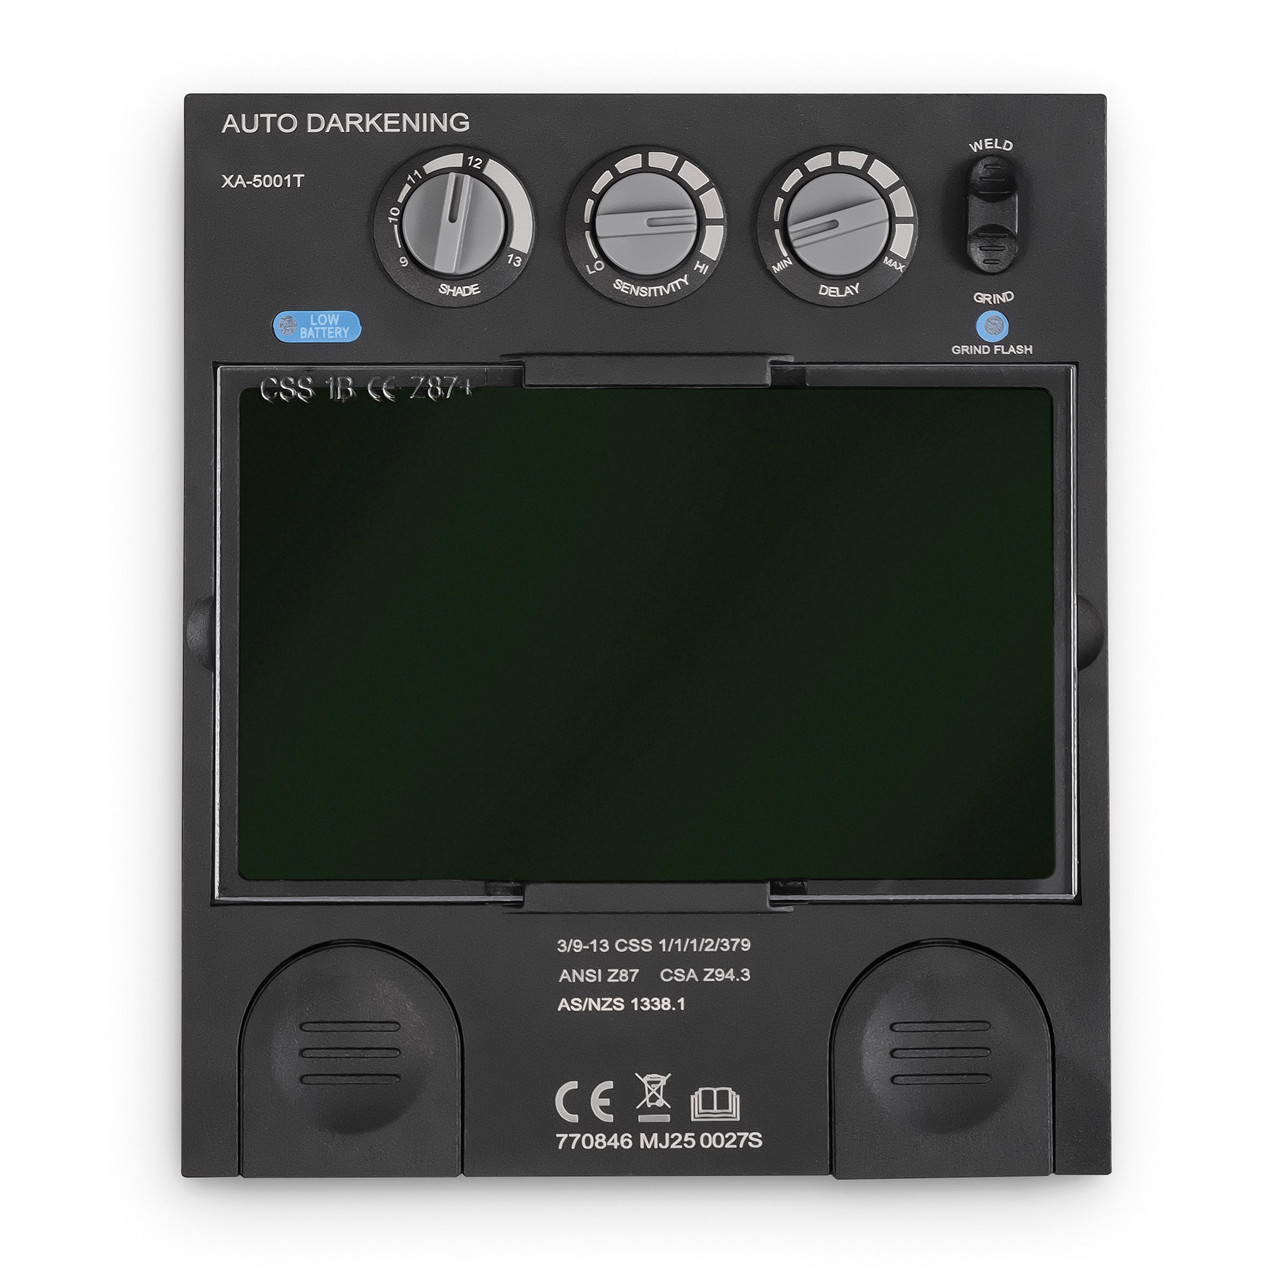
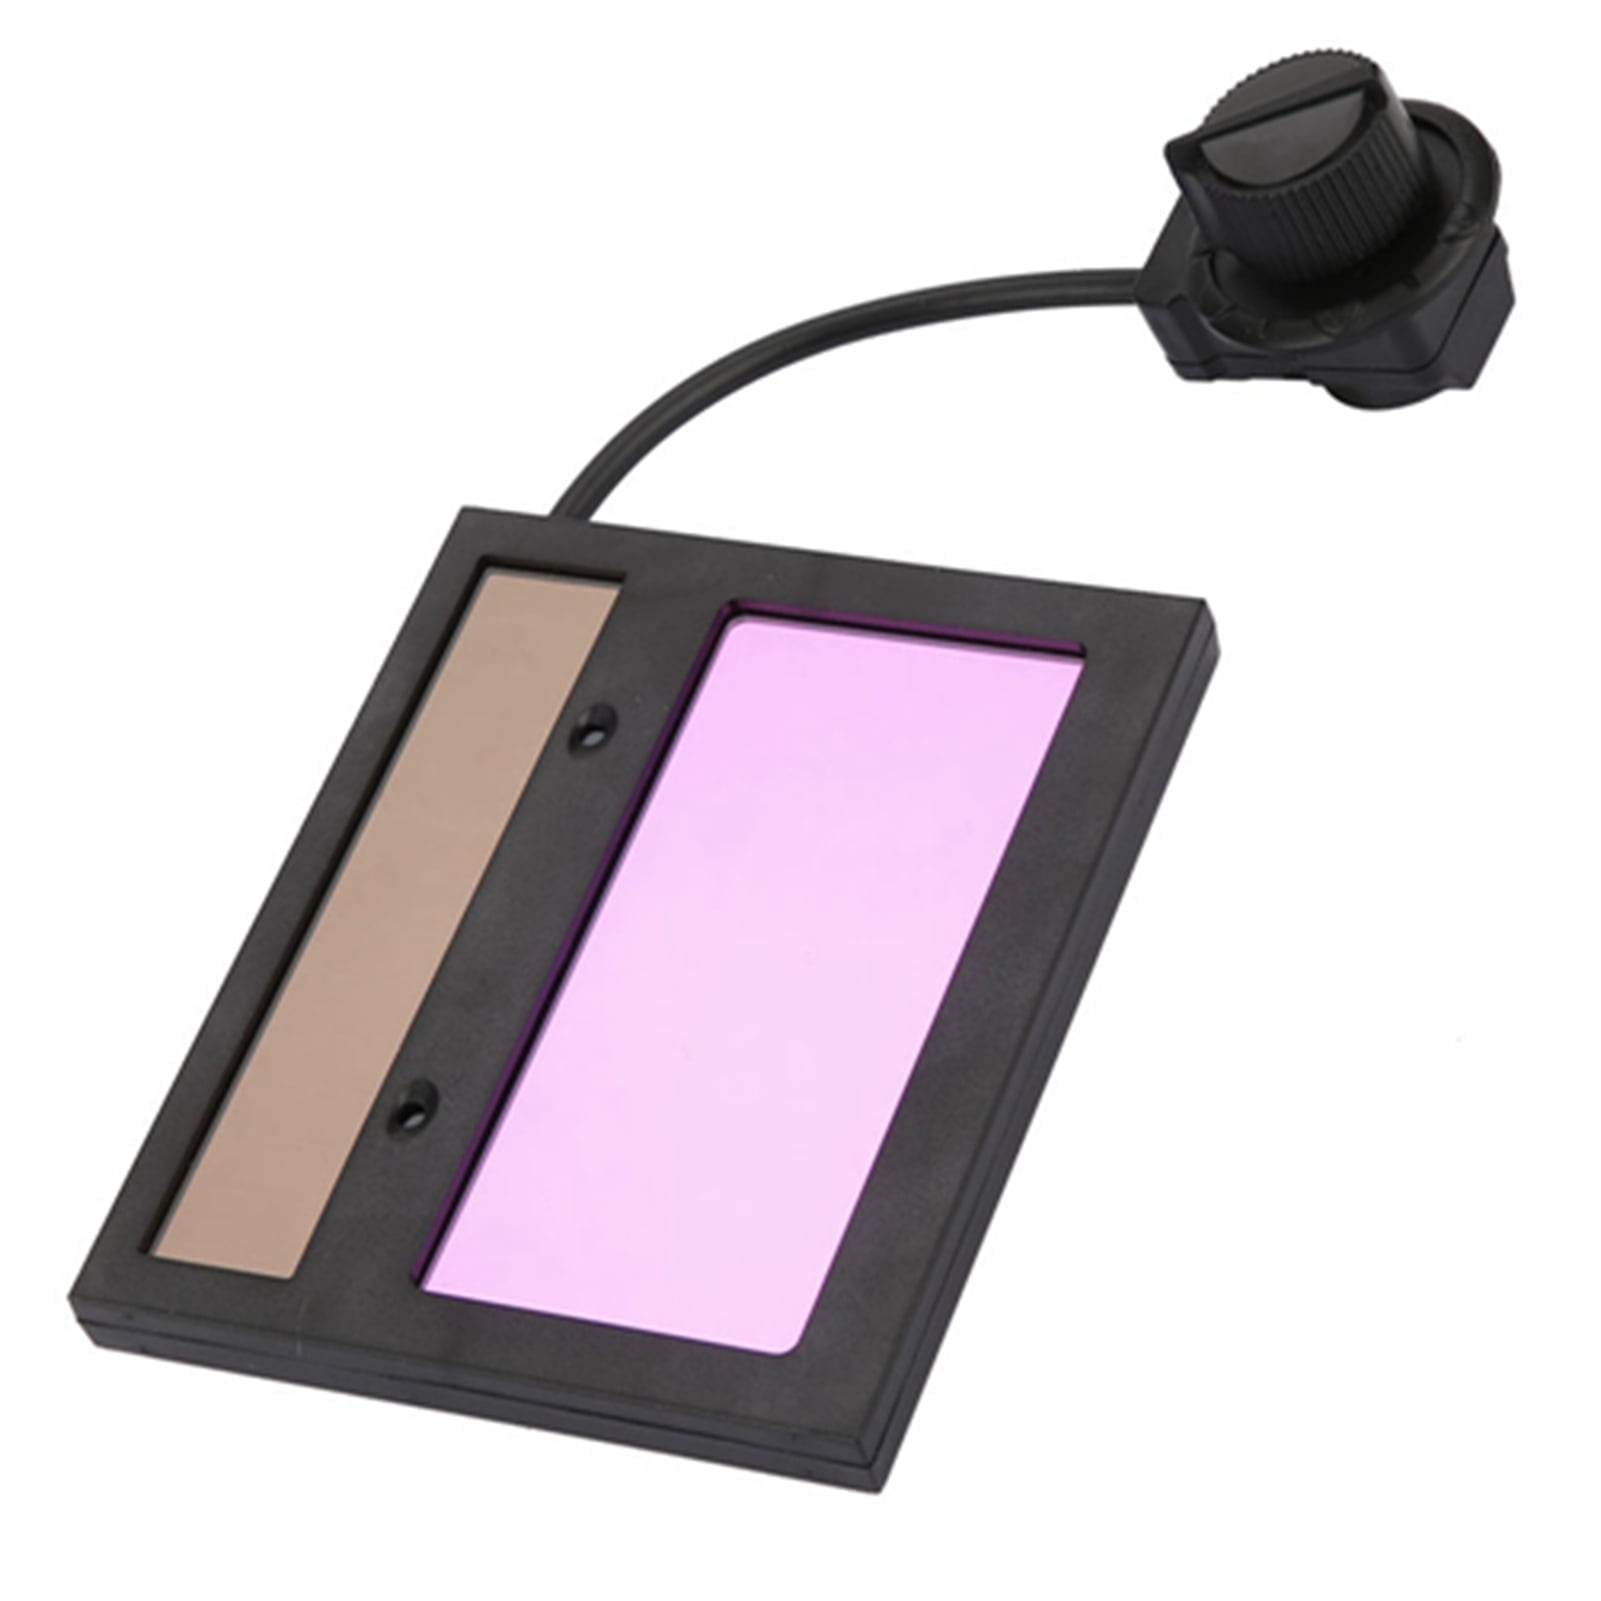
Check your helmet's manual. Seriously, dust that thing off. It'll tell you exactly what size and type of lens you need. No manual? No problem! Most lenses have the dimensions printed on them, usually in millimeters (because, you know, metric system!). Measure it carefully. A slightly too-big lens? No bueno. Too small? Even worse. Imagine trying to watch a movie through a keyhole. Not ideal.
Consider the Shade Range: This is where things get interesting. Different welding processes require different shade levels. TIG welding? You'll probably want a lighter shade. Stick welding? Crank it up a notch! Most auto-darkening lenses offer a variable shade range, usually something like 9-13. If you're just starting out, a wider range is your best bet. Why limit yourself?
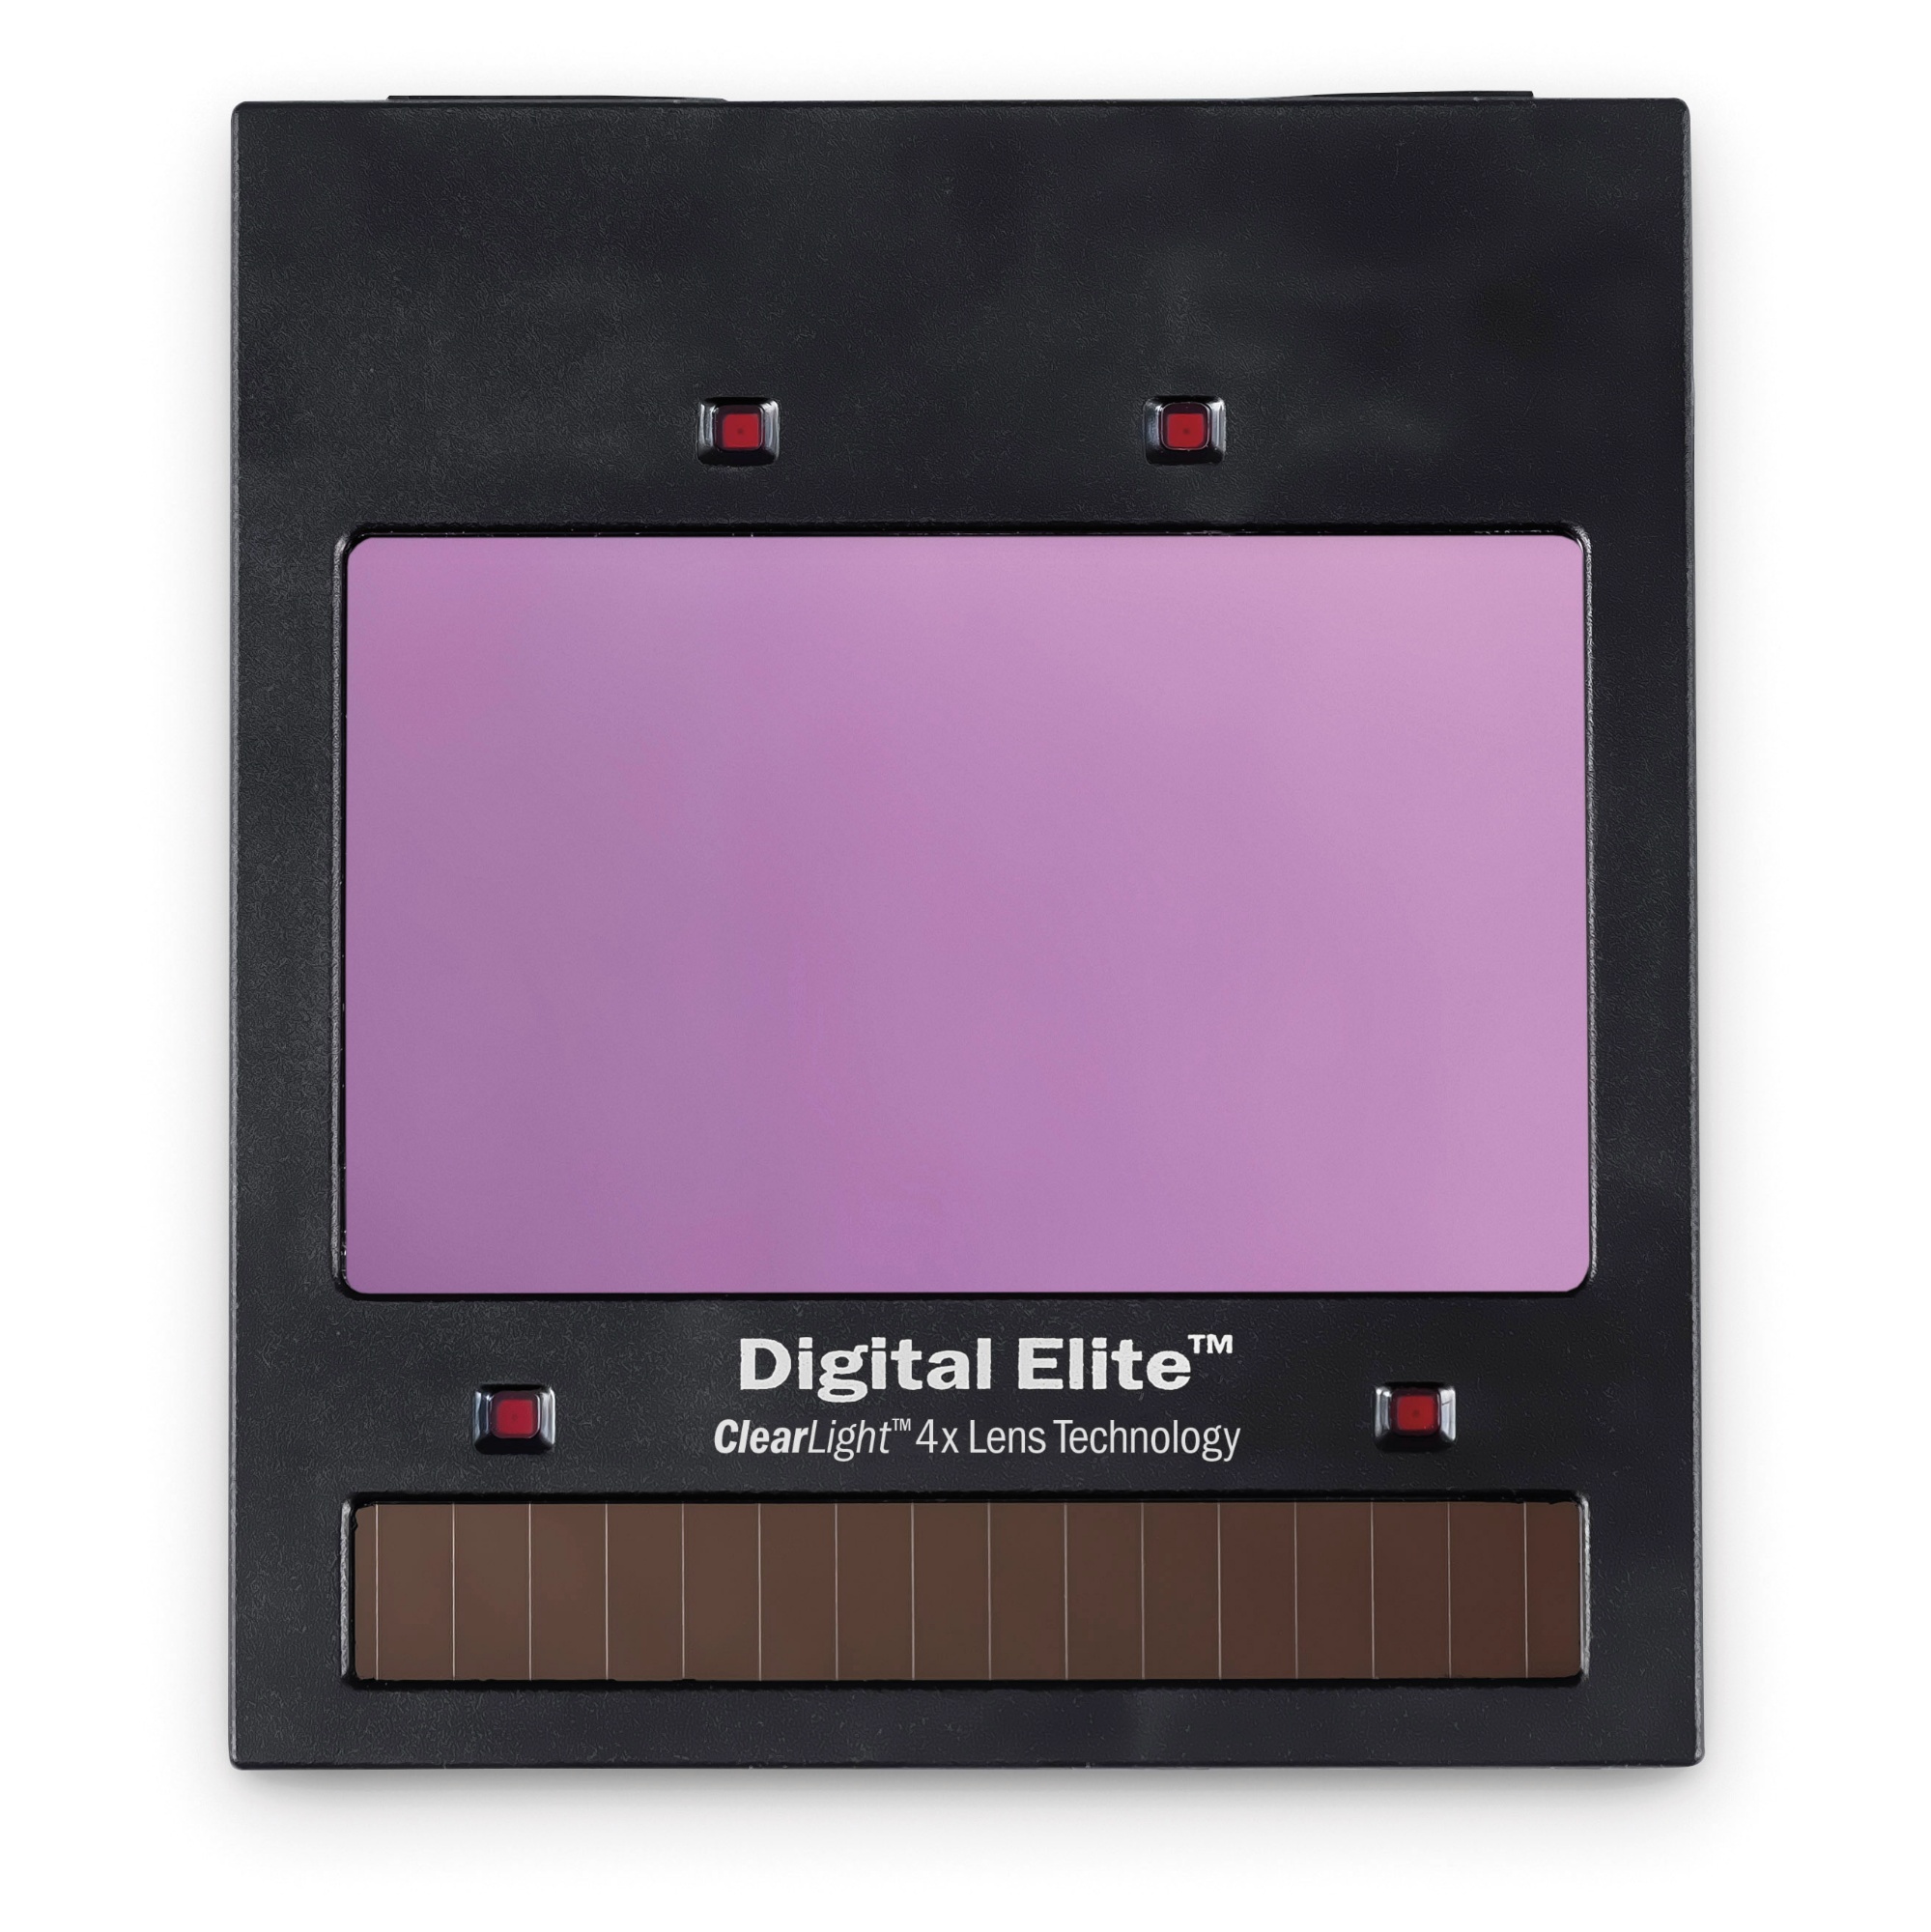
Clarity, Clarity, Clarity!: Not all lenses are created equal. Look for lenses with good optical clarity. You want to see what you're doing, right? It's hard to make a beautiful weld if you can't actually see the metal. Think of it like upgrading from standard definition to glorious, eye-popping 4K! Okay, maybe not that dramatic, but you get the picture.
The Replacement Process: Easy Peasy… Mostly
Alright, time to get your hands dirty (metaphorically, of course – wear gloves!).
Safety First! Always turn off the helmet’s power switch (if it has one) before you start messing with anything. And remove any batteries. We don't want any accidental arc flashes. That's just asking for trouble.
Remove the Old Lens: Most helmets have a retaining frame or cover plate that holds the lens in place. Carefully remove this frame. It might have a clip, a screw, or some other sneaky mechanism. Don't force anything! You don't want to break your helmet. Gently pry out the old lens. Dispose of it responsibly. Don't just chuck it in the trash! (Okay, maybe you can, but at least think about recycling first!).
Install the New Lens: Now for the fun part! Slide the new lens into place, making sure it's facing the right way. Usually, there's a specific orientation, so pay attention. Then, reattach the retaining frame. Make sure everything is snug and secure. You don't want your new lens popping out mid-weld. That would be a major buzzkill.
Test It Out!: Before you go all-in on a major welding project, test the lens to make sure it's darkening properly. A quick flash of light should do the trick. If it doesn't darken, double-check that you've installed it correctly. And make sure the batteries are good (if applicable). A dead battery is a surprisingly common culprit. Trust me, I've been there.
Troubleshooting: When Things Go Wrong (and they sometimes do!)
Lens still not darkening? Don’t panic! Take a deep breath. Is the battery dead? Seriously, check it. Are the sensors blocked? Clean them gently. Still no luck? You might have a faulty lens. Contact the manufacturer or vendor for a replacement. That's why warranties exist, right?
And there you have it! Replacing your auto-darkening lens is a simple process that can save you money and keep you welding safely. So, get out there, spark some metal, and create something awesome! Just remember to protect your eyes. After all, you only get one pair (well, hopefully!). Happy welding!