
Okay, let’s set the scene: You’ve just had your Nest Thermostat installed, or maybe you’ve moved into a new place and rediscovered this sleek puck on the wall. It’s looking all fancy, probably displaying a temperature, and you’re thinking, “Awesome, smart home, here I come!”
Then, you try to tweak something from your phone, or perhaps it’s stubbornly sticking to a schedule you definitely didn’t set, and you realize... uh oh. It's not connected to the internet. It’s like having a supercar in your driveway but no keys. All that potential, just sitting there, waiting.
Trust me, I’ve been there. The initial excitement quickly turns into a tiny, internal tech-frustration groan. "Why won't it just WORK?" you might silently scream. But don't you worry your pretty little head, because connecting your Nest to Wi-Fi isn't some ancient digital ritual reserved for tech wizards. It’s actually pretty straightforward, once you know the drill. And I’m here to walk you through it, step by friendly, human step.
Why Wi-Fi is Your Nest's Superpower
Think of your Nest without Wi-Fi as a very pretty, slightly advanced manual thermostat. It’ll control your heating and cooling, sure, but that’s about it. It won’t learn your habits, you can’t adjust it from your bed (or, you know, a different country), and it certainly won't give you those delightful energy reports that make you feel like an eco-warrior.
Wi-Fi is the magic sauce. It allows your Nest to talk to the internet, download updates, communicate with the Nest app on your phone, and truly live up to its "smart" potential. So, let’s get that superpower activated, shall we?
First Things First: Your Pre-Connection Checklist
Before we even touch the thermostat, let’s do a quick mental (or actual) run-through. This helps prevent those "D'oh!" moments later:
Is your Nest already installed? This guide assumes it is. If it’s still in the box, maybe check out an installation guide first, then come back!
Your Wi-Fi Network Name (SSID): You know, the name of your home Wi-Fi network. Like "MyCozyHomeWi-Fi" or "Skynet_V3." Keep it handy.
Your Wi-Fi Password: The super-secret code that lets devices into your network. It’s case-sensitive, so double-check those caps! (Seriously, this is 90% of connection issues.)
How to connect Google Nest Thermostat to Wi-Fi Good Wi-Fi Signal: Is your router too far away? While Nest is pretty good, an extremely weak signal can cause headaches. If your phone struggles with Wi-Fi near the thermostat, your Nest might too.
Power: Most Nests get power from your HVAC system. If it’s a Nest E or a newer Learning Thermostat, it should be fine. If it’s an older battery-powered model, make sure the batteries are fresh.
Got all that? Excellent. Let's make some digital magic happen!
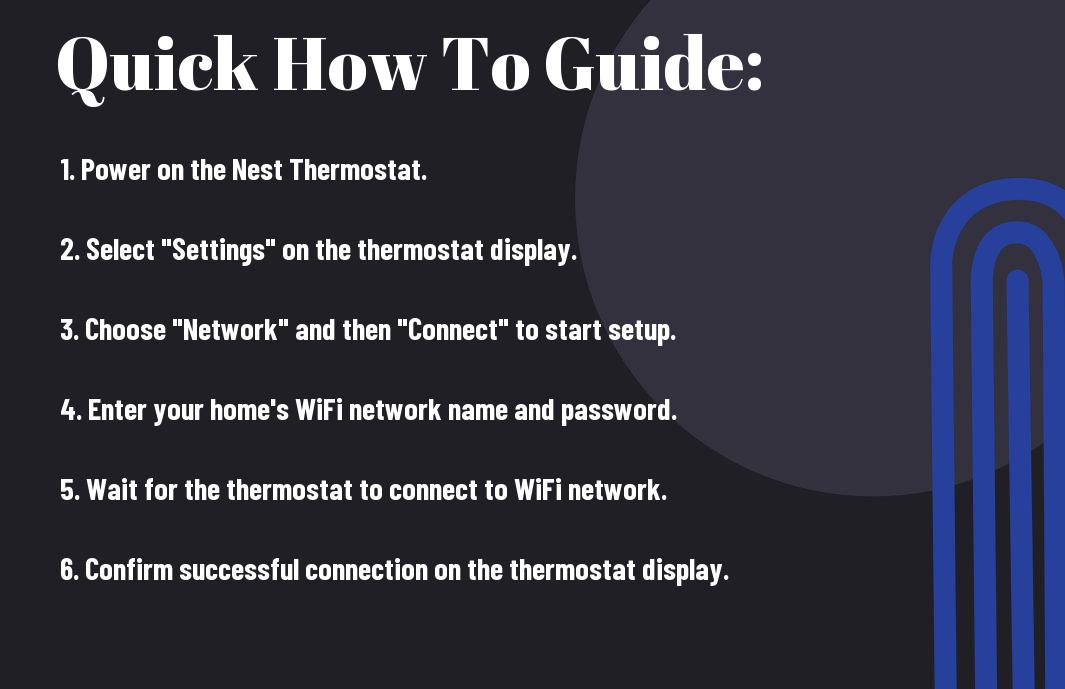
Connecting Your Nest to Wi-Fi: The Step-by-Step
Here’s where we actually get our hands (gently!) on the Nest. No need for a tech degree, just follow along:
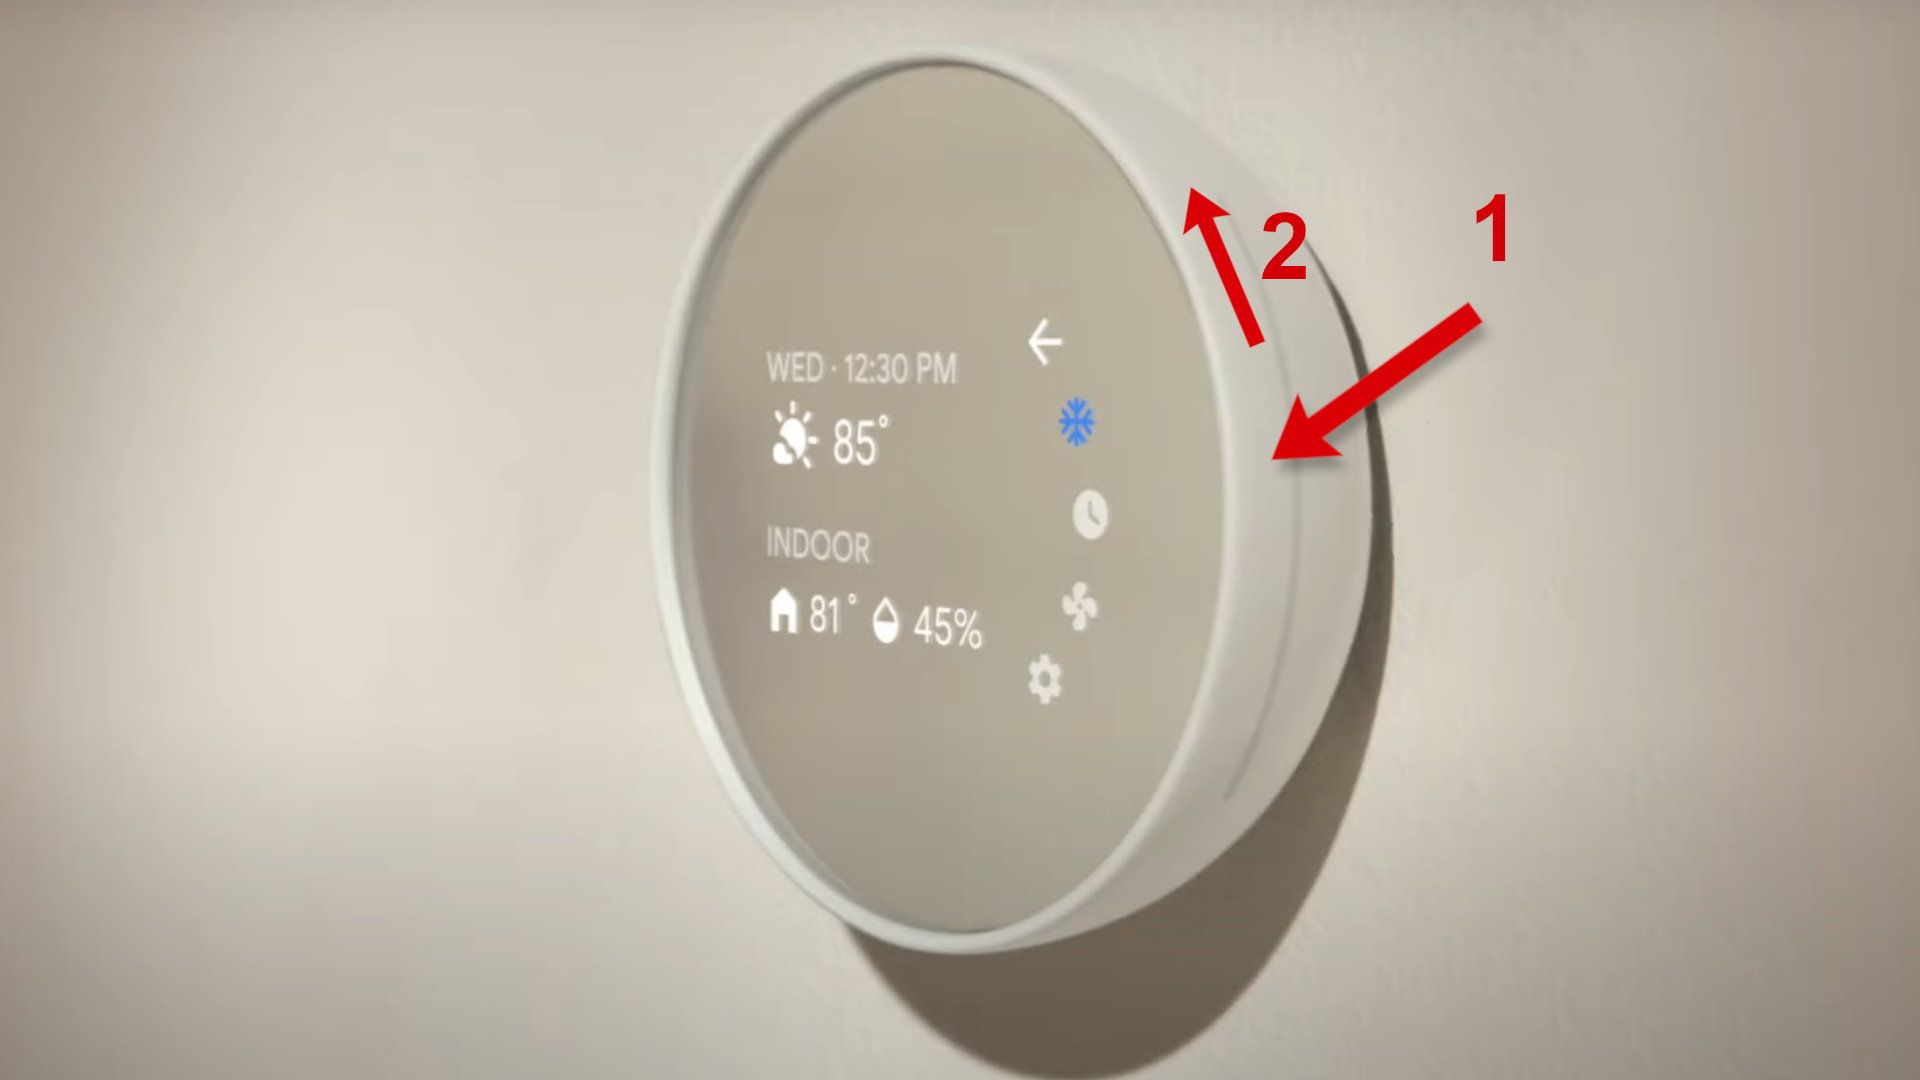
1. Wake Up Your Nest: Gently press the main ring of your Nest thermostat. The screen should light up. If it's already on, great!
2. Access the Main Menu: Press the main ring again. This usually brings up the main menu, with options like "Temperature," "Schedule," "Settings," etc.
3. Navigate to Settings: Rotate the outer ring of your Nest until "Settings" is highlighted. Then, press the ring to select it. (It’s like an old-school iPod click wheel, remember those?)
4. Find "Network" or "Wi-Fi": Within the Settings menu, rotate the ring to scroll down until you see "Network" or sometimes "Wi-Fi." Press the ring to select.
5. Scan for Networks: Your Nest will now search for available Wi-Fi networks. This might take a few seconds, so don't panic if it's not instant. It’s just sniffing out the digital airwaves.
6. Select Your Network: Once the list appears, rotate the ring to find your specific Wi-Fi network name (the SSID you noted earlier). Highlight it, and press the ring to select.
7. Enter Your Password: This is the big one! Using the rotating ring, carefully select each letter, number, or symbol of your Wi-Fi password. Press the ring to confirm each character. When you’re done, rotate to the "Done" option (or the checkmark, depending on your model) and press the ring.
Top Tip: Be extra, extra careful here. Misspellings are the number one cause of frustration! If you have a super complex password, maybe temporarily simplify it on your router settings, connect the Nest, then change it back (if you’re feeling brave).
8. Connect and Confirm: Your Nest will now attempt to connect to your Wi-Fi. If successful, you’ll usually see a confirmation message on the screen, something like "Connected to [Your Wi-Fi Name]" or a little Wi-Fi symbol will appear in the top right corner.
Hooray! Give yourself a little pat on the back. You did it!
Troubleshooting: When Things Go Sideways (But Don’t Panic!)
Okay, so what if it says "Failed to Connect" or just seems stuck? Deep breaths. We’ve all been there. Here are a few things to try:
Double-Check That Password: No, really. Go back and re-enter it. Remember, case sensitivity is a killer.
Router Reboot: Sometimes your router just needs a kick. Unplug it from power for 30 seconds, then plug it back in. Wait a few minutes for it to fully restart, then try connecting your Nest again.
Nest Restart: Go into Settings > Restart. It’s like giving your Nest a little nap, hoping it wakes up refreshed and ready to connect.

How To Connect Nest Thermostat To WiFi - YouTube Wi-Fi Bands: Most Nests (especially older ones) prefer 2.4GHz Wi-Fi networks. If you have a dual-band router and separate your networks (e.g., "MyWi-Fi_2.4GHz" and "MyWi-Fi_5GHz"), make sure you’re trying to connect to the 2.4GHz one.
Signal Strength: Is your Nest really far from your router? Consider a Wi-Fi extender or moving your router closer temporarily to see if that helps.
You're Connected! Now What?
With your Nest happily chatting away on your Wi-Fi network, the world of smart home convenience opens up!
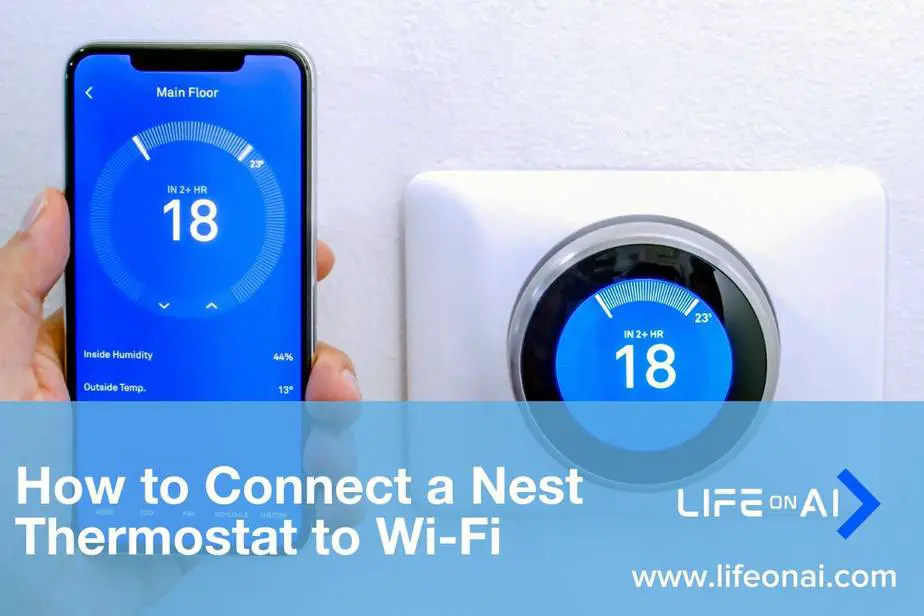
1. Download the Nest App: If you haven’t already, grab the Google Home app (for newer Nests) or the Nest app (for older Nests) from your phone’s app store. This is where the magic truly happens.
2. Add Your Nest to the App: Follow the in-app instructions to add your Nest. You’ll usually scan a QR code on the Nest itself or enter a code from the thermostat’s settings menu. This links your physical thermostat to your digital control center.
3. Explore and Enjoy: Now you can adjust the temperature from anywhere, monitor energy usage, set schedules, and let your Nest truly learn your preferences. It’s pretty sweet.
So there you have it. No more staring blankly at a disconnected thermostat. You’ve empowered your Nest, and in turn, empowered yourself with a smarter, more efficient home. Go on, give that thermostat a proud little glance. You earned it!