
Hey there, security superstar! Ever thought about beefing up your home's defenses but got a bit intimidated by all the wires, tech jargon, and images of professionals scaling ladders like acrobats? Well, buckle up, buttercup, because I’m here to tell you that DIY security camera installation is totally within your grasp. Seriously, if I can do it, you can too. And no, you don't need a degree in electrical engineering or a utility belt full of gadgets (though a good screwdriver helps!).
Why Go DIY? It's Your House, Your Rules!
First off, why even bother doing it yourself when you can just call a pro? Simple: cash money, baby! Professional installation can add a hefty chunk to your budget. Plus, there's a certain satisfaction that comes from saying, "Yeah, I did that." You get to choose exactly where your cameras go, what features matter most to you, and you learn a thing or two along the way. Think of yourself as a super-savvy secret agent, but instead of defusing bombs, you're just screwing cameras into walls. Much less stressful!
Choosing Your Eyes and Ears: Wired vs. Wireless
Okay, let's talk gear. The first big decision is usually wired versus wireless. Don't overthink it!
-
Wireless (Wi-Fi): These are often easier to install because, well, no pesky wires for video! They usually run on batteries or plug into a standard outlet. Perfect for renters or those who hate drilling. Just make sure your Wi-Fi signal is strong where you want to place them, or your cameras might decide to take a nap mid-surveillance.
-
Wired (PoE - Power over Ethernet): These bad boys get both power and video signal through one Ethernet cable. They're generally more reliable, don't hog Wi-Fi bandwidth, and you never have to worry about changing batteries. The trade-off? You'll need to run those cables, which might involve a bit more drilling and hiding wires. Think of it as a fun scavenger hunt for your Ethernet cable!
As for features, look for HD resolution (you want to actually see what’s happening, not just a blurry blob), night vision (because bad guys rarely operate in broad daylight), and maybe even two-way audio (so you can tell the delivery person to leave the package or, you know, yell at squirrels). Don't go overboard, just pick what makes you feel secure.
Pre-Installation Fun: Become a House Detective!
Before you even unbox anything, grab a coffee (or your beverage of choice) and do a little reconnaissance mission around your house. Walk around, look for potential blind spots. Where would you want to see if someone was lurking? Front door? Back gate? That super dark corner where raccoons throw wild parties?

Think about these things:
-
Power Sources: If you're going wireless with a plug-in camera, where's the nearest outlet? If it's battery-powered, how often do you want to recharge?
-
Wi-Fi Signal: For wireless cameras, pull out your phone and check the Wi-Fi strength at your desired camera locations. A weak signal means frustrated you, blurry video, and possibly missed events. Nobody wants that!
-
Viewing Angle: Hold your hand up like a camera and pretend to look through it. What do you see? Can you cover a good area without pointing into your neighbor's bedroom (awkward!)?

Diy Security Camera Installation at Douglas Reddin blog
This planning stage is crucial and actually kinda fun. You're practically a home security consultant for yourself!
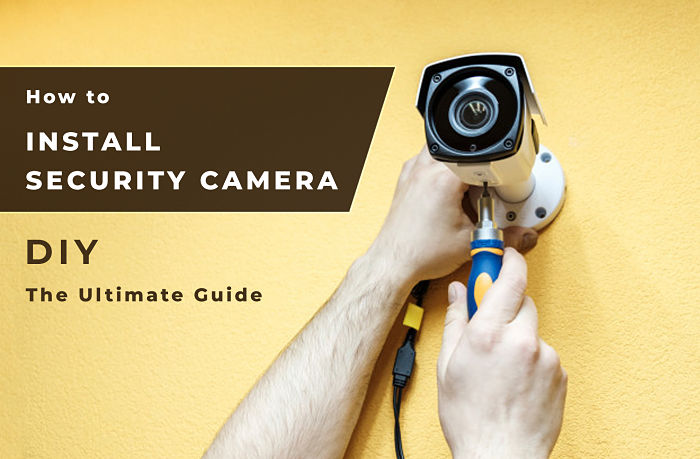
The Grand Event: Installation Day!
Alright, tools down, hands up... just kidding, grab those tools! Most DIY camera kits come with everything you need: cameras, mounting hardware, and often a handy template. Here’s the super-simplified version:
-
Mark It: Use the template or hold the camera where you want it and mark the screw holes with a pencil. Double-check your angle!
-
Drill (Carefully!): Use a drill to make pilot holes. A pilot hole is your best friend; it prevents wood from splitting and makes screwing in a breeze. Just remember: measure twice, drill once!
How to Install a Security Camera System by Yourself? The 2025 Ultimate -
Mount It: Screw the camera base securely into place. You're basically building a mini fort for your lens!
-
Connect It: Plug in your power cord or connect your Ethernet cable. If it's a wireless camera, you'll likely download an app and follow its instructions to pair the camera with your home network. It's usually a few clicks and a QR code scan – easier than ordering pizza online, I promise!
Voila! You've just become a bona fide installation wizard. Feel free to flex a little, you've earned it!
Testing, Tweaking, and Becoming a Monitoring Master
Once your cameras are up, don't just walk away! Now's the time for testing. Open that app, check the live view. Is the angle perfect? Does motion detection trigger correctly? Play around with the settings. You can often adjust sensitivity, create specific activity zones (so the tree swaying doesn't set off an alert every five minutes), and set up notifications.
Pro Tip: Have a friend walk in front of the camera while you watch the live feed. It’s like a fun game of 'catch the human' and helps you fine-tune everything!
A Few Friendly Reminders
-
Tell Your Neighbors: Let them know you've installed cameras. It avoids misunderstandings and shows you're being a good, transparent neighbor.
-
Respect Privacy: Make sure your cameras aren't peering into your neighbor's windows or yard in an invasive way. Good fences (and camera angles!) make good neighbors.
-
Clean Lenses: Every now and then, give those camera lenses a quick wipe. Dust, rain, and mischievous spiders can obscure the view.
You Did It! High Five!
See? That wasn't so scary, was it? You've just empowered yourself, saved some dough, and added an extra layer of peace of mind to your home. You're not just a homeowner; you're a DIY security guru! So go ahead, pat yourself on the back, grab another coffee, and enjoy the comforting feeling of knowing your home is a little bit safer, all thanks to your awesome self. You rock!