
Ah, TIG welding steel. It sounds so serious, doesn't it? Like you need a secret handshake and a PhD in metallurgy just to get started. And then come the settings. Oh, the dreaded settings! You dive online, hoping for a simple answer, and suddenly you're drowning in charts, equations, and a hundred conflicting opinions from folks who apparently live in their welding booths.
But what if I told you a little secret? What if I told you that most of those "perfect" numbers are, well, just suggestions? Maybe even a bit of a fib? Yes, I said it! And honestly, I’m pretty sure a few grumpy old-timers just make up numbers to mess with the rookies. Don’t tell anyone I told you that.
The Great Amperage Mystery
Let's talk about amperage first. This is the big one, the main event, the "how much juice do I need?" question. You’ll see charts telling you exactly how many amps for every gauge of steel. And sure, they give you a starting point. Like a recipe suggesting "a pinch of salt." But your "pinch" might be different from my "pinch," right? And what if your steel is a bit rusty? Or it's a super windy day? Or you just had a really strong coffee and your hands are extra twitchy?
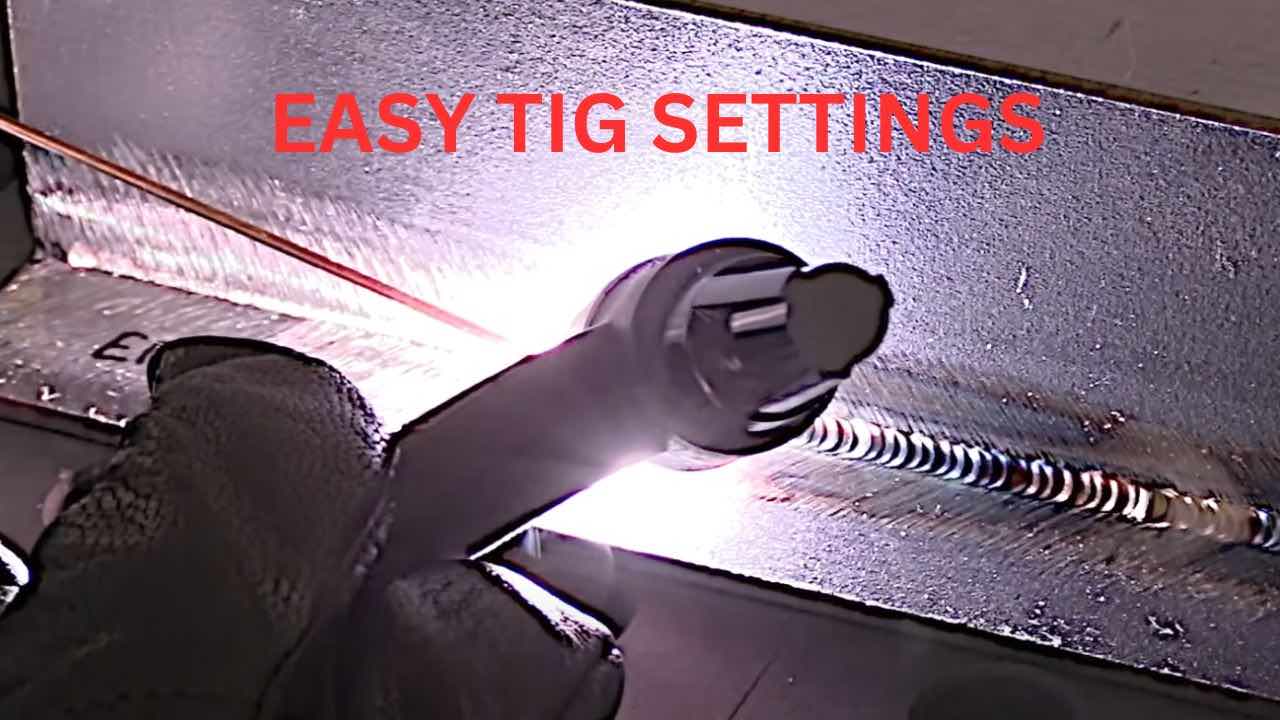
The truth is, amperage is less about a hard number and more about a feeling. It's the sound of the arc, the way the puddle flows, the glint in your eye when it's just right. If it’s too cold, it’ll look like you’re just drawing on the metal with a sparkler. Too hot, and you’re suddenly drilling a hole to the center of the earth. Find that sweet spot. It’s personal. It’s intimate. It’s your sweet spot.
The Supporting Cast: Gas, Tungsten, and Filler Rod
Then there are the trusty sidekicks. Your shielding gas, almost always argon for steel, needs to be flowing. Not a hurricane, not a gentle sigh, but a steady, protective blanket. You need just enough to keep the bad stuff (like pesky oxygen) away from your beautiful molten puddle. Too much and it might suck in air, too little and your weld will look like it lost a fight with a rusty nail.
Your tungsten electrode is like your magic wand. For steel, you’re usually using a thoriated (red band) or a lanthanated (blue or gold band) type. And the size? Again, charts will tell you. But think of it this way: a fine pen for fine lines, a thick marker for big drawings. You pick the tip that feels right for the job. And make sure it’s pointy! A dull tungsten is like trying to write a letter with a crayon that’s seen better days.
And the filler rod! This is the toothpaste you’re squeezing into your weld. Match it roughly to your steel thickness. Don’t try to fill a Grand Canyon-sized gap with a hair-thin rod, and don’t try to subtly join thin sheets with a giant rebar. Common sense, people! Common sense and a dash of artistic flair.
My truly unpopular opinion? Stop obsessing over the exact numbers on a chart. They’re a starting point, not a sacred commandment carved in stone. Your eyes, your ears, and that little tingling feeling in your fingertips are your real welding guide.
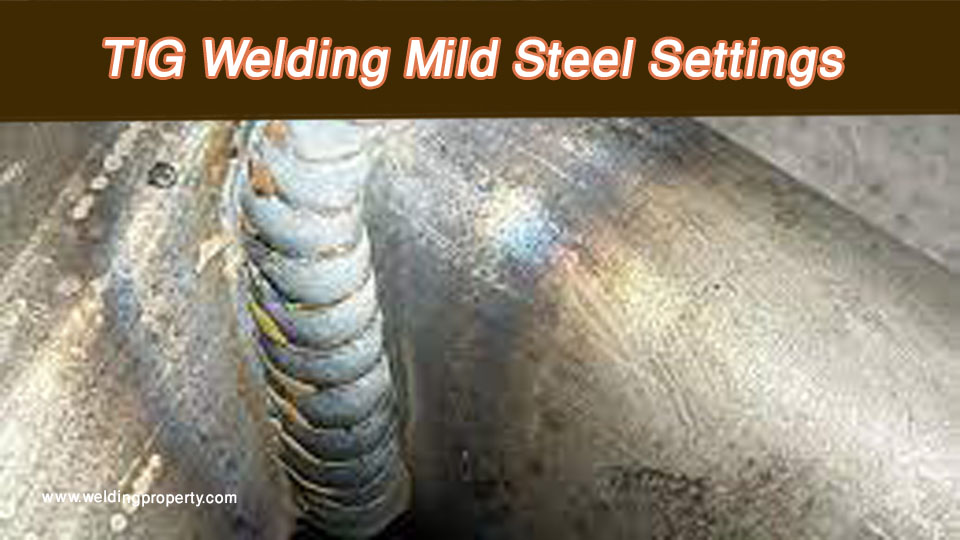
Mild Steel TIG Welding Settings
The Myth of Perfect Settings (and Why Yours Are Better)
Seriously, have you ever met two welders who use the exact same settings for the exact same job? Nope. Because every welder is a unique snowflake, with their own rhythm, their own hand speed, their own peculiar way of holding the torch. Some like to go fast, some like to dawdle. Some have super steady hands, others look like they’re trying to catch flies with chopsticks.
Those perfect internet settings don't account for your specific machine, which might be older than dirt or brand spanking new. They don't account for the ambient temperature in your garage (freezing vs. sweltering). They certainly don't account for how much coffee you had that morning or if you're listening to heavy metal or classical music while you weld.

So, next time you're setting up for a beautiful TIG weld on steel, take a deep breath. Start with a recommended range, sure. But then, let your inner welding artist come out. Adjust the amperage until the puddle looks happy. Fine-tune your gas until there are no nasty colors. Pick a tungsten and filler rod that feel right in your hand. Practice, adjust, repeat. That’s the real secret.
Because ultimately, the best settings for TIG welding steel aren't some magic numbers. They’re the ones that let you create a strong, beautiful, and satisfying weld. And honestly, isn’t that what it’s all about? Go forth and weld with confidence, you magnificent metal sculptor!