How To Wire A 30 Amp Breaker
Alright, let's talk about something many folks squint at. It's the grand, often whispered, task of wiring a 30 Amp breaker. Most people treat this like a sacred ritual, demanding a high priest of electricity.
But here's a little secret, an unpopular opinion perhaps: it's not nearly as dramatic as it sounds. In fact, it's rather... well, mechanical.
Think of it less like brain surgery and more like a really satisfying LEGO build. A very important LEGO build, of course, but LEGO nonetheless.
Must Read
The Grand Pre-Show: Power Down!
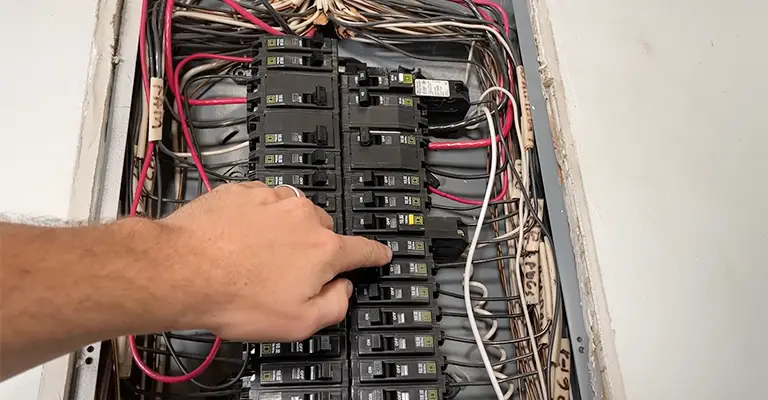
Before you even think about flexing those electrical muscles, the very first, and most crucial, step is to turn off the main power. This isn't just a suggestion; it's the golden rule, the sacred mantra, the absolute non-negotiable opening act.
Find that big, beefy switch in your main electrical panel and flip it with a satisfying THWUNK
. Imagine the whole house going into a power nap.
Some might even say it's like politely asking all the electron party-goers to take a break. Give them a moment.
This step, while simple, is often where the first hint of respect for the power of electricity settles in. Or, you know, just a good excuse for a quick snack break in the dark.
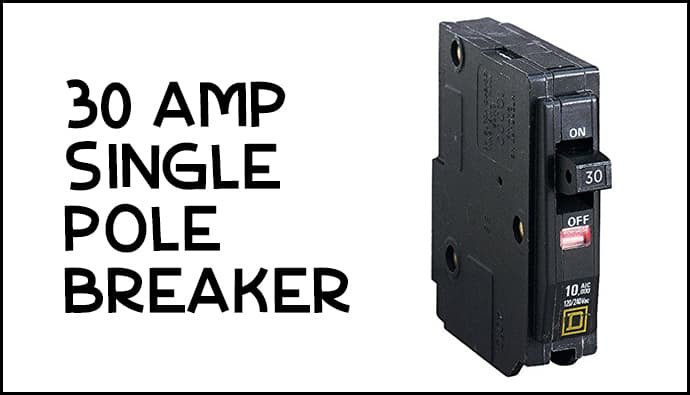
Meet Your New Best Friend: The 30 Amp Breaker
Now, behold the 30 Amp breaker. For this adventure, we're likely looking at a double-pole variety. It’s a sturdy little block, often black, sometimes gray, but always important.
It usually has two distinct terminals on one side, ready to embrace some eager wires. Think of them as tiny, metallic mouths waiting for their next meal.

There's also a clip or a hook on the back, a crucial little detail that will soon play a starring role in our electrical ballet. It’s like the foot that latches onto the bus bar.
Prepping the Wires: A Little Strip Tease
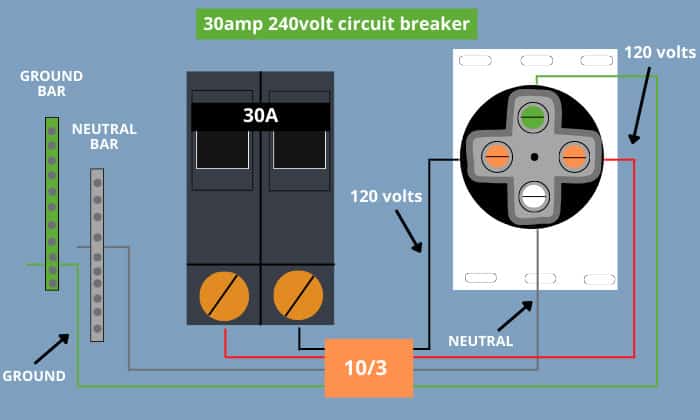
You’ll have a cable, probably a rather robust one, heading into the panel. It contains a few different characters: two hot wires, a neutral, and a ground.
For the hot wires, you'll need to bare a short section of their copper tips. This is where a wire stripper comes in handy. It’s less of a tool, more of a culinary precision instrument, peeling back the insulation like a master chef with a carrot.
Just a clean, neat little exposure. Not too much, not too little, just enough copper to make a good, solid connection. Think of it as shaking hands: a firm grip, not a limp one.
This step is where you feel like you're actually doing something. It's tactile, it's specific, and it prepares the way for the grand connection.
The Hot Wire Hook-Up: A Double Feature
With your two hot wires perfectly stripped, it's time for their big moment. Each hot wire gets its own screw terminal on the breaker.
Gently guide the exposed copper end of the first hot wire into one of the terminals. Make sure it's snug, deep inside, and not just peeking out shyly.
Then, using a screwdriver, tighten that screw down. Don't go full hulk, but make it good and firm. The wire shouldn't be able to wiggle free with a polite tug.
Repeat this exact same procedure for the second hot wire and its corresponding terminal. It's a symmetrical, satisfying dance.
This is where the breaker truly starts to feel like part of the circuit. It's accepting its charge, ready for action.
The Panel Insertion Tango: Clip and Snap!
Now for the main event: placing the 30 Amp breaker into its designated slot in the electrical panel. You'll notice a rail or bar on one side of the panel, usually opposite the main bus bar.
First, hook the back clip of the breaker onto this rail. It's like hanging a picture frame, getting that initial catch.
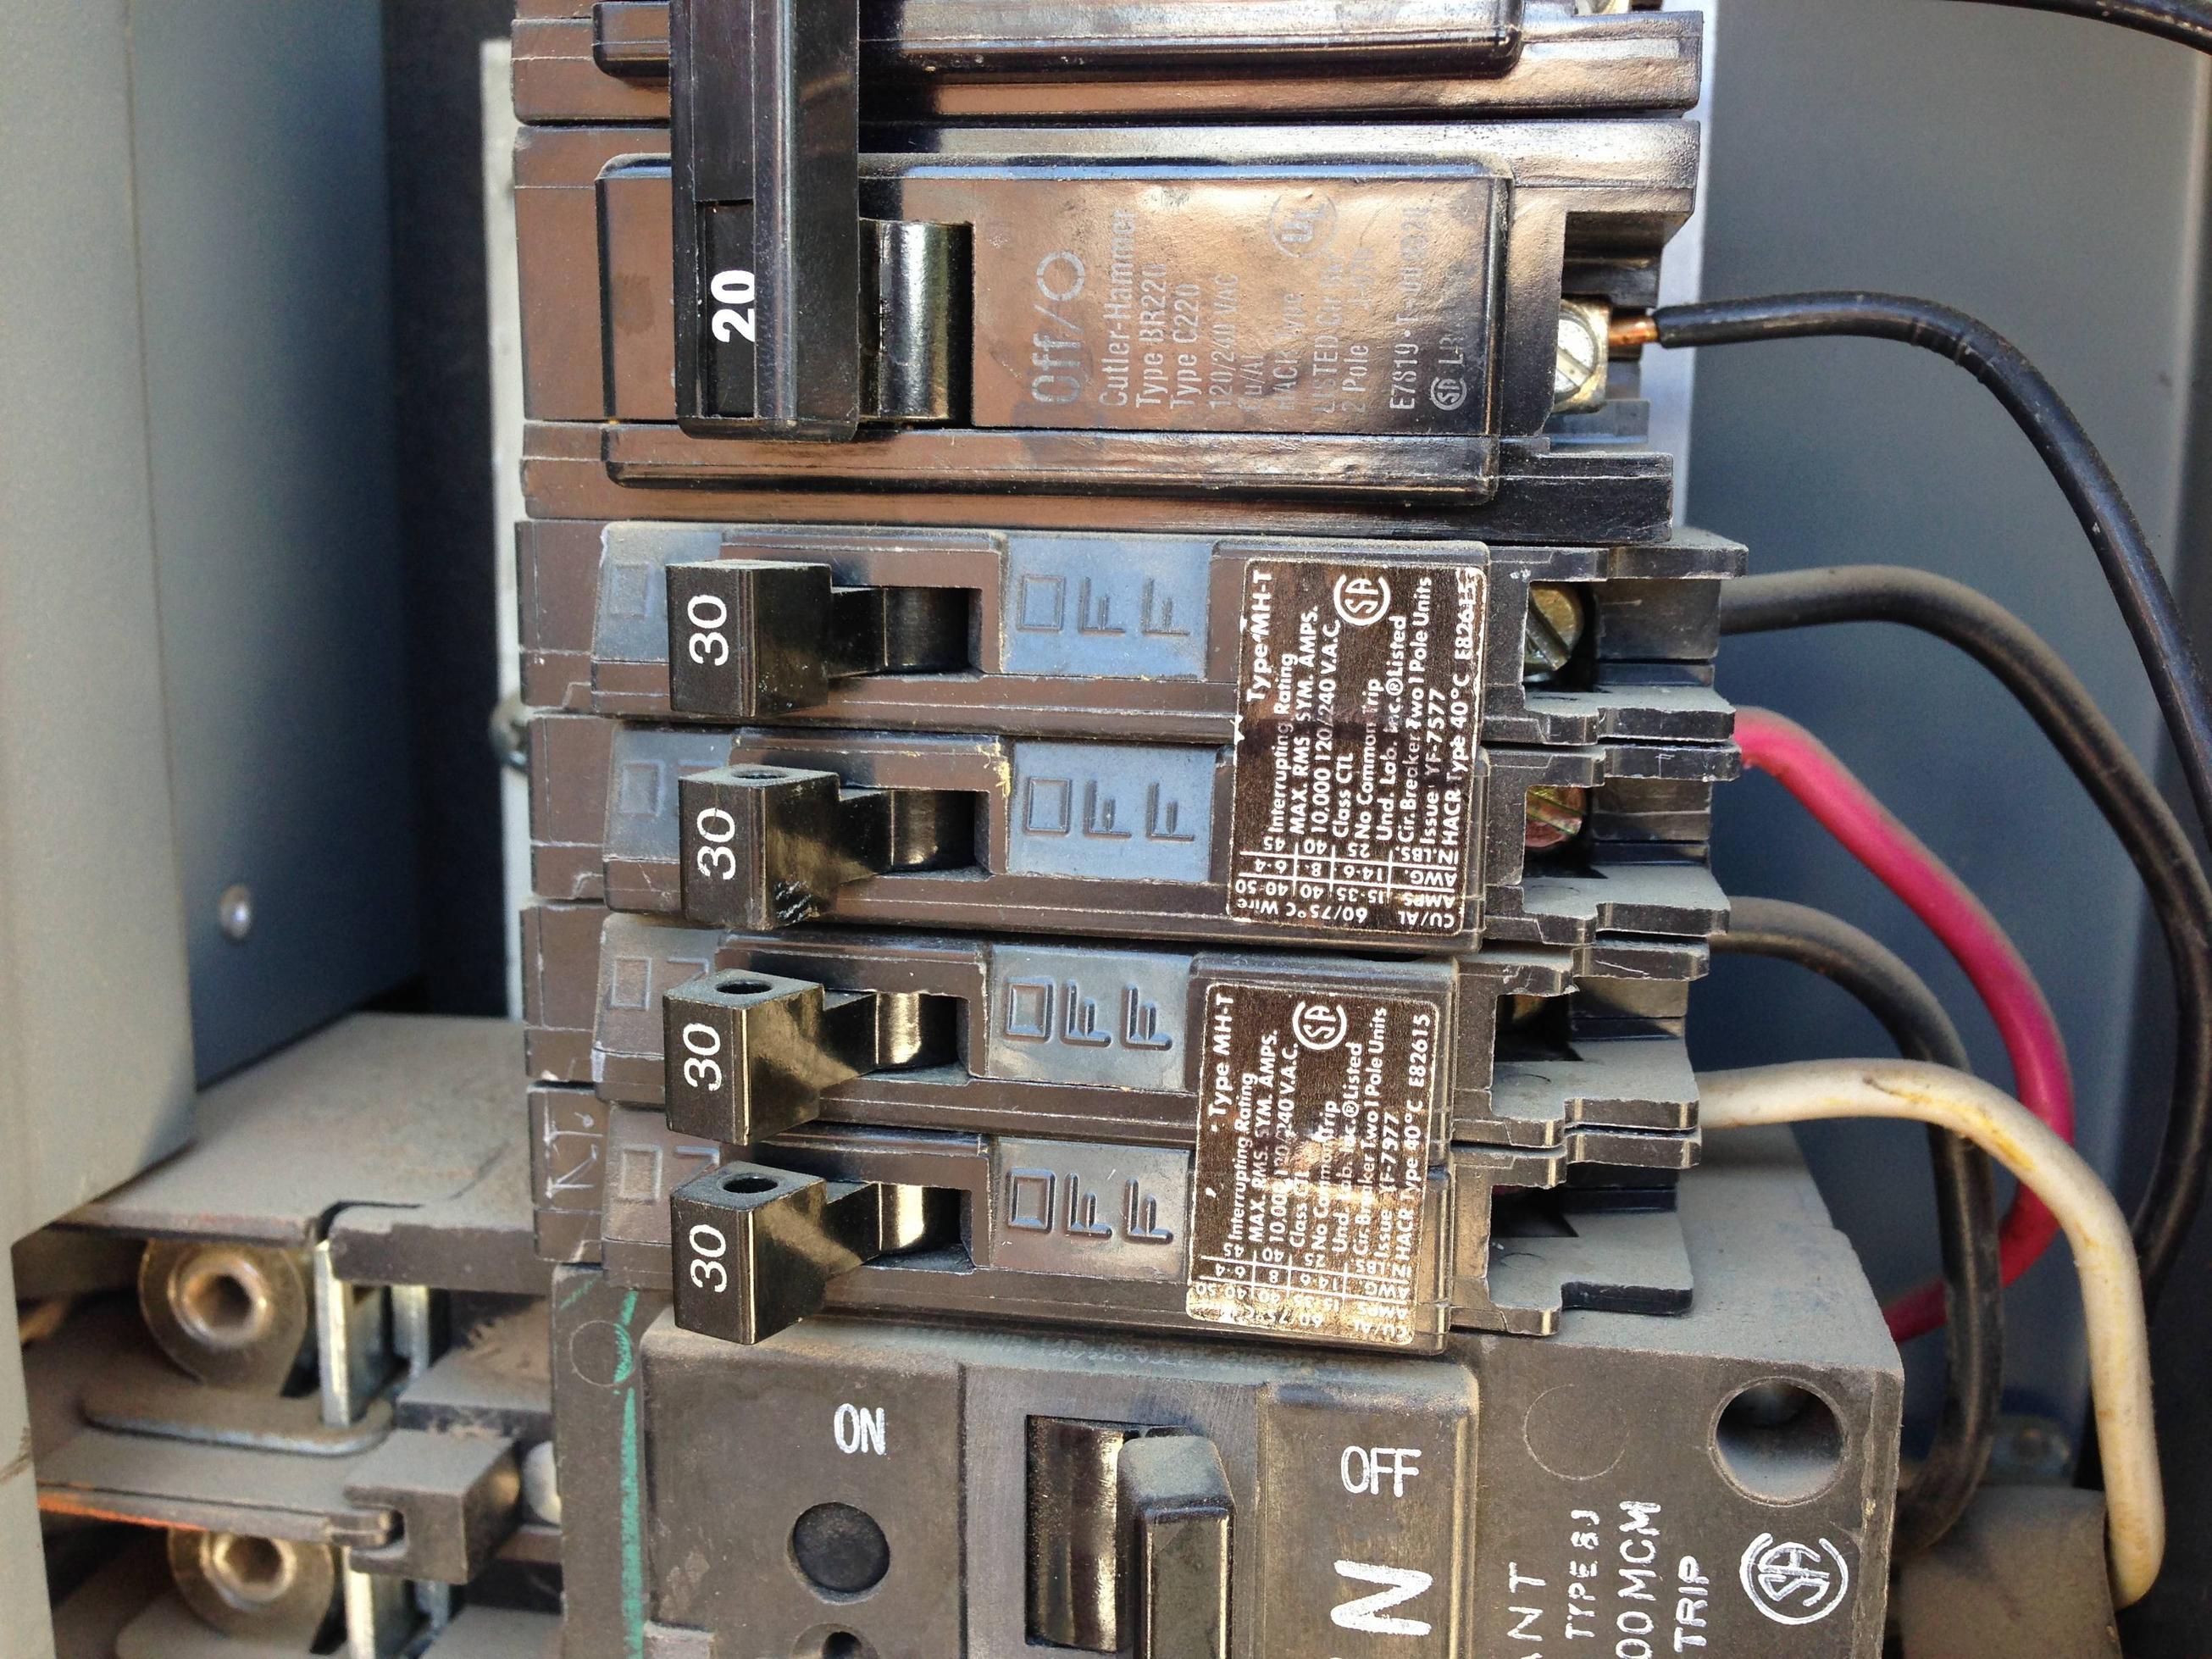
Once it's hooked, pivot the breaker downwards, applying firm, even pressure. You're aiming for a satisfying SNAP!
as it clicks into place on the main bus bar.
That sound is your victory chime, the signal that the breaker is properly seated and ready to do its job. It’s a small sound, but oh-so-important.
This is often the most anxiety-inducing part for first-timers. But once that snap happens, a wave of triumph washes over you. You've conquered the panel!
The Unsung Heroes: Neutral and Ground
While not directly connected to this specific breaker, the circuit's neutral and ground wires still need their proper homes within the panel.
The bare copper ground wire usually goes to the ground bus bar, which is often a long metal strip with many small screws. Find an empty screw, loop the ground wire around it, and tighten it down.
The neutral wire, usually white, finds its spot on the neutral bus bar. This bar might look similar to the ground bar or be slightly separated, depending on your panel. Again, a secure connection is key.
These connections complete the circuit, ensuring everything works as intended. They are the quiet backbone of the operation.
The Post-Show Tug Test & Grand Finale
Before you even think about closing up the panel, perform a gentle tug test on all your connections. Tug gently on each wire where it enters its terminal or bus bar.
No wiggles, no give, no drama. Just solid, steadfast connections. This is your final quality control check, ensuring everything is as tight as it should be.
Once satisfied, reattach the panel cover. Then, with a flourish, head back to your main breaker and flip the power back on. THWUNK!
The electrons are back, and they're ready to party.
See? No smoke, no sparks (hopefully!), just a series of deliberate, surprisingly simple steps. The mystery of wiring a 30 Amp breaker isn't so mysterious after all.
It's less about arcane electrical knowledge and more about methodical, careful action. You've just performed a feat that many deem impossible for the average person. Give yourself a pat on the back!