How To Wire 220 In Breaker Box

Okay, so you're looking to wire up some 220V in your breaker box, huh? Maybe for that shiny new electric dryer, or a beast of a workshop tool? Sounds a little intimidating, right? Like you're about to wrestle a lightning bolt? Relax! We're gonna chat through this like we're just sipping coffee, and by the end, you'll see it’s totally doable. Promise.
First things first, and I can't stress this enough: electricity is no joke. We're talking about serious power here. So, while we're going to have a little fun with this, safety is your absolute, number one priority. If at any point you feel unsure, even a tiny bit, please, please, please call a licensed electrician. Seriously, don't be a hero. Your life (and your house) is worth more than saving a few bucks.
Right, with that very important public service announcement out of the way, let's get down to business! Ready for some electrifying knowledge?
Must Read
What You'll Need (Your DIY Arsenal)
Before we even peek inside that scary-looking metal box, let's gather our tools. You wouldn't go into battle without your sword, would you?
- Screwdrivers: Flathead and Phillips. Good quality ones, please.
- Wire Strippers: Get a decent pair. Trying to strip thick wire with crummy ones is an exercise in frustration.
- Multimeter: This isn't optional. You need to verify the power is off.
- Work Gloves: Not just for comfort, but a little extra protection.
- New 220V Breaker: Make sure it’s the correct amperage and type for your panel and appliance. This is crucial!
- Appropriate Wire: For 220V, you'll need four conductors – two hot (usually black and red), one neutral (white), and one ground (bare copper or green). The gauge (thickness) of the wire matters! It needs to match your breaker's amperage. For example, a 30-amp breaker often uses 10-gauge wire. Don't guess here!
- Conduit/Cable Clamps: To secure the wire as it enters the box.
Step 1: Kill the Power (Seriously, ALL of it!)
This is where your multimeter becomes your best friend. Head to your main service panel. You know, the big grey box. Find the main breaker – it's usually the largest one, often at the top, and might even be labeled "Main."
FLIP THAT SUCKER OFF.

Your house will go dark. Embrace the darkness! It means you're doing it right. Now, open the panel cover. Use your multimeter to test for voltage at the main lugs. Zero volts. Nothing. Nada. That’s what you want to see. Check all the other breakers too, just to be super safe. Trust me, you don't want any surprises in there.
Step 2: A Peek Inside (Don't Be Shy!)
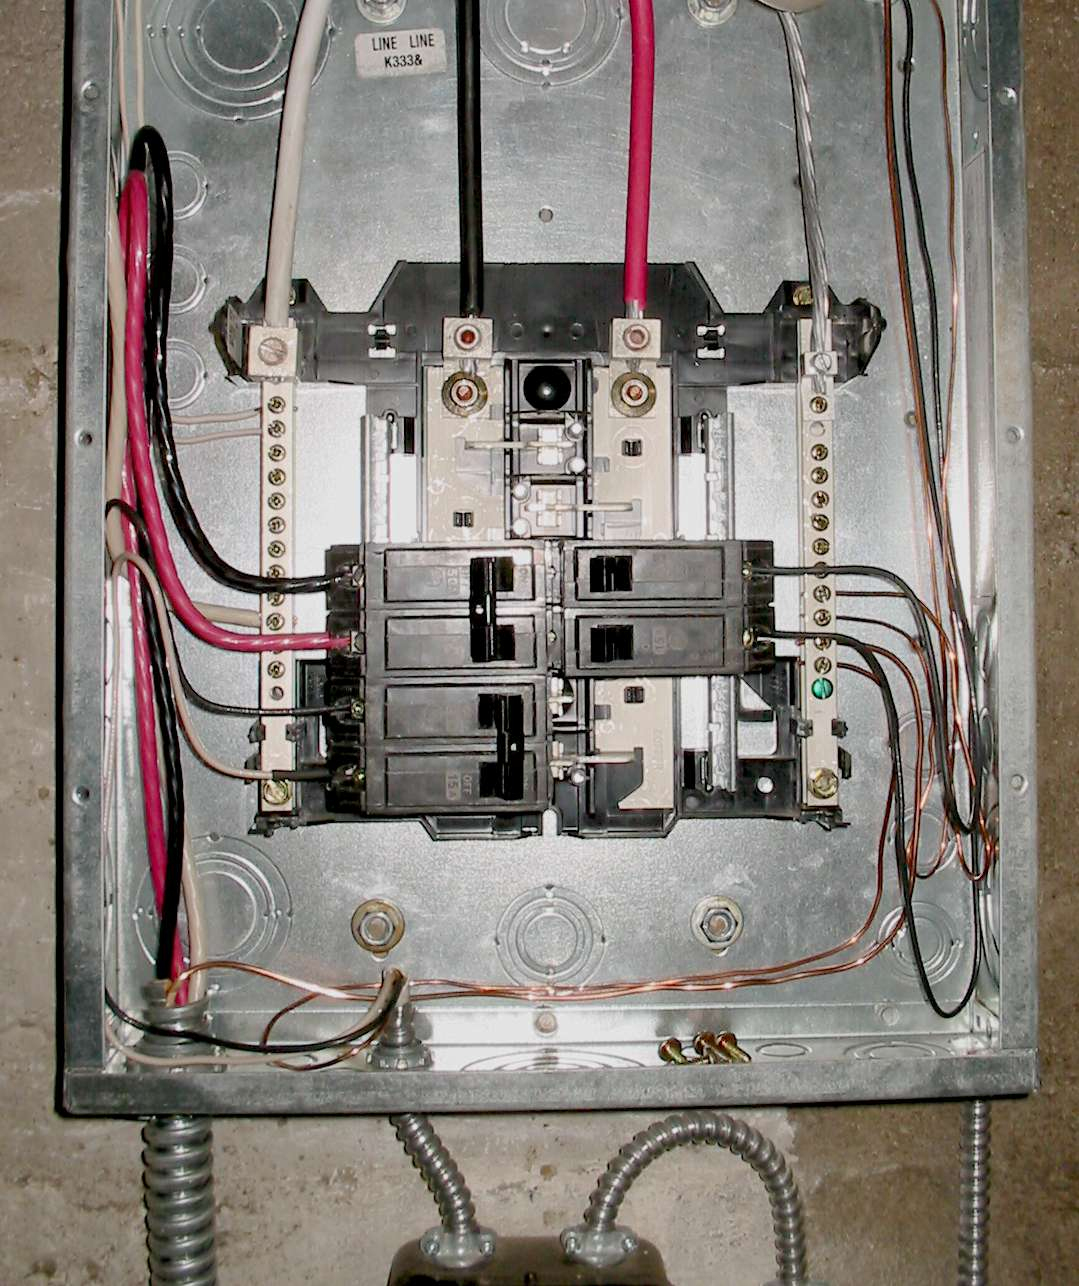
Okay, with the power off, you can open the inner panel cover. You'll see rows of breakers, bus bars (metal strips running vertically), and typically a bare copper ground bar and a silver-colored neutral bar.
Here’s the deal with 220V (sometimes called 240V, same thing, mostly): it’s basically two separate 110/120V circuits working together. That's why you have two "hot" wires coming into your breaker. Each one is 120V, and when combined, you get 240V. Magic!

Step 3: Prepping Your Wire and Breaker
Alright, get your new 220V breaker. Notice it's a double-pole breaker. It's like two regular breakers hooked together. This bad boy takes up two slots in your panel.
Now, route your new wire into the breaker box. You'll need to knock out one of those little metal "knockouts" on the side or bottom of the panel. Use a cable clamp to secure the wire as it enters the box. This prevents strain on your connections and keeps things tidy.
Carefully strip back the outer sheath of your cable, exposing your four wires: black, red, white, and bare copper/green. Don’t strip too much! Just enough to work with, maybe 6-8 inches.
Step 4: Making the Connections (The Fun Part!)
This is where we connect the dots, literally!
- The Ground Wire (Bare Copper/Green): This is your first connection, because grounding is fundamental. Find your panel's ground bar (often a bare copper bar with lots of screws, usually at the bottom or side). Strip about 3/4 inch off the end of your bare copper or green wire. Loosen a vacant screw on the ground bar and tightly secure the ground wire under it.
- The Neutral Wire (White): Next up is the neutral. Find the neutral bar (it looks similar to the ground bar but is often silver-colored and connected to the main neutral lug). Strip about 3/4 inch off your white wire. Loosen a vacant screw and tightly connect the white neutral wire.
- The Hot Wires (Black and Red): Now for the juice! Take your new 220V double-pole breaker. You'll see two terminals on the breaker itself. Strip about 3/4 inch off both your black and red wires. Connect one hot wire (say, black) to one terminal on the breaker, and the other hot wire (red) to the other terminal. Make sure these connections are super tight!
Step 5: Installing the Breaker (Snap It In!)
With your hot wires connected to the breaker, it's time to install the breaker into the panel. Most modern panels use a "stab-lok" system. The back of the breaker has clips that fit over the hot bus bars in your panel. Angle the breaker in, hooking the back edge onto the bus bar, then firmly push the front edge until it snaps securely into place. It should feel solid, not wobbly. It should span two slots, remember?
Once it's in, give all your wires a gentle tug to make sure they're secure. Check that no bare copper is showing where it shouldn't be, and everything looks neat and tidy.

Step 6: The Moment of Truth (Power On!)
Alright, you're almost there! Take a deep breath. Double-check everything one last time. Are all connections tight? No stray wires? Good.
Put the inner panel cover back on, then the outer door. Make sure it's all secure. Now, head back to that main breaker you flipped off earlier. FLIP IT BACK ON!
Then, go to your new 220V breaker. Flip it to the "ON" position. If you hear a little click, that’s usually a good sign! Now, go test your appliance. Did it fire up? High five! You just wired 220V!
See? Not so bad, right? A little patience, a lot of caution, and a solid understanding of what's going where. You’ve just tackled a pretty significant DIY task. Now go enjoy that speedy dryer or powerful new tool! Just remember to always approach electrical work with respect and a healthy dose of caution.