How To Winterize Your Inground Swimming Pool
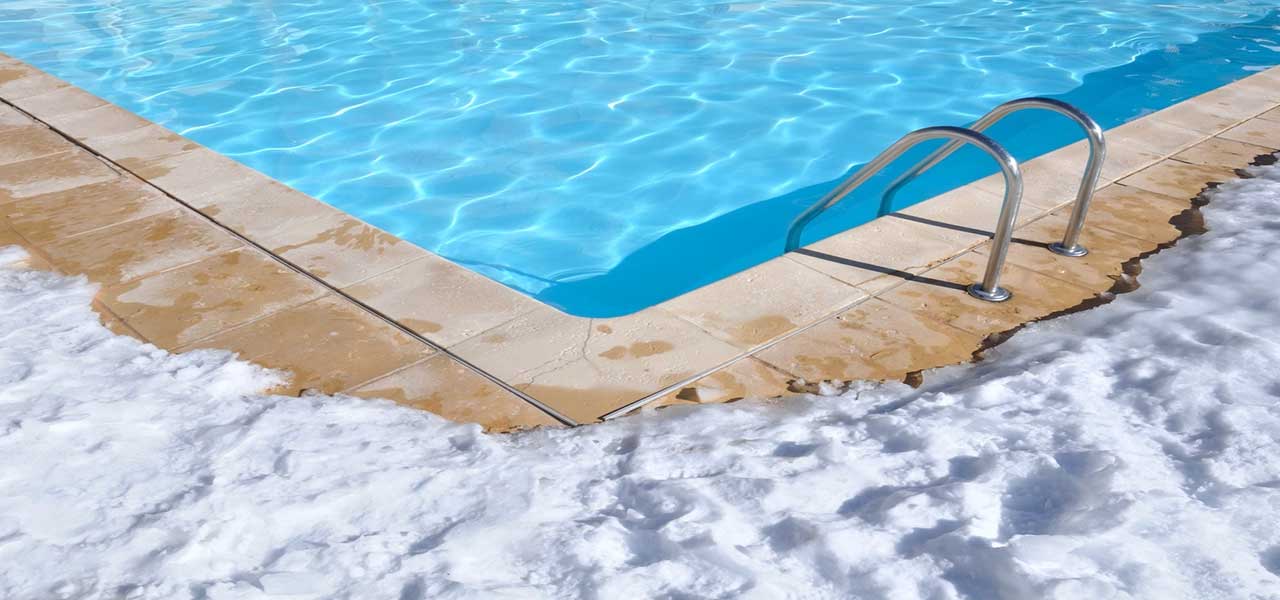
The inground swimming pool. It's not just a place to cool off on a hot summer day; it's a shimmering oasis, a backyard centerpiece, a liquid canvas reflecting the sky. But as the leaves turn golden and the temperatures drop, that inviting blue expanse needs special attention. Winterizing your inground pool isn't the most glamorous task, but it's a crucial one for ensuring it's ready for splashing fun next spring.
Why should the average homeowner care about the nuances of pool winterization? Because a properly winterized pool is a protected pool. Neglecting this process can lead to cracked tiles, damaged plumbing, and a whole host of costly repairs. Think of it as an investment in future poolside relaxation, a way to safeguard your aquatic investment.
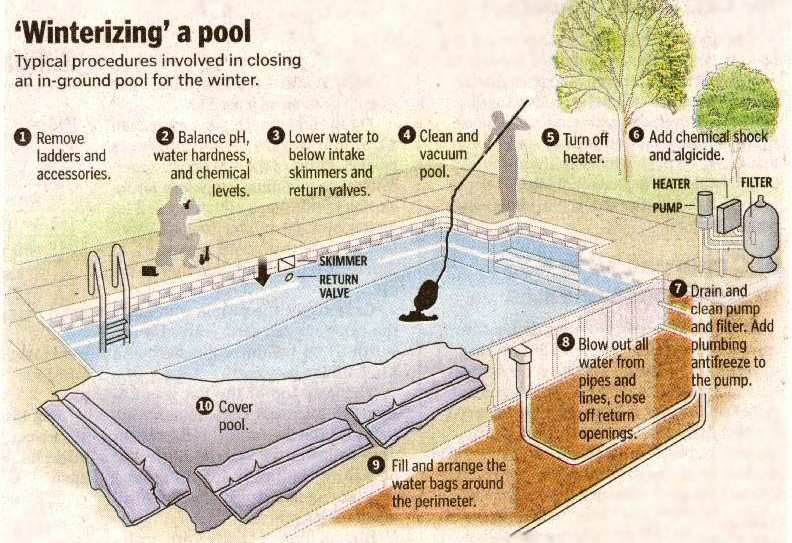
Let's break down the steps to successfully winterize your inground swimming pool:
Must Read
- Lower the Water Level: Use your pool pump to lower the water level to about 12-18 inches below the skimmer. This prevents water from freezing and expanding inside your skimmer, potentially causing damage.
- Clean Thoroughly: Give your pool a deep clean before winter. Skim the surface, vacuum the bottom, and brush the walls to remove any debris. This will help prevent algae growth during the off-season.
- Add Winterizing Chemicals: This is where the magic happens! Add a winterizing chemical kit specifically designed for your pool size. These kits typically include an algaecide, a scale inhibitor, and a shock treatment. Follow the instructions carefully. These chemicals help to prevent algae growth and mineral buildup over the winter.
- Drain Equipment and Plumbing: Drain all water from your pump, filter, heater, and any other pool equipment. Disconnect these components and store them indoors in a dry place. Blow out the plumbing lines using an air compressor. This prevents freezing water from cracking the pipes.
- Cover the Pool: Secure a high-quality winter cover over your pool. This will protect it from debris, snow, and ice. There are different types of covers available, so choose one that's appropriate for your pool shape and size.
Tips for Trying It at Home: Don't be intimidated! Winterizing your pool is a manageable DIY project. Start by gathering all the necessary supplies: a pool brush, vacuum, winterizing chemical kit, air compressor (if you're comfortable using one), and a pool cover. Read the instructions on your chemical kit carefully. If you're unsure about any step, consult a professional pool service.

Remember to always prioritize safety. Wear appropriate protective gear, such as gloves and eye protection, when handling pool chemicals. And be sure to properly store all chemicals out of reach of children and pets.
Winterizing your inground swimming pool might seem like a chore, but think of it as a labor of love. You're protecting your investment, ensuring many more seasons of fun and relaxation in your backyard oasis. The peace of mind knowing you've prepared your pool for the winter chill is incredibly rewarding, and it makes that first dip in the spring all the more enjoyable. Plus, who doesn't love the feeling of accomplishment that comes with a successful DIY project?