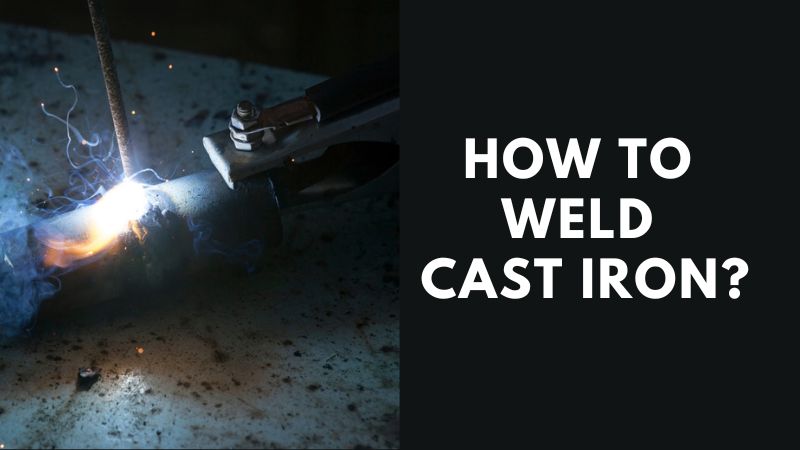
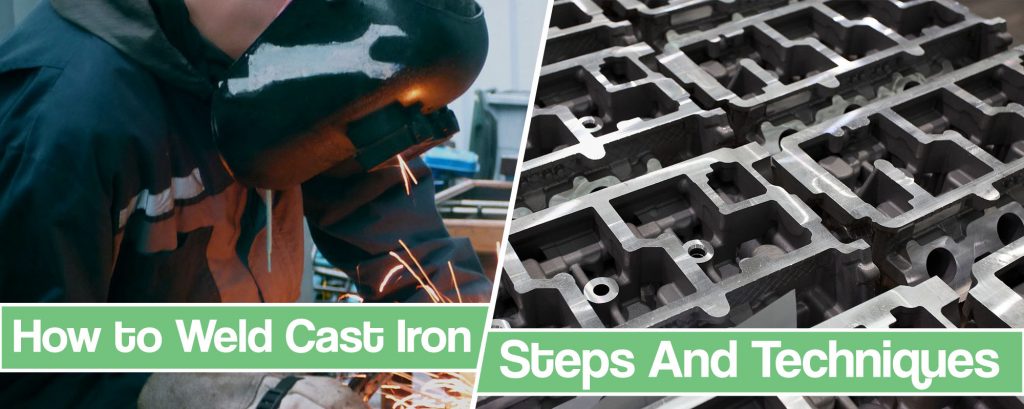
How To Weld Cast Iron At Home

Ever gazed longingly at a cracked cast iron skillet, a vintage garden bench with a broken leg, or even a stubbornly fractured engine part, and thought, "If only I could fix that?" Well, get ready to unleash your inner DIY hero, because learning to weld cast iron at home isn't just possible, it's incredibly satisfying! It’s a skill that transforms something destined for the scrap heap into a triumph of repair, saving you money and giving old treasures a new lease on life.
The beauty of tackling cast iron isn't just in the repair itself; it’s about the resurrection. Cast iron is known for its incredible durability, but it's also brittle and prone to cracking under stress or sudden impact. Instead of buying a costly replacement or discarding a family heirloom, welding offers a practical, powerful solution. You'll gain the immense satisfaction of repairing something with your own hands, extending the life of valuable items, and reducing waste – a win for your wallet and the planet!
Ready to give it a go? Welding cast iron requires a little more finesse than regular steel, but with the right approach, it’s totally achievable for the home enthusiast. First and foremost, safety is paramount! Always wear appropriate personal protective equipment (PPE): a welding helmet, gloves, a leather apron, and closed-toe shoes. Make sure your workspace is well-ventilated and free from flammable materials.
Must Read
When it comes to the method, a standard stick welder (SMAW) is often the go-to for home repairs on cast iron. Here’s a simplified breakdown:
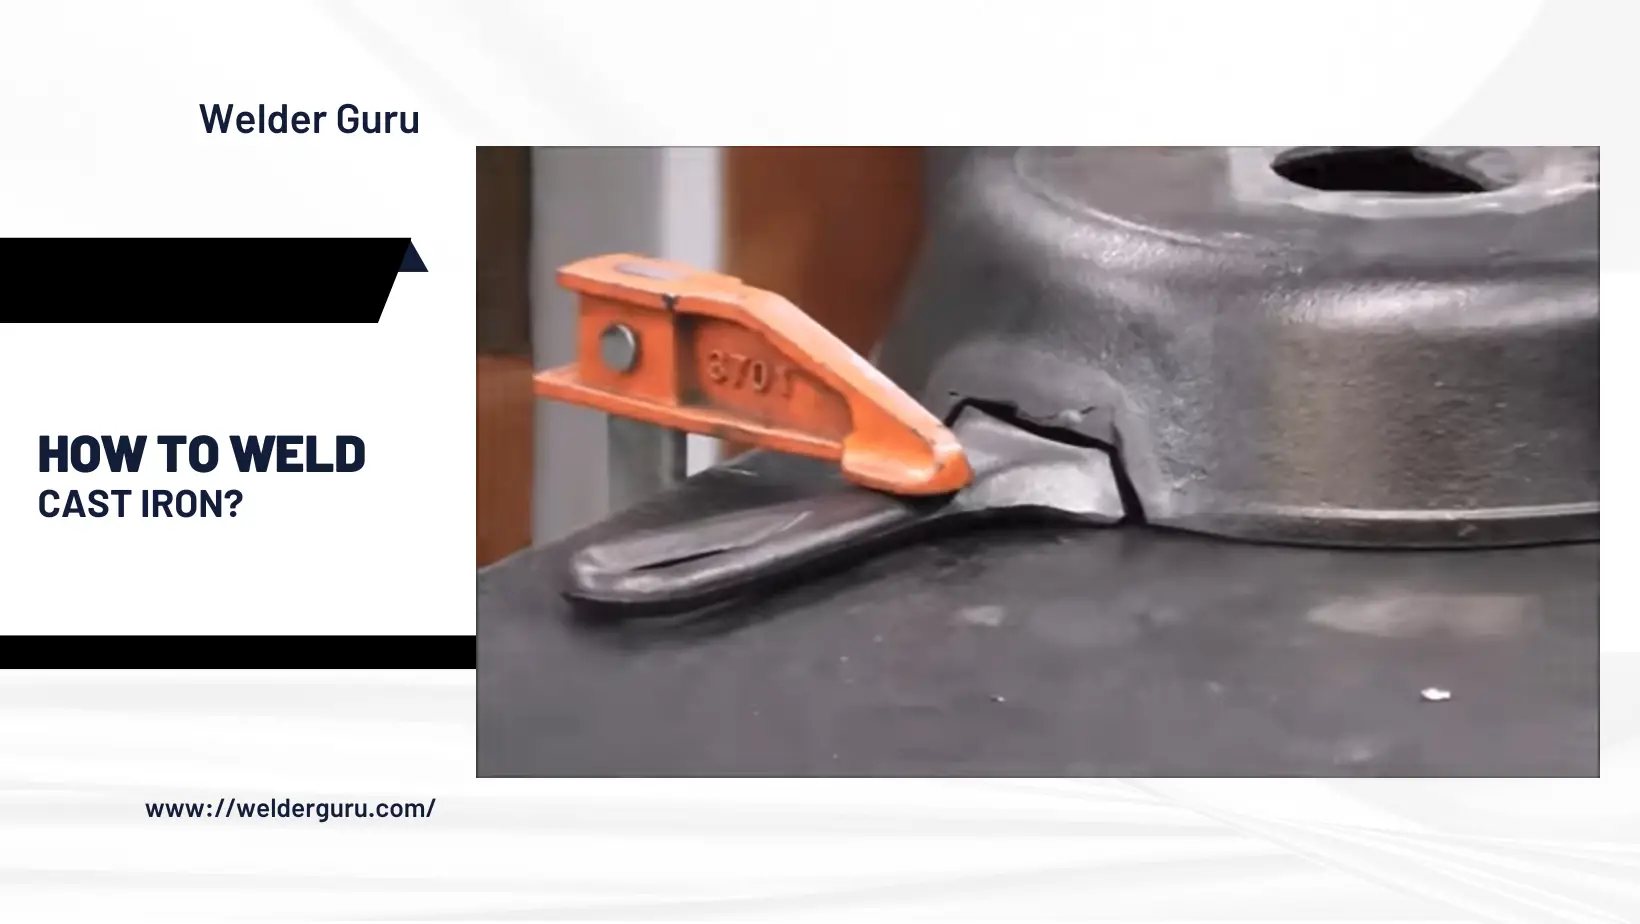
- Preparation is Key! Cast iron is riddled with carbon, which can cause issues. Begin by thoroughly cleaning the area. Grind away any rust, paint, grease, or dirt. Then, create a "V" groove (chamfer) along the crack using a grinder – this allows for better penetration of your weld. If the crack has ends, drill a small hole at each tip to prevent it from spreading further during welding.
- Preheating is Critical! Cast iron is very sensitive to thermal shock. Uneven heating or cooling can lead to new cracks. Gently preheat the entire area around the repair to a temperature between 300-500°F (150-260°C). You can use a propane torch for smaller items, or even bake larger pieces in an oven. This reduces stress and helps the weld blend better.
- Choose the Right Rod: For cast iron, you'll want a nickel-based electrode, such as an E NiCl (pure nickel) or E NiFe-CI (nickel-iron). These rods are more ductile and less prone to cracking than steel fillers when welding cast iron.
- Weld in Short Bursts: Cast iron doesn't like prolonged heat. Weld in short, 1-inch (2.5 cm) beads, then immediately stop and peen (lightly tap with a hammer) the weld to relieve stress. Allow each section to cool slightly before starting the next. This "stitch welding" technique minimizes heat input.
- Slow Cooling is a Must! Once your welding is complete, resist the urge to quench or rapidly cool the item. Allow it to cool as slowly and evenly as possible. You can wrap it in a welding blanket, bury it in sand, or cover it with insulating material. This gradual cooling process is vital for preventing new stress cracks.
- Finish Up: Once completely cool, you can grind down your weld for a smooth finish, restoring the item to its former glory.
Fixing cast iron can be a rewarding challenge, giving new life to cherished objects. With a little patience, the right tools, and an understanding of its unique characteristics, you’ll be patching up cast iron like a pro in no time! Go forth and repair!