How To Use Dry Ice For Camping
Alright, settle in, grab a coffee (or whatever magical brew keeps you going), because we’re about to talk about something that will revolutionize your camping game: dry ice. Yes, that mysterious, smoky stuff you usually only see in mad scientist labs or at Halloween parties. Turns out, it’s a total game-changer for keeping your grub gloriously cold in the wilderness.
Ever stared into a cooler full of what looks like a lukewarm swamp after 24 hours? Your gourmet cheese is swimming in meat juice, your beer is tepid, and your morale is, frankly, drowning. Been there, done that, bought the soggy t-shirt. But fear not, intrepid outdoor enthusiast! Dry ice is here to banish the cooler-swamp forever.
What Even IS This Stuff?
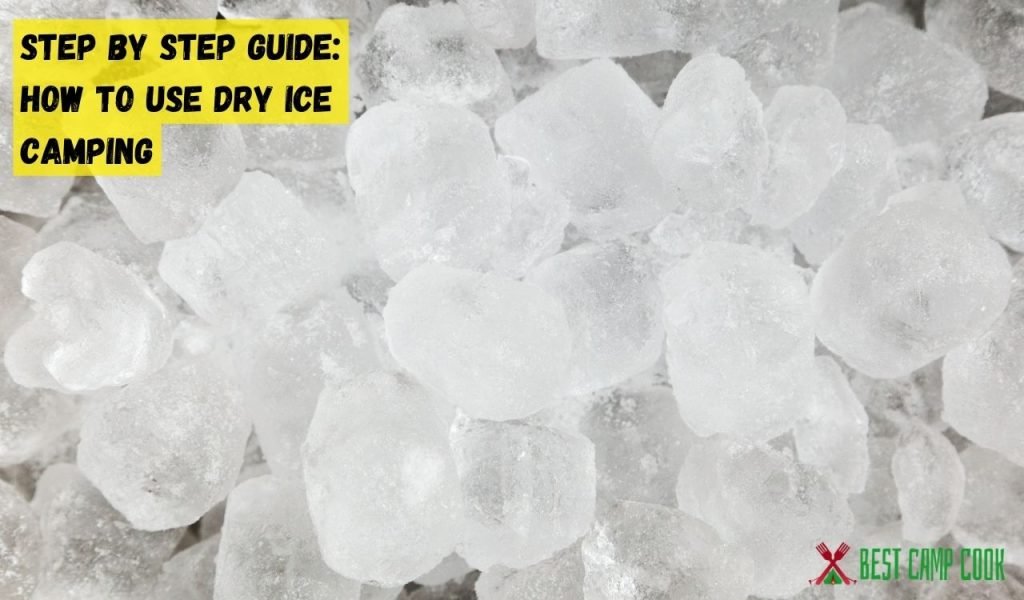
So, what exactly is dry ice? Imagine regular ice, but then make it way cooler – literally. It’s solid carbon dioxide, and it’s about -109.3 degrees Fahrenheit (-78.5 degrees Celsius). That’s colder than your ex’s heart, I swear. The coolest (pun intended) thing about it? It doesn’t melt into a watery mess. Instead, it sublimates, turning directly from a solid into a gas. No more soggy sandwiches, no more drowned everything. Just pure, unadulterated cold.
Must Read
Think of it as the ninja of refrigeration. Silent, deadly (to warm temperatures), and leaves no trace behind but a cool breeze and perfectly chilled provisions.
Why Dry Ice for Camping? The Superpowers!
Beyond the no-water thing, dry ice has some serious camping superpowers:
- Epic Cold Retention: It keeps things frozen for days, sometimes even a week, depending on how well you pack it. This means steaks on day five, baby!
- Lightweight Legend: As it sublimates, it literally vanishes. Less weight to haul back home. Your tired arms will thank you.
- Space Saver: Because it’s so powerful, you often need less of it than traditional ice, freeing up valuable cooler real estate for more snacks (the actual priority).
Safety First, Always (But We Can Still Be Funny About It)
Okay, before you start wrestling a block of dry ice like it’s a particularly stubborn campfire log, a few super important safety tips. This stuff is serious business when it comes to cold, so:

1. Gloves, Gloves, Gloves! Seriously. Like, the thickest ones you own. Handling dry ice with bare hands is a fast track to frostbite, which is less "cool" and more "ouch, my fingers fell off." Think oven mitts, work gloves, or even ski gloves. Just don’t touch it directly unless you want to cosplay a frozen popsicle.
2. Ventilation is Your Friend: Remember how it turns into gas? That gas is carbon dioxide. In high concentrations, it can displace oxygen, which is, you know, bad. Don't put dry ice in an airtight space (like a sealed car trunk overnight) with you in it. Keep your tent, car, or RV slightly vented if you've got a big block doing its thing. Think of it as giving your cooler its own tiny, frosty exhaust pipe.
3. Don't Seal Your Cooler Completely: Your cooler needs a tiny bit of air exchange. If you seal it airtight, the gas pressure will build up and... well, let's just say your cooler might spontaneously combust into a million tiny plastic shrapnel pieces. Dramatic, but possible. A standard camping cooler latch isn't airtight, so you're usually fine, but never use a cooler designed for airtight storage or add extra seals.

4. Don't Eat It. Period. I know, I know. It looks like a fun, smoky snack. It is not. It will hurt you. A lot.
Packing Like a Pro (No Ph.D. Required)
Right, safety spiel done. Now for the fun part: turning your mundane cooler into a cryogenic chamber of deliciousness!
Step 1: Get the Good Stuff. Dry ice usually comes in blocks or pellets. Blocks last longer. You can often find it at larger grocery stores, specialty ice suppliers, or welding supply shops. Just call ahead!
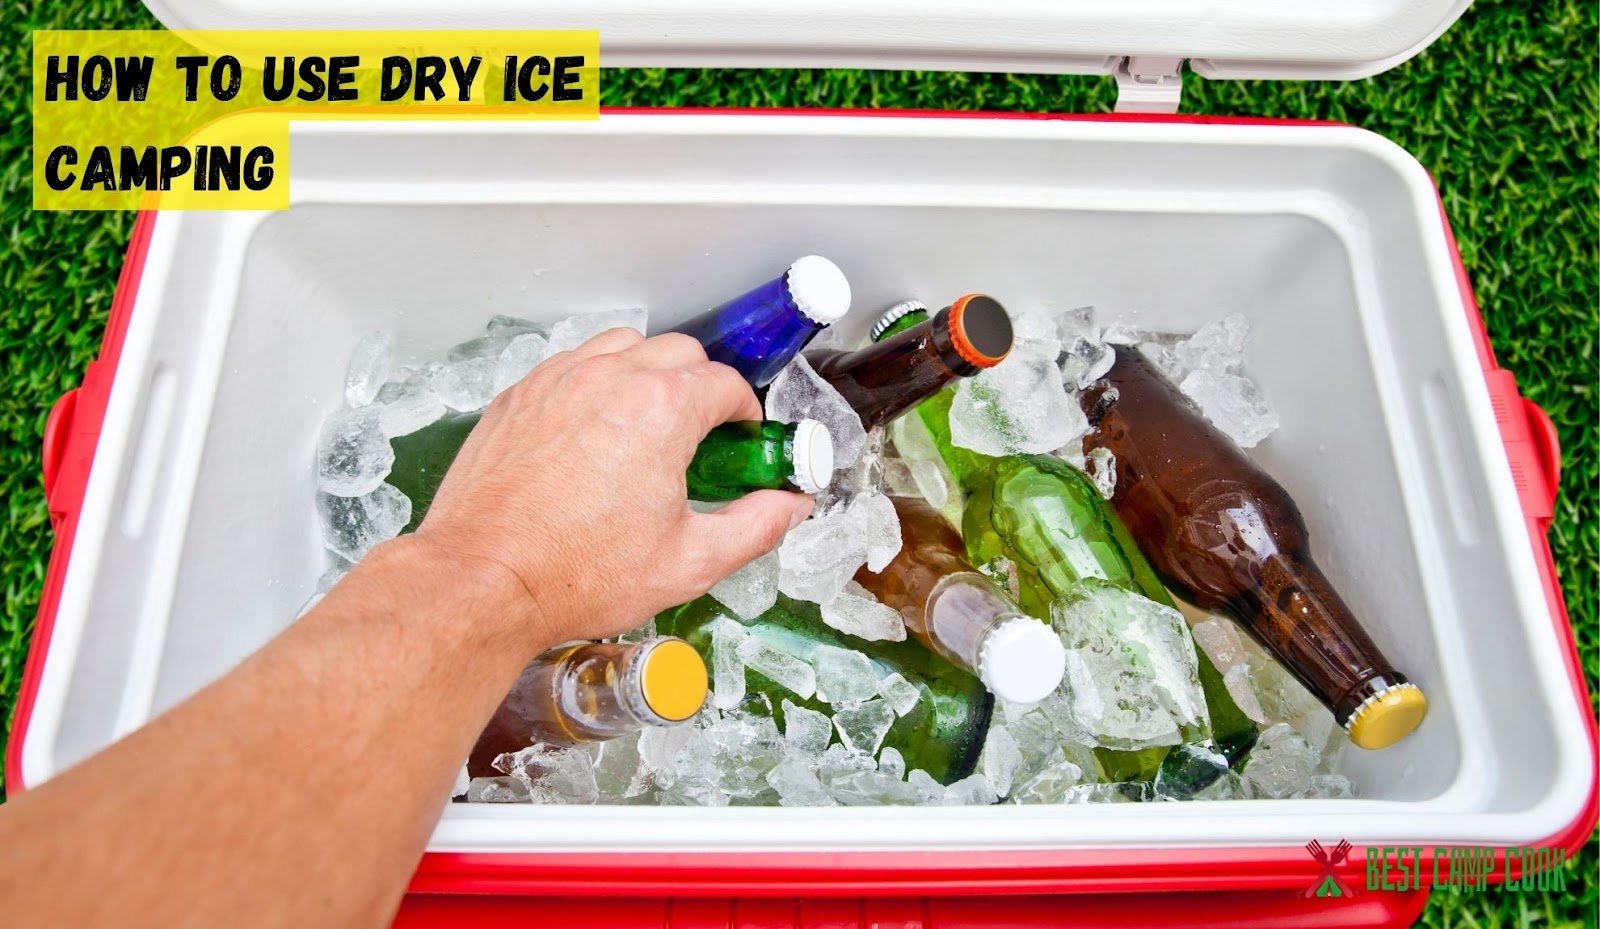
Step 2: Bottoms Up (Almost). For maximum efficiency, place the dry ice at the bottom of your cooler. Cold air sinks, so this way, it chills everything above it. If you want things to stay frozen, put them closest to the dry ice. If you want them merely chilled, layer them higher up.
Step 3: The Insulation Sandwich. Wrap your dry ice in newspaper, cardboard, or an old towel. This slows down the sublimation, making it last longer. Plus, it acts as a buffer between the dry ice and your more delicate items (like that avocado that always seems to bruise if you just look at it wrong).
Step 4: Layer It Up!
Bottom (closest to dry ice): Meats you want to keep frozen, frozen meals, ice cream (yes, you can have ice cream camping!).
Middle: Dairy, pre-made salads, items you want very cold but not frozen solid.
Top: Drinks, fruits, veggies – stuff you'll be accessing frequently and just want chilled.
Pro Tip: Fill any empty spaces in your cooler with crumpled newspaper, towels, or even regular ice (that will now last forever!). Less air space means less sublimation and more chilling power.
Creative Dry Ice Shenanigans (Beyond Just Keeping Beer Cold)
Once you've mastered the basics, you can get a little playful:
- Instant Campfire Fog Machine: Drop small pieces into a bucket of warm water for an instant, spooky, kid-delighting fog effect around the campfire. Just make sure it’s in a stable spot and supervised!
- The Ultimate Drink Chiller (with a caveat): Need to chill a case of warm soda FAST? Submerge the cans/bottles (no open containers!) in water with a chunk of dry ice. Voila! Iced drinks in minutes. Just make sure the dry ice isn't directly touching any glass bottles for too long, as extreme temperature changes can cause them to crack.
- Keeping Your Catch Fresh: If you’re fishing, dry ice can keep your prize catch perfectly fresh on the long drive home. No more guessing if that trout is still good!
So there you have it, folks. Dry ice isn't just for spooky cauldrons or industrial freezers. It’s a legitimate, surprisingly accessible tool that can transform your camping trips from "luke-warm struggle" to "crisply chilled triumph." Go forth, embrace the cold, and never suffer a soggy sandwich again!